New Year Centerpiece Ideas: Easy Glam Table Decor Guide
A New Year centerpiece gets one glorious job: be the sparkle everyone talks over. The store-bought versions cost a fortune and still somehow look generic, while the memorable ones are nearly always built at home from a tray, some candles, a clock and a handful of ornaments — arranged in the right order.
This guide walks through that order step by step: choose a base that grounds the glam, pick your metal story, add height, nestle in ornaments, thread through light, fill the gaps with texture, and finish with one star detail. Most of the supplies are already in your kitchen and decoration boxes.
Build the whole thing on the tray, not on the table. A centerpiece you can lift away in one move when the serving dishes arrive is a centerpiece that survives the whole night.
1. Start With a Base That Grounds the Glam

Photo credit: @kirklands on Instagram
Every strong centerpiece begins with something to stand on: a metallic tray, a cake stand, a shallow silver bowl, a mirrored plate, or a simple wooden board for contrast. The base gathers loose pieces into one composed arrangement and gives the whole thing a deliberate edge.
Choose the base to suit your table shape — long tray for rectangular tables, round stand or bowl for round ones. Raise a low tray on a book or an upturned cake tin hidden beneath it if you want more presence. A mirror base is the New Year cheat code: it doubles every candle flame and ornament sparkle for free.
Budget note: Shop your kitchen first. Cake stands and serving trays spend fifty weeks a year in cupboards; December 31st is their moment to earn the space.
Scale note: The base should sit within the middle third of the table's width, leaving a clear landing strip for dishes on both sides.
2. Pick One Lead Metal and One Accent Colour

Photo credit: @thechristmasdecorators on Instagram
Glam falls apart when every metal shows up at once. Choose a lead — gold for warmth, silver for icy sparkle, champagne for softness — then one accent colour to keep it company: black for drama, deep navy, emerald, or simple cream. Every ornament, candle and ribbon you add gets checked against those two choices.
Hold a sample of each in your hand while you unpack: the lead metal items go in a "yes" pile, the accent in another, and everything else goes back in the box with no hard feelings. This two-pile discipline is the actual difference between a designed centerpiece and a decorated pile.
Style note: Match the metal to the meal's mood: gold and black reads midnight-formal; silver and white reads frosty and bright; champagne and blush reads romantic.
Fixing note: Already own mixed metals? Let one dominate by count — roughly three gold pieces to every silver one — and the mix looks intentional instead of accidental.
You May Also Like: New Years Eve Party Decorations: Glam Home Party Ideas
3. Give It Height With a Clock, Candles or Branches

Photo credit: @lore_glamdecorstyle on Instagram
Height is what separates a centerpiece from a wreath lying flat. The classic New Year hero is a clock — a vintage-style clock face propped at the centre, a small mantel clock, or gold year numbers standing tall — because it tells the night's story at a glance. Ring it with taper candles in mixed holders for a little skyline of light.
No clock? Tall candlesticks, bottle-brush trees in metallic finishes, bare branches sprayed gold in a vase, or a stack of ornaments in a tall glass cylinder all give the same vertical lift. Group tall pieces near the middle and step downward toward the edges so the silhouette mounds gently.
Safety note: Real flames belong in stable holders or glass hurricanes, clear of any ribbon or greenery. Flameless tapers give the identical skyline with zero supervision.
Scale note: Height should be slim. Guests must see faces around tall pieces easily — if you cannot see a whole face across the table, swap one tall item for two short ones.
4. Nestle In Ornaments and Metallic Baubles

Now fill the base around your tall pieces with the shine layer: ornaments in your lead metal, small disco balls, metallic pinecones, gold-wrapped chocolates. Tuck pieces down onto the base at slight angles so they catch light, clustering them in odd-numbered groups rather than spacing them like eggs in a box.
Work colour strictly. All gold, gold with black, silver with white — whatever your step-two story says. The fastest way to make a homemade centerpiece look homemade in the wrong way is a cheerful scatter of unrelated colours; the fastest way to make it look expensive is ruthless consistency.
Budget note: Ornaments too scratched or faded for the tree are perfect here. Nestled among candles and baubles, their flaws vanish and only the colour works.
Texture note: Include at least one matte piece among the shine — a velvet ribbon coil, wooden beads, a linen napkin under the tray — so the metallics have something to gleam against.
You May Also Like: 24 Christmas Table Settings for a Beautiful Holiday Table
5. Thread Through Light: Fairy Strands and Tapers

Photo credit: @balsamhill on Instagram
Light is added late, once the shapes are set, so bulbs land where they flatter. A battery micro-light strand woven loosely through the ornaments gives glow-from-within; two or three tapers or votives give the warm flicker that makes metals move. Push some lights deep, leave others near the surface — varied depth is what reads as sparkle instead of a dotted line.
If you use real candles, they rise from the middle of the arrangement in proper holders. If your table will host children, elbows and enthusiastic toasts, choose good flameless candles and spend the savings on better ornaments — nobody at a dim table can tell, and everybody stays relaxed.
Lighting note: Test the centerpiece with the room lights off before dinner. New Year pieces live by candlelight, and a gap or glare is much easier to fix at 5 pm than at 9.
Safety note: Battery packs hide under the tray or behind the base, never under napkins or ribbon where heat and fabric meet.
6. Fill the Gaps With Texture
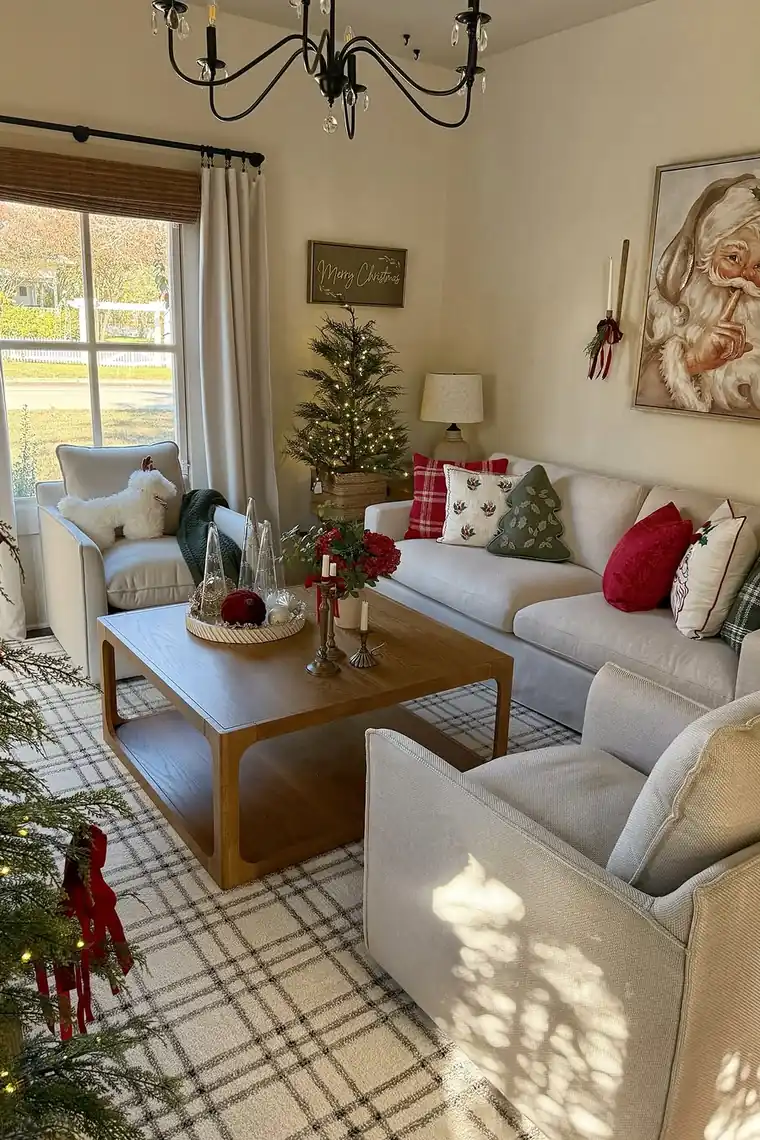
Photo credit: @mytexashouse on Instagram
With the shine in place, look for the dull spots — bare tray corners, shadow gaps between ornaments, anywhere the arrangement looks thin. Fill them with texture: a coil of velvet ribbon, a strand of gold beads, short greenery sprigs (faux for a piece that must last all evening), feathers for softness, or metallic tinsel picks cut into singles.
Push fillers down into the arrangement rather than laying them on top, so the piece looks grown rather than garnished. Step back after every few additions; texture disappears fast once candles are lit, and over-filling is what turns glam into clutter.
Budget note: This layer is nearly free — ribbon offcuts, bead garlands from the tree, leftover picks cut apart. One craft-store pick becomes three to five tuck-in pieces.
Fixing note: If the piece looks flat from the table ends, raise the whole base on a hidden book or stand before adding more. Height fixes flatness; more ornaments never do.
You May Also Like: 24 Winter Centerpieces for a Beautiful Seasonal Table
7. Add One Star Detail and Do the Every-Seat Check
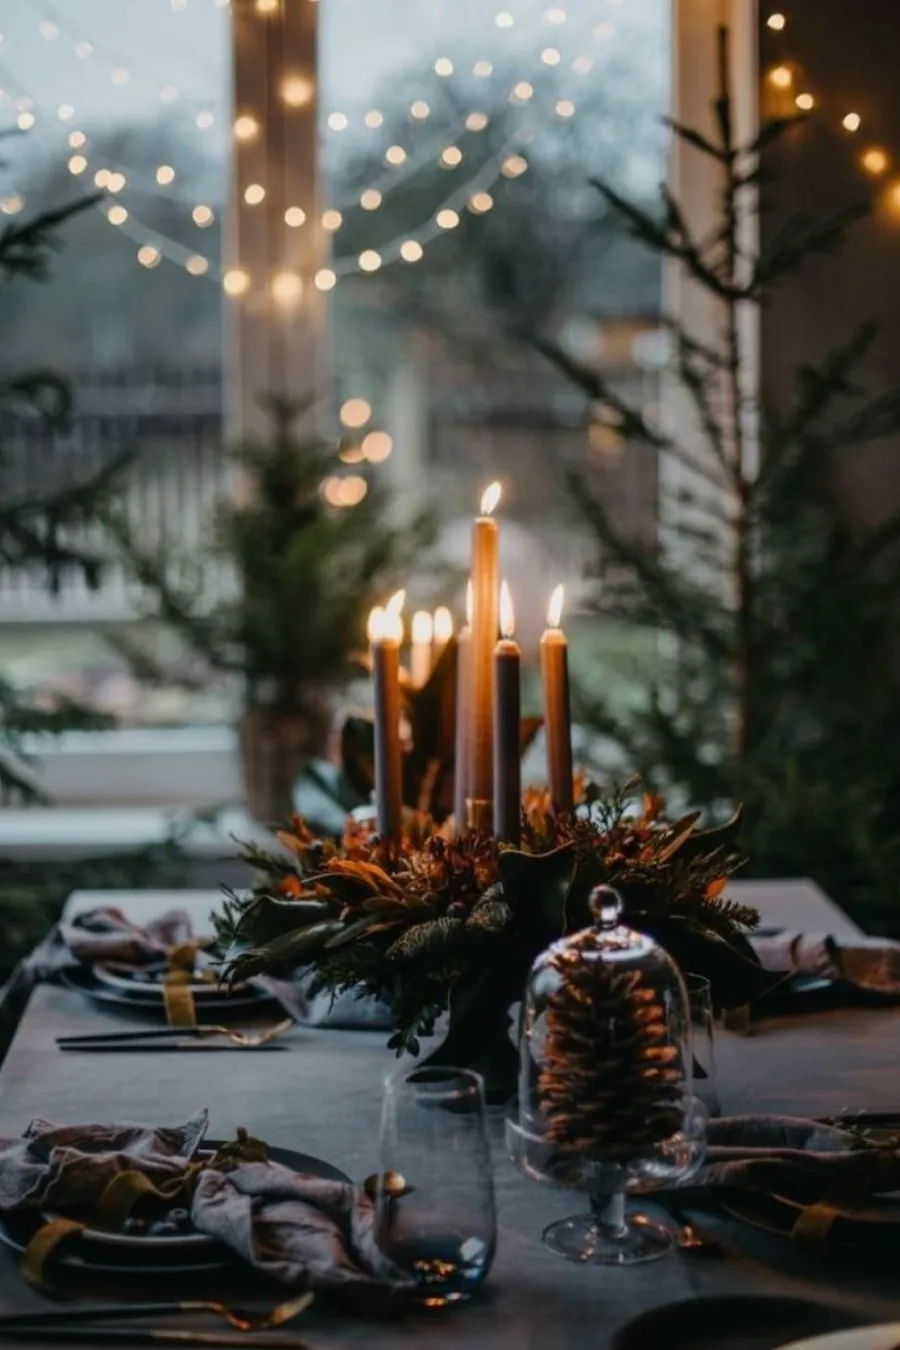
Photo credit: @mychristmasfairy on Instagram
Choose one star: a cluster of three finest ornaments, one small lantern, a star wand standing in the middle, the clock face itself. Fluff it, angle it toward the room's main view, and remove anything that competes with it. A calm arrangement with one hero always looks more expensive than everything shouting at once.
Then sit in every chair and check. Turn the piece a quarter at a time until each seat gets a good view; fill the one bare side every DIY piece seems to have with a tucked ornament or cone. Check sightlines, serving space and elbow room, and only then carry it to the table — or lift the whole tray, which is exactly why you built it on one.
Style note: Repeat your star's metal or colour once at each place setting — a napkin ring, an ornament favour — and the centerpiece and the table become one design.
Timing note: Build it the day before without candles lit. On the night you only add flames and final fluff, ten calm minutes instead of a craft emergency.
Three Centerpiece Recipes to Copy
Photo credit: @hilltown_house on Instagram
| Style | Base | You will need | Look |
|---|---|---|---|
| Midnight Clock | Silver tray or mirror plate | Clock face, taper candles, silver baubles, fairy lights | Classic, glamorous, photo-ready |
| Golden Glow | Gold tray or cake stand | Pillar candles, gold ornaments, velvet ribbon, pinecones | Warm, rich, candlelit luxury |
| Frosty Shine | Glass stand or white bowl | Mini disco balls, silver branches, white votives, beads | Bright, icy, modern sparkle |
Frequently Asked Questions
What are the easiest new year centerpiece ideas for beginners?
Start with a tray: place a small clock or three pillar candles in the middle, tuck gold or silver ornaments around them, weave in a battery fairy-light strand, and finish with a ribbon coil. Built in that order on the tray, it takes about twenty minutes and lifts off the table in one piece for serving.
How big should a New Year centerpiece be?
Aim for the middle third of the table's width and up to a third of its length, with the main body under about twelve inches tall. Tall slim pieces — tapers, branches, a standing clock — can go higher because guests see around them. Always check from a seated position.
Can I make a centerpiece without fresh flowers or greenery?
Yes, and for New Year it is usually better. Faux sprigs, ornaments, candles and metallic picks look convincing by candlelight, survive the whole party season, and store for next year. Add one soft texture like velvet ribbon so the shine does not feel cold.
How do I keep candles safe in a centerpiece?
Use stable holders or glass hurricanes, keep flames clear of ribbon and greenery, and place real candles only at the centre where they are hardest to knock. Flameless candles give the same silhouette anywhere children, pets or busy serving are involved.


One Comment