How to Decorate a Christmas Tree on a Budget: Simple Ideas
A beautiful Christmas tree does not have to mean a big shopping bill. Some of the prettiest trees are built from things you already own, a few well-chosen ribbons, and ornaments that are placed with intention rather than bought in bulk.
If you are wondering how to decorate a christmas tree on a budget, this guide walks you through the exact order decorators use, so your tree looks full, balanced, and expensive for much less. You will shop your home first, pick one colour story, and layer in cheap fillers before you spend anything on new pieces.
Work through the steps in order. Start with lights, add texture and filler, then hang your ornaments last. That simple sequence is what makes a low-cost tree look calm and considered instead of sparse and random.
1. Shop Your Home First
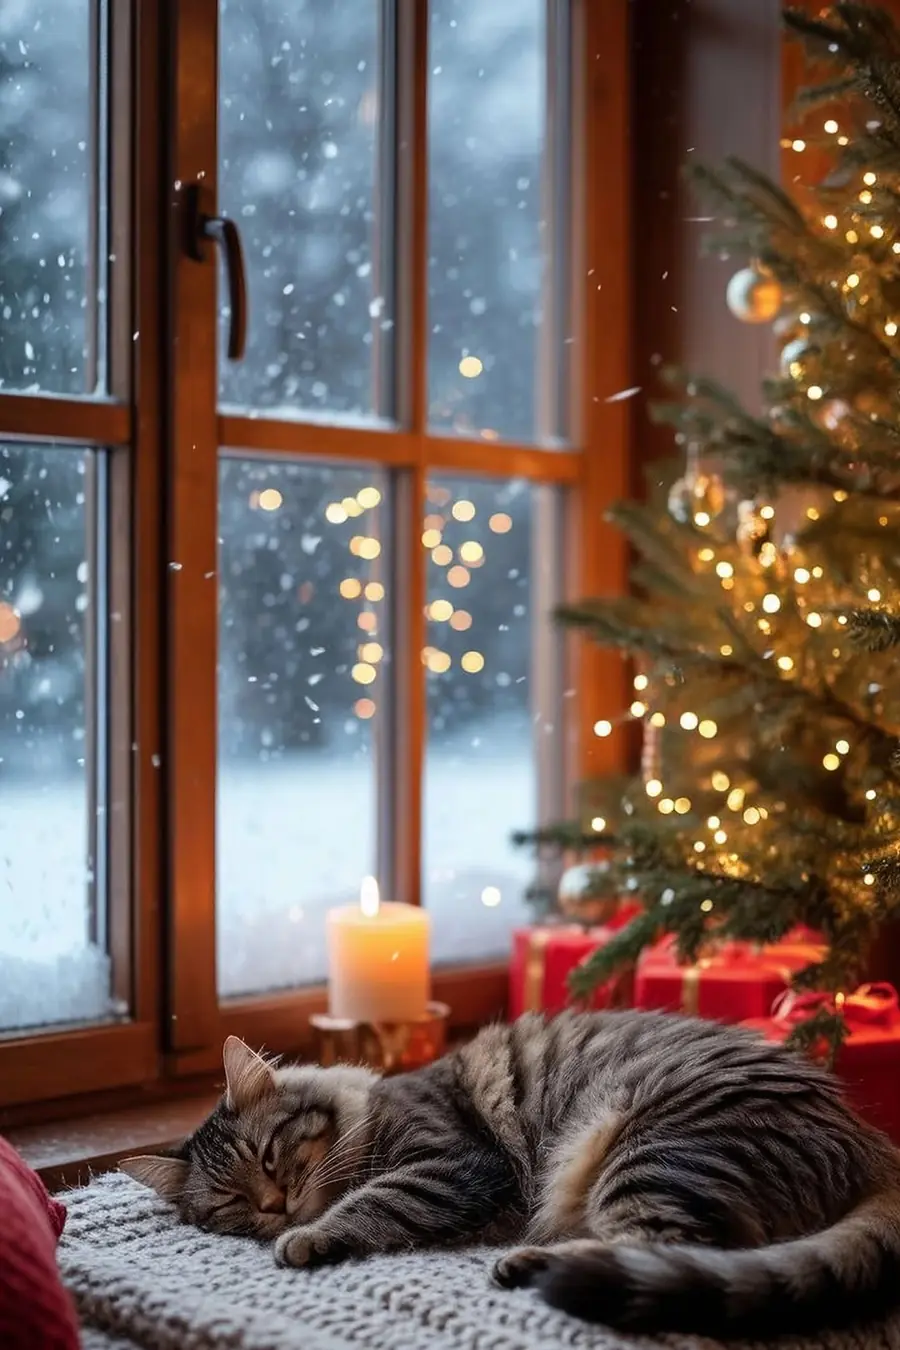
Photo credit: @mychristmasfairy on Instagram
Before you buy anything, pull out every Christmas box you already have and lay it all on the floor. Most of us own more than we remember — leftover baubles, a half-used roll of ribbon, gift wrap, string lights, and dried pinecones from last year. Seeing everything together instantly shows you what you actually need, which is usually far less than you thought.
Next, look beyond the Christmas boxes. Scarves and throw blankets can become a tree skirt, plain brown paper and twine can make ornaments, and kitchen items like cinnamon sticks, dried orange slices, and cookie cutters can all become charming decorations. This is the easiest way to decorate a christmas tree on a budget, because your starting cost is zero.
Budget note: Make a short “buy only this” list before you enter any shop. If it is not on the list, it does not come home with you.
2. Choose One Colour Story

Photo credit: @thechristmasdecorators on Instagram
The fastest way to make a cheap tree look expensive is to limit your colours. Pick two main colours and one metal, for example red and cream with gold, green and white with silver, or blush and champagne. When every ornament, ribbon, and filler belongs to the same small family, even inexpensive pieces look like a coordinated set.
If your existing ornaments are a mix of everything, do not replace them all. Choose the colour you already own the most of, use that as your base, and hide or donate the pieces that clash. A strict colour story also makes future shopping cheaper, because you only ever buy within your palette.
Colour note: Warm metals like gold and copper feel cosy under warm lights, while silver and clear glass suit cool, frosty colour stories.
Budget note: One roll of wired ribbon in your main colour can do more for the whole tree than a box of mixed novelty ornaments.
You May Also Like: 15 Brown Christmas Tree Ideas
3. Put Lights On Like a Pro

Photo credit: @thechristmasdecorators on Instagram
Lights are the glow that makes everything else look better, so take your time here. Work from the trunk outward, weaving the strand in and out along each branch rather than just wrapping the outside. This creates depth and makes a smaller number of lights feel much brighter and richer.
You do not need hundreds of extra bulbs. A good rule is about 100 lights for every foot of tree, and soft warm white almost always looks more expensive than multicolour or flashing settings. Step back every few minutes and crouch down to spot dark gaps before you move on to ornaments.
Lighting note: Test every strand before it goes on the tree. Replacing a dead strand halfway through decorating is far more frustrating than checking first.
Scale note: If you are short on lights, concentrate them on the front and sides that face the room. Nobody sees the back against the wall.
4. Use Ribbon Instead of More Ornaments
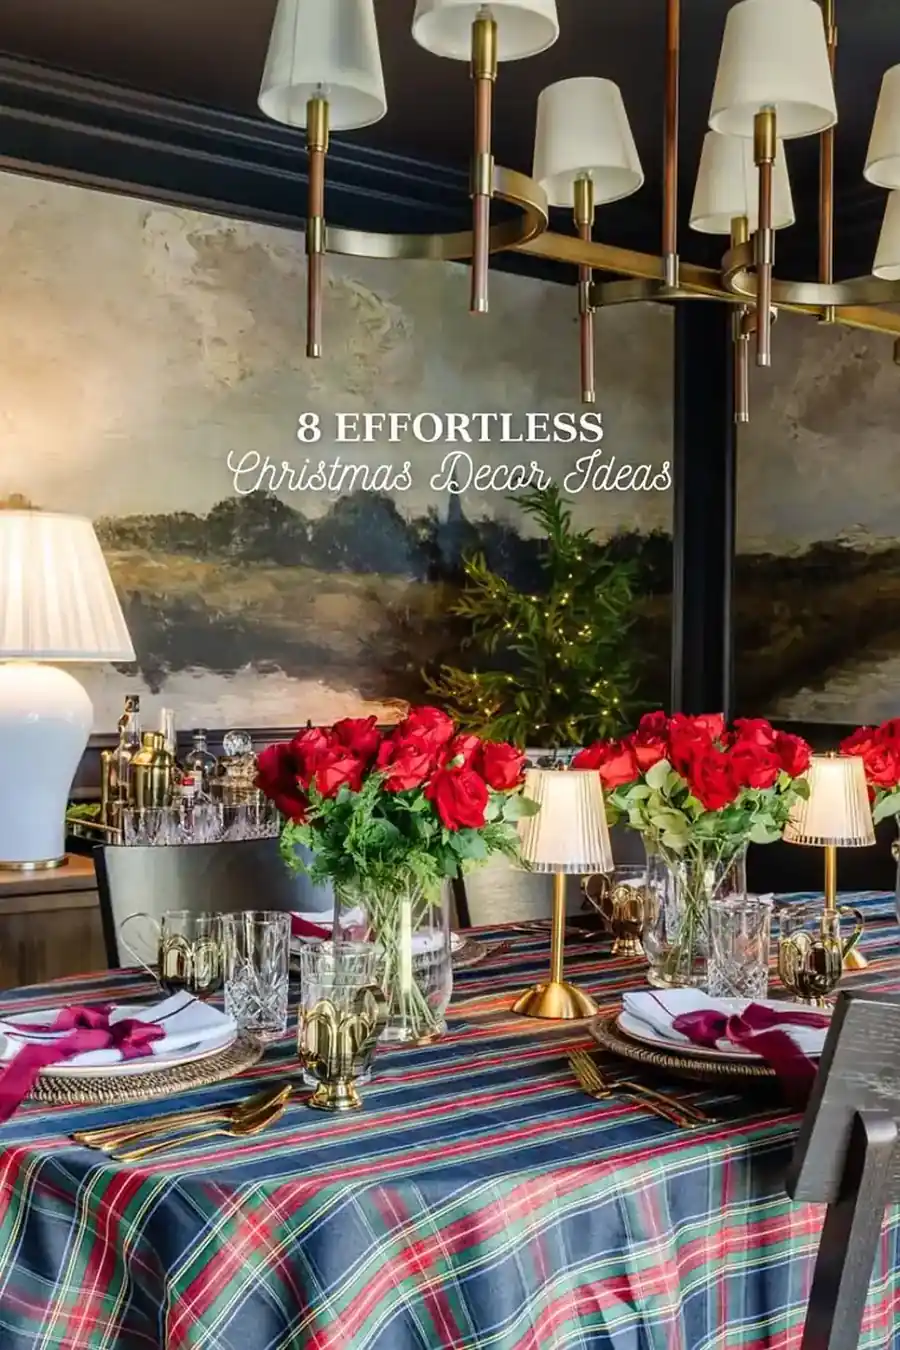
Photo credit: @blesserhouse on Instagram
Ribbon is the budget decorator’s secret weapon. One or two rolls of wired ribbon will cover more visual space than a whole box of baubles, and it adds the soft, flowing movement that makes a tree look professionally styled. Cut your ribbon into pieces around two to three feet long instead of using one continuous roll.
Tuck the ends deep into the branches and let the middle billow out, working in a loose zigzag down the tree. Repeat the same rhythm all the way around so the tree feels balanced from every angle. Velvet, burlap, and satin-look wired ribbons all photograph beautifully and cost very little.
Budget note: Buy ribbon after Christmas for next year if you can — the same rolls are often 70% off in January.
Texture note: Pair one smooth ribbon with one textured ribbon, like satin with burlap, for richness without extra colour.
You May Also Like: 90s Christmas Tree Ideas: Nostalgic Looks to Recreate
5. Add Cheap Fillers for a Full Look
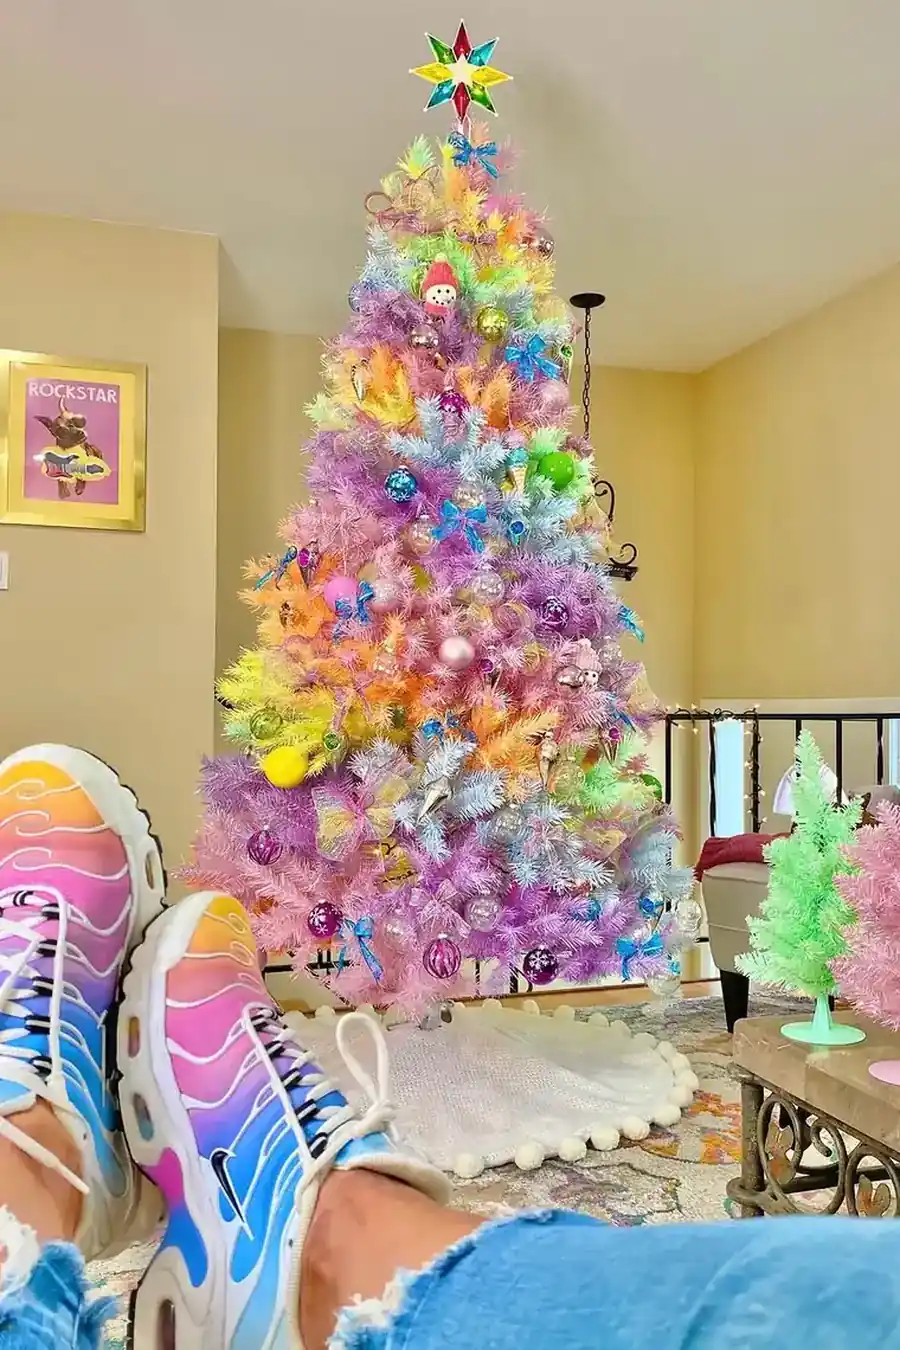
Photo credit: @danastargazertruitt on Instagram
A tree looks sparse when you can see straight through it. Fillers fix that for pennies. Push clusters of pinecones, faux berry stems, eucalyptus sprigs, or even branches clipped from your garden deep into the gaps first. These larger pieces create fullness so you need far fewer ornaments to finish the tree.
Dollar stores and craft shops sell floral picks and berry stems that look surprisingly real once they are tucked in. Three to five stems, cut apart and spread around, can transform a thin tree. Natural fillers like dried oranges, cinnamon bundles, and wooden beads add warmth and work with almost any colour story.
Budget note: Always add fillers before ornaments. Filling gaps first means fewer baubles to buy and a tree that looks full from day one.
Texture note: Mix one matte filler, like pinecones, with one shiny filler, like berries or beads, so the tree catches light at different levels.
6. Make Simple DIY Ornaments
Photo credit: @hilltown_house on Instagram
Homemade ornaments are where you save the most money and add the most character. Paper snowflakes, folded paper stars, and simple origami shapes cost almost nothing and look elegant in cream, white, or kraft brown. Dried orange slices threaded with twine glow beautifully when the lights shine through them.
Salt dough ornaments are another favourite — just flour, salt, and water, rolled and cut with cookie cutters you already own. Paint them in your chosen colour story or leave them plain and rustic. Making a small batch each year slowly builds a collection that feels personal instead of shop-bought.
Budget note: Choose just one DIY project per year. One style repeated twelve times looks intentional; six different crafts can look messy.
Colour note: Keep DIY pieces inside your two-colour palette so handmade items blend seamlessly with your bought ornaments.
You May Also Like: Vintage Christmas Decor Ideas
7. Hang Ornaments Using the Triangle Method
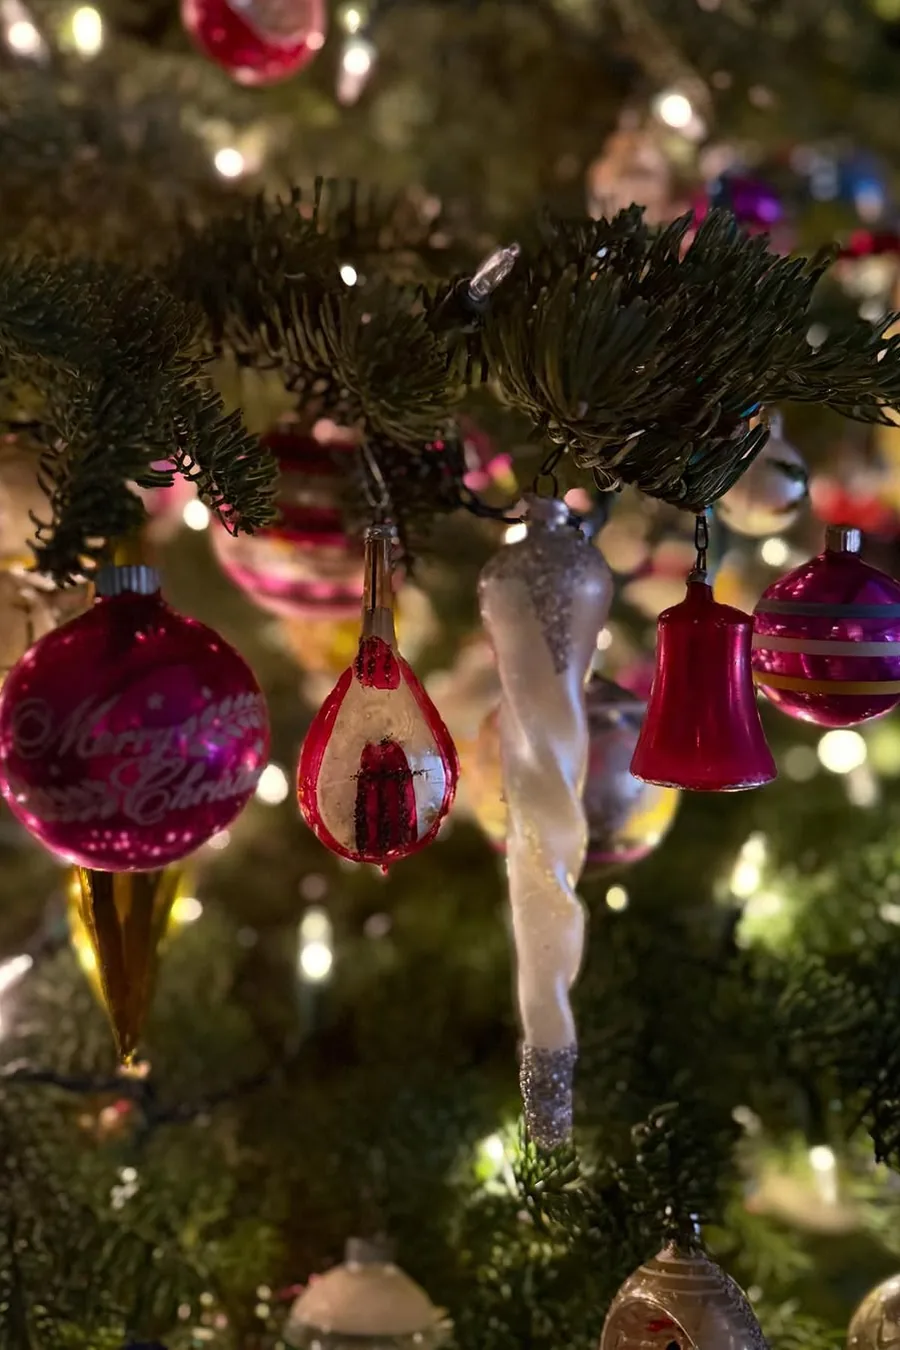
Photo credit: @midmodmarion on Instagram
Random hanging is the main reason a tree looks unbalanced. Instead, decorate in triangles. Hang your largest ornaments first, placing three of the same colour or style in a loose triangle shape, then repeat that pattern around and down the tree. Your eye reads the repetition as calm and deliberate.
Next, add medium ornaments to fill the spaces between your triangles, and finish with the smallest pieces near the tips of branches. Keep special or favourite ornaments at eye level on the front of the tree. Stepping back between each layer helps you keep the balance even without buying a single extra bauble.
Scale note: Large ornaments belong lower and deeper in the tree, small ornaments higher and further out on the branch tips.
Budget note: You likely own enough ornaments already — this method simply makes the ones you have look like more.
8. Finish With a Budget Topper and Skirt

Photo credit: @thechristmasdecorators on Instagram
The topper and the base are the finishing touches people notice, yet both can be nearly free. A big bow made from your leftover ribbon, a cluster of filler stems tied together, or a paper star can all replace an expensive shop-bought topper. What matters is scale — your topper should be wide enough to balance the fullest part of the tree.
For the skirt, fold a throw blanket, a piece of burlap, a woven basket with the bottom removed, or even a soft scarf around the base. This hides the stand, catches fallen needles, and grounds the whole tree. A neat base makes the entire display look intentional, even if every ornament on it was homemade.
Budget note: A basket or wooden crate you already own works perfectly as a tree collar and costs nothing to reuse each year.
Scale note: If your topper looks lost, add two short filler picks behind it to give it height and presence without buying anything new.
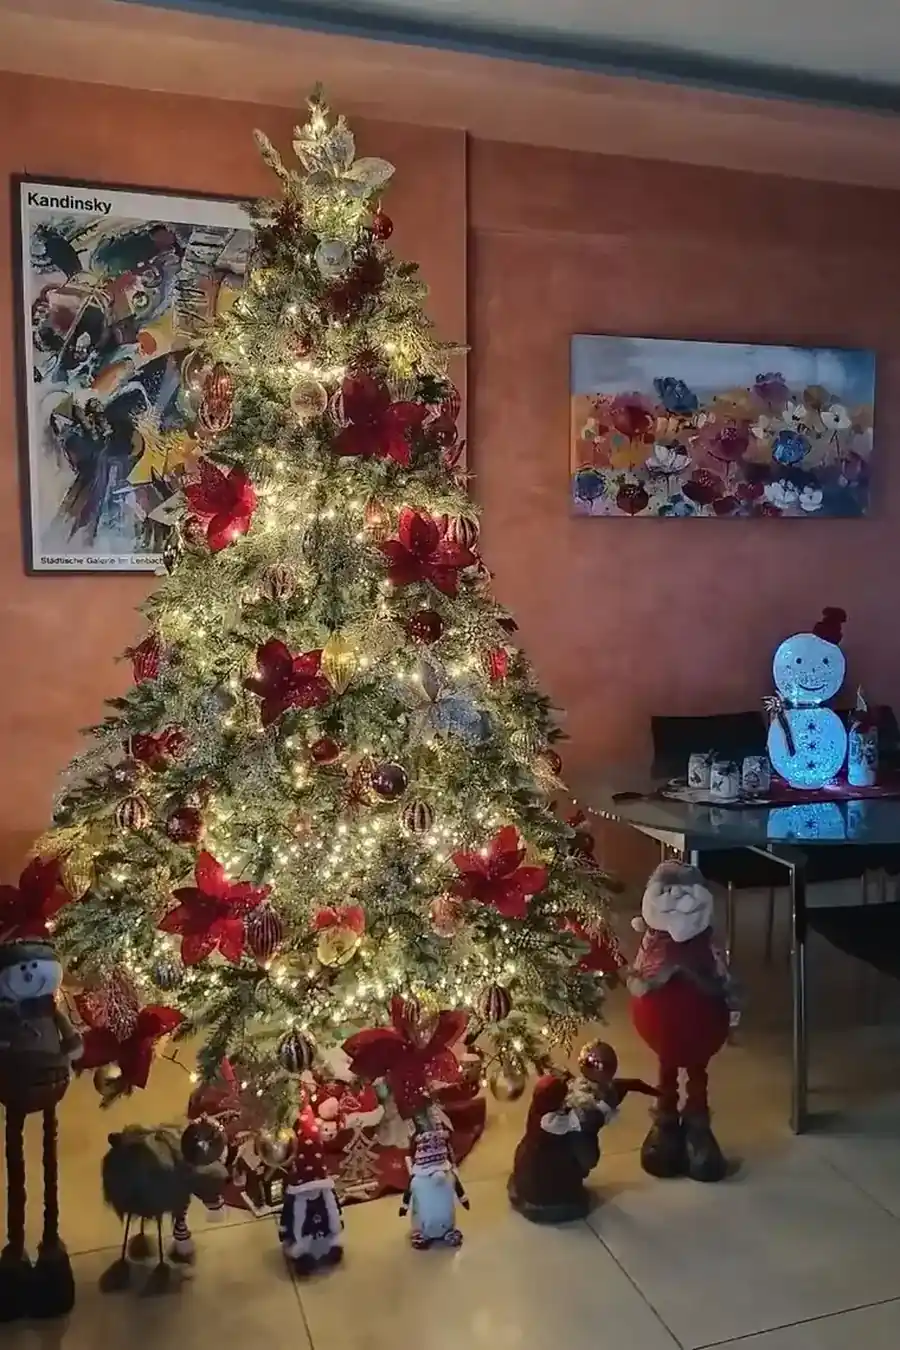
Decorating Formula
| Base | Start with warm white lights woven from the trunk outward, then add your ribbon in loose, even billows down the tree. |
| Colour | Stick to two main colours plus one metal across every ornament, ribbon, and filler so inexpensive pieces look like a set. |
| Texture | Layer at least three textures — something soft like ribbon, something natural like pinecones, and something shiny like glass. |
| Filler | Fill every see-through gap with pinecones, berry stems, or greenery before hanging ornaments, so you need fewer baubles overall. |
| Sparkle | Place your shiniest ornaments where the lights hit them best, at eye level and toward the outer branch tips. |
| Finish | Add one clear focal topper, hide the stand with a blanket, basket, or burlap skirt, then step back and adjust the gaps. |
Frequently Asked Questions
How much does it cost to decorate a Christmas tree on a budget?
You can decorate a full, beautiful tree for $25 to $60 if you shop your home first and spend mainly on ribbon, lights, and a few filler stems. If you already own lights and basic ornaments, your only real costs may be one new ribbon roll and a few craft supplies for DIY pieces.
How many ornaments do I need for a 6-foot tree?
For a full look, aim for around 60 to 80 ornaments on a 6-foot tree when you also use ribbon and fillers. Without fillers you may need closer to 100, which is why adding pinecones, picks, and ribbon first is one of the best tricks for how to decorate a christmas tree on a budget.
What is the cheapest way to make a tree look full?
Add large fillers before any ornaments — pinecones, berry picks, eucalyptus, or garden branches tucked deep into gaps. Follow with wide wired ribbon, then hang your biggest ornaments low in the tree. This order hides thin spots so a modest ornament collection looks generous.
Can I mix old ornaments in different colours?
Yes, as long as you edit them down. Choose the colour you own most of as your base, group similar shades together using the triangle method, and remove the few pieces that clash. Adding one unifying ribbon colour across the whole tree also pulls a mixed collection together.
What can I use instead of a tree skirt?
A folded throw blanket, a scarf, a piece of burlap, a woven basket, or a wooden crate all work beautifully and cost nothing if you already own them. Choose a neutral fabric inside your colour story so the base looks calm and intentional rather than like an afterthought.
You Would Also Love
💬 Join Our Decor Community
Decor Fern | Home Decor Ideas & Inspiration — share your rooms, get ideas, and chat with fellow decor lovers.
Join the Facebook GroupFollow on Facebook
2 Comments