How to Decorate a Christmas Tree Like a Designer Pro
Have you ever finished decorating your tree, stepped back, and felt like something was just… off? The ornaments are pretty, the lights are on, but it does not have that polished, magazine-ready look you were hoping for. You are not alone — and it is rarely about buying more expensive decorations.
Designers do not decorate by randomly hanging what they love and hoping for the best. They follow a simple order, they repeat colours and shapes on purpose, and they know when to stop. Learning how to decorate a christmas tree like a designer is mostly about layering with intention, not spending more money.
In this guide, I will walk you through the exact process professionals use, from choosing a palette to the final five-minute edit. Follow it once, and you will be able to reuse the same system every year, even if you change your theme completely.
1. Build a Tight Colour Palette
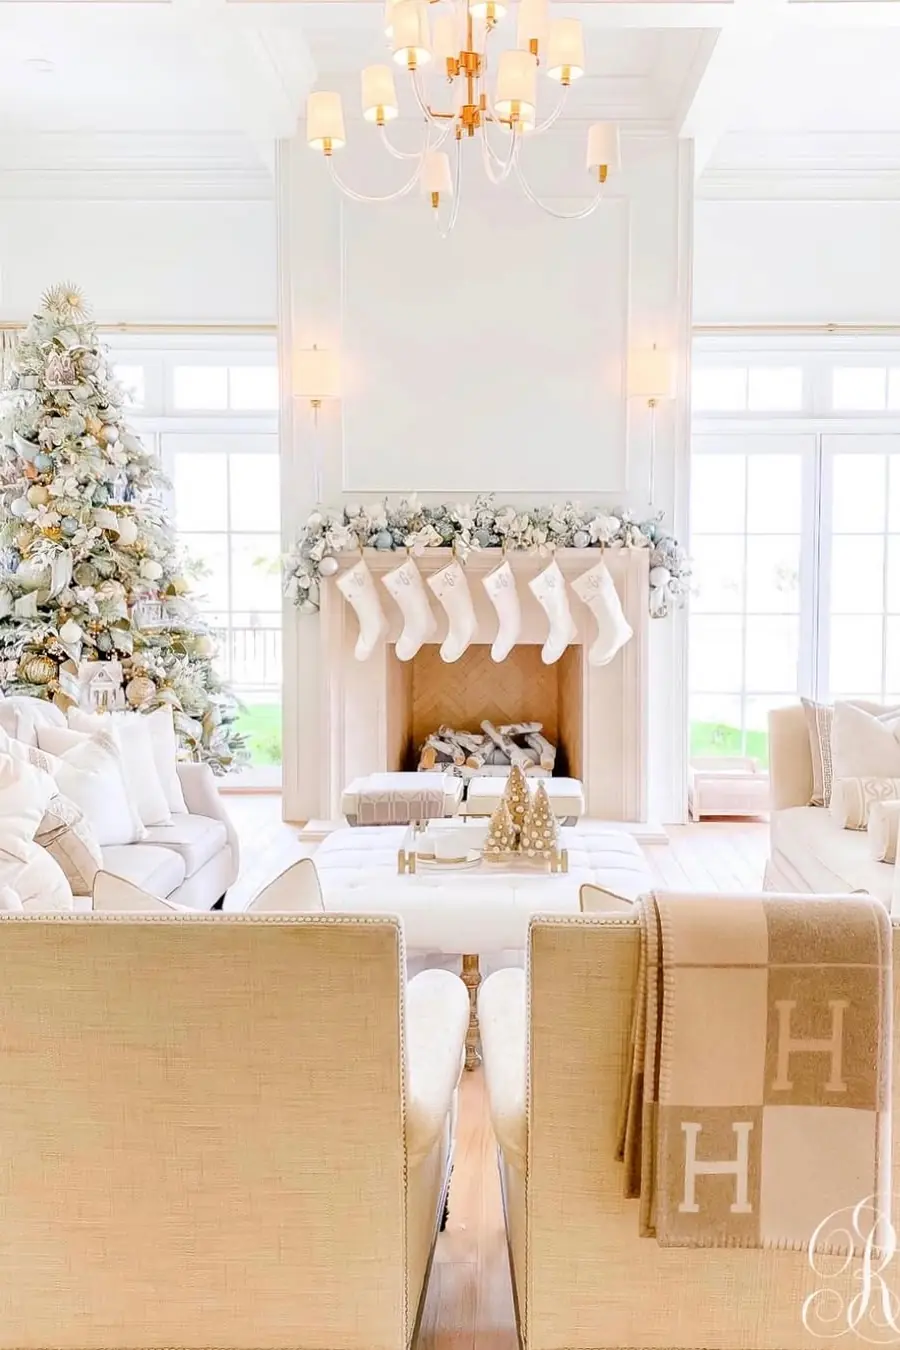
Photo credit: @randigarrettdesign on Instagram
Every designer tree starts before a single ornament comes out of the box. Choose two or three main colours, then add one metal to tie them together. For example: deep green, cream, and burgundy with antique gold, or icy blue, white, and silver with a touch of champagne. That limited palette is what makes a tree look expensive and calm, even when the ornaments themselves are budget finds.
Once you have your palette, edit ruthlessly. Pull out every ornament that does not fit and set it aside — you do not have to use everything you own every year. A good rule is 60% your main colour, 30% your secondary colour, and 10% your accent or metal. That ratio keeps the look balanced without feeling matchy-matchy.
Colour note: If you love a colourful family tree, keep sentimental ornaments but group them in one colour family per branch cluster. You still get the memories, but the tree reads as intentional instead of chaotic.
Designer note: Take a photo of your palette laid out on the floor before you start. If it does not look good flat, it will not look good on the tree.
2. Layer Your Lights for Depth
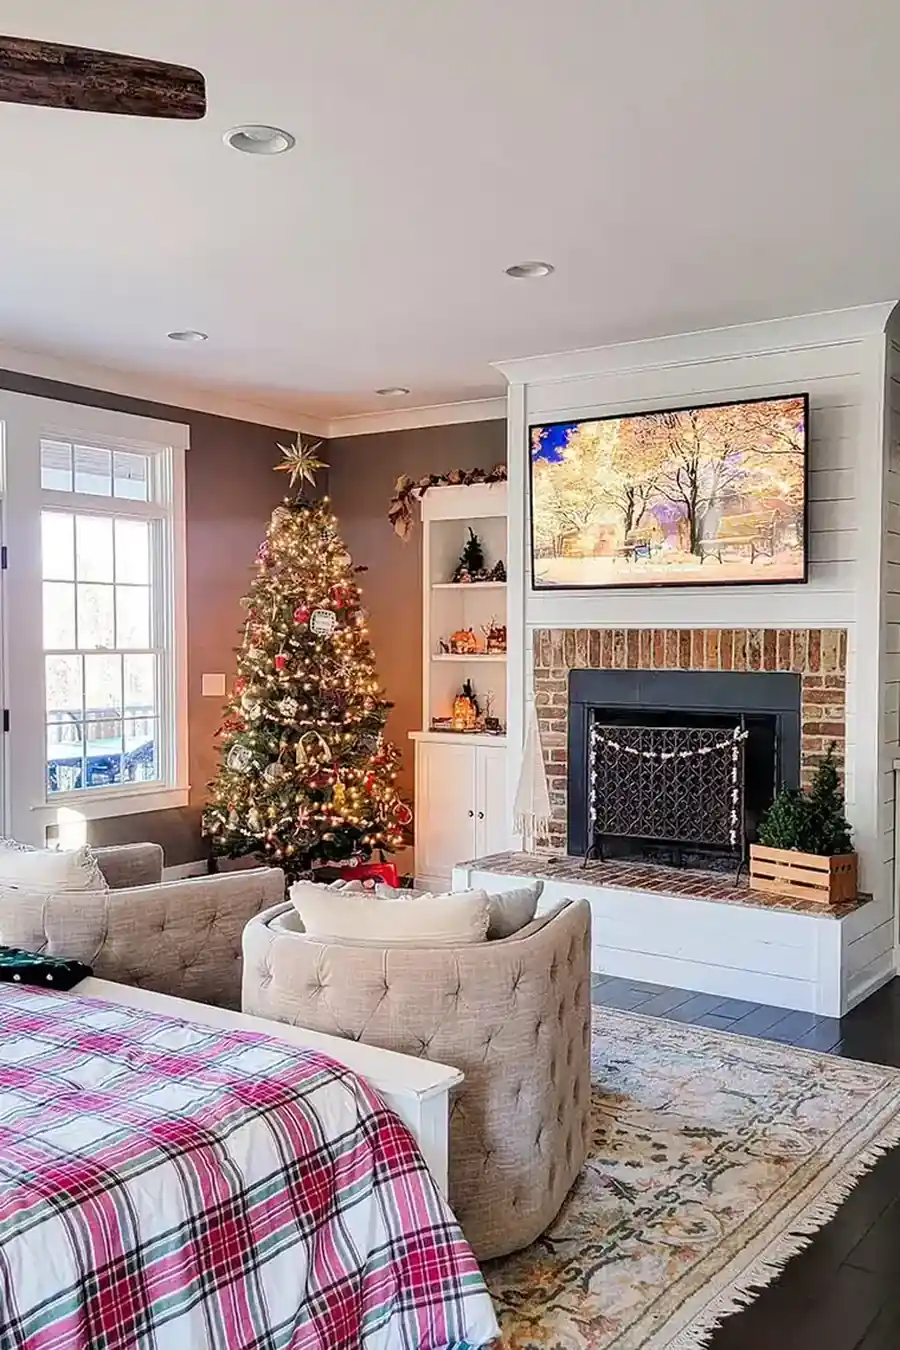
Photo credit: @lovehurtts on Instagram
Most people wrap lights only around the outside of the tree, which is why so many trees look flat in photos. Designers layer lights at three depths: tight against the trunk, mid-branch, and at the tips. That inner glow is the secret to depth — it makes the tree look lit from within, not just outlined.
As a guide, plan on about 100 lights per foot of tree for a soft glow, and closer to 150-200 per foot if you love a bright, sparkly look. For a 7.5-foot tree, that is roughly 750-1,000 lights. Work in small sections, weaving the strand in and out along each branch instead of circling the whole tree in one go.
Lighting note: Mix warm white strands only — do not combine warm and cool white on the same tree. If your pre-lit tree is cool-toned, add warm fairy lights deep inside to soften it.
Designer note: Plug lights in while you work and step back every few branches. It is much easier to spot dark holes now than after all the ornaments are on.
You May Also Like: 25 Christmas Tree Ideas for 2026
3. Add Ribbon or Picks as Your Story
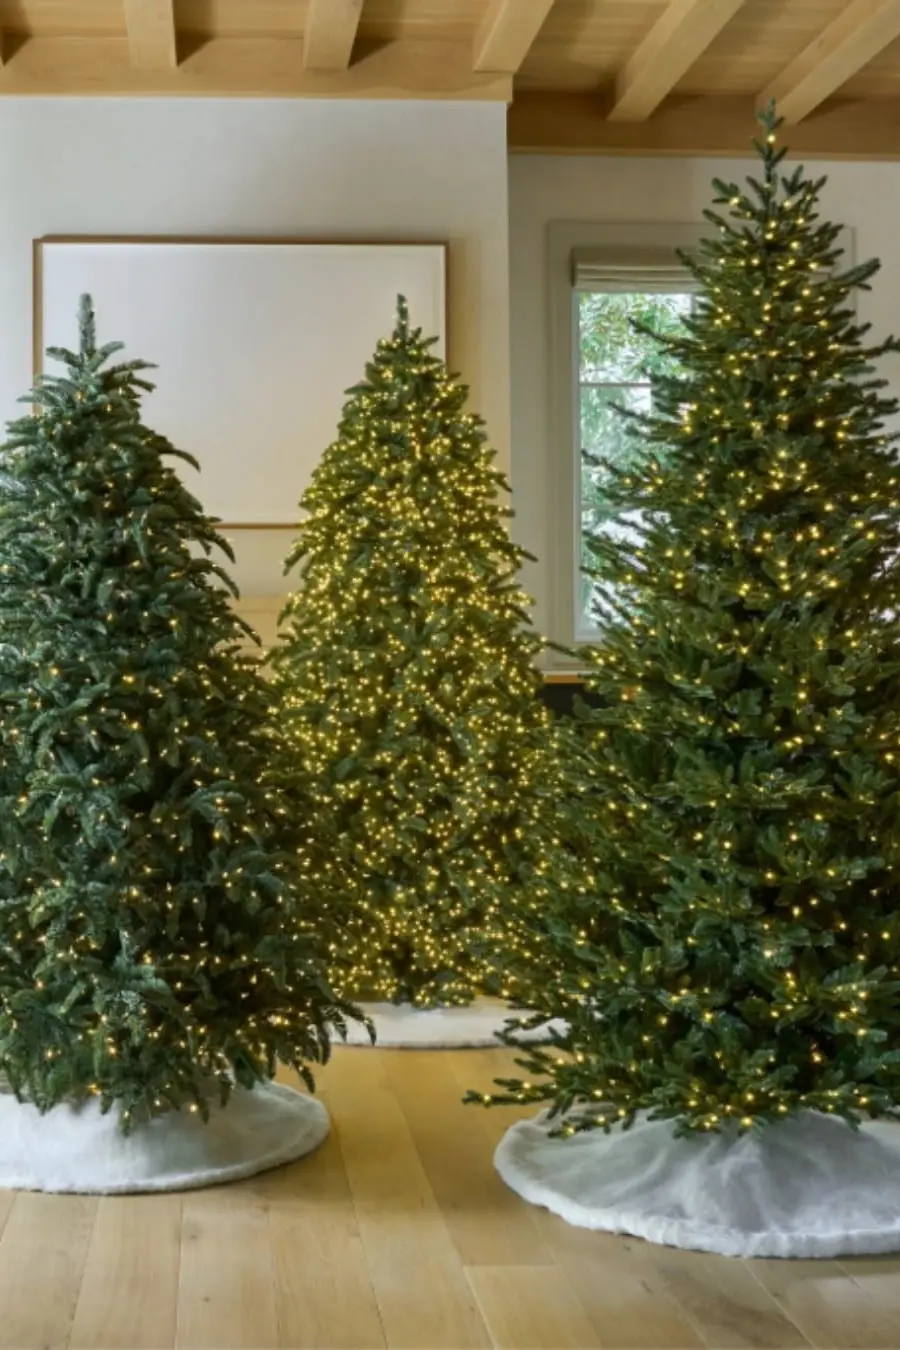
Photo credit: @balsamhill on Instagram
After lights, designers add ribbon, garland, or decorative picks before any ornaments. Think of this as the ribbon story — it creates movement and guides the eye around the tree. Wired ribbon in 2.5 to 4-inch width works best because you can shape it into soft loops and tails that hold their form.
Cut ribbon into 18 to 24-inch strips instead of wrapping one long piece around the tree. Tuck one end deep into the branches, let it billow out, then tuck again, creating a gentle wave. Work in a loose diagonal or vertical cascade and repeat it 5 to 7 times around the tree. Berry picks, eucalyptus sprays, or glitter branches can do the same job if ribbon is not your style.
Scale note: For a standard 7.5-foot tree you will need about 30-40 feet of ribbon total. Buy one extra roll — running out mid-tree and finding a dye-lot mismatch is a classic headache.
4. Decorate in Triangles and Threes
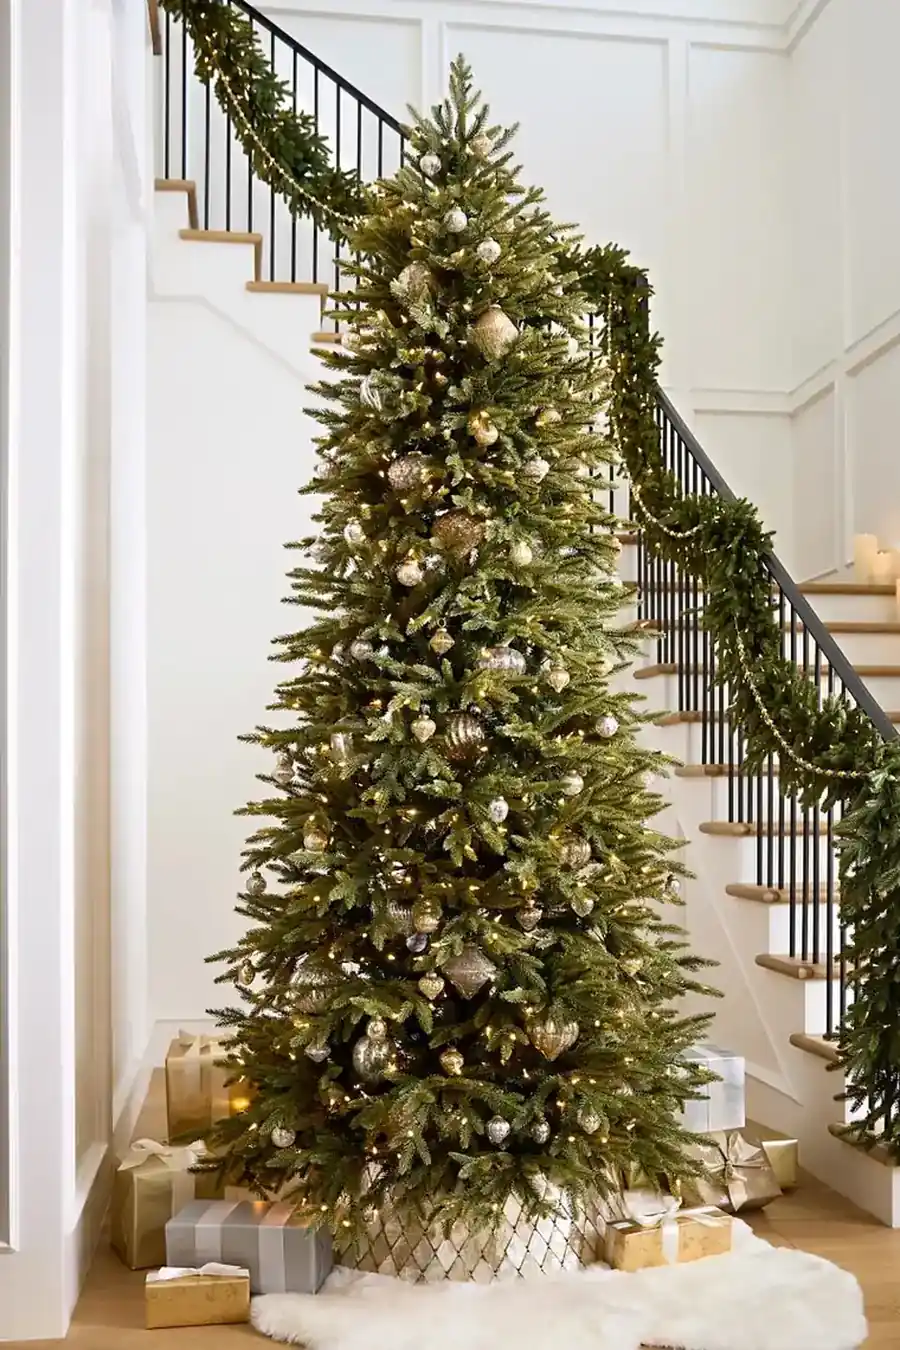
Photo credit: @balsamhill on Instagram
This is the placement trick that changes everything. Instead of scattering ornaments evenly, designers place the same colour, shape, or ornament type in a triangle formation. Put one near the top third, one at mid-height on the opposite side, and one lower down. Your eye connects the three points, and suddenly the whole tree feels balanced.
Work in threes as you go. Hang your largest ornaments first and form triangles with them, then step back and fill in with medium ornaments using the same idea. You do not need to measure — just keep asking, "Where is the third point of this triangle?" It stops that heavy-on-one-side feeling that is so hard to fix at the end.
Designer note: Odd numbers look more natural than even ones. Three or five of a special ornament will always read better than two or four spaced evenly apart.
You May Also Like: 23 Christmas Tree Trends 2026 for a Stylish Holiday Home
5. Mix Sizes, Finishes and Textures
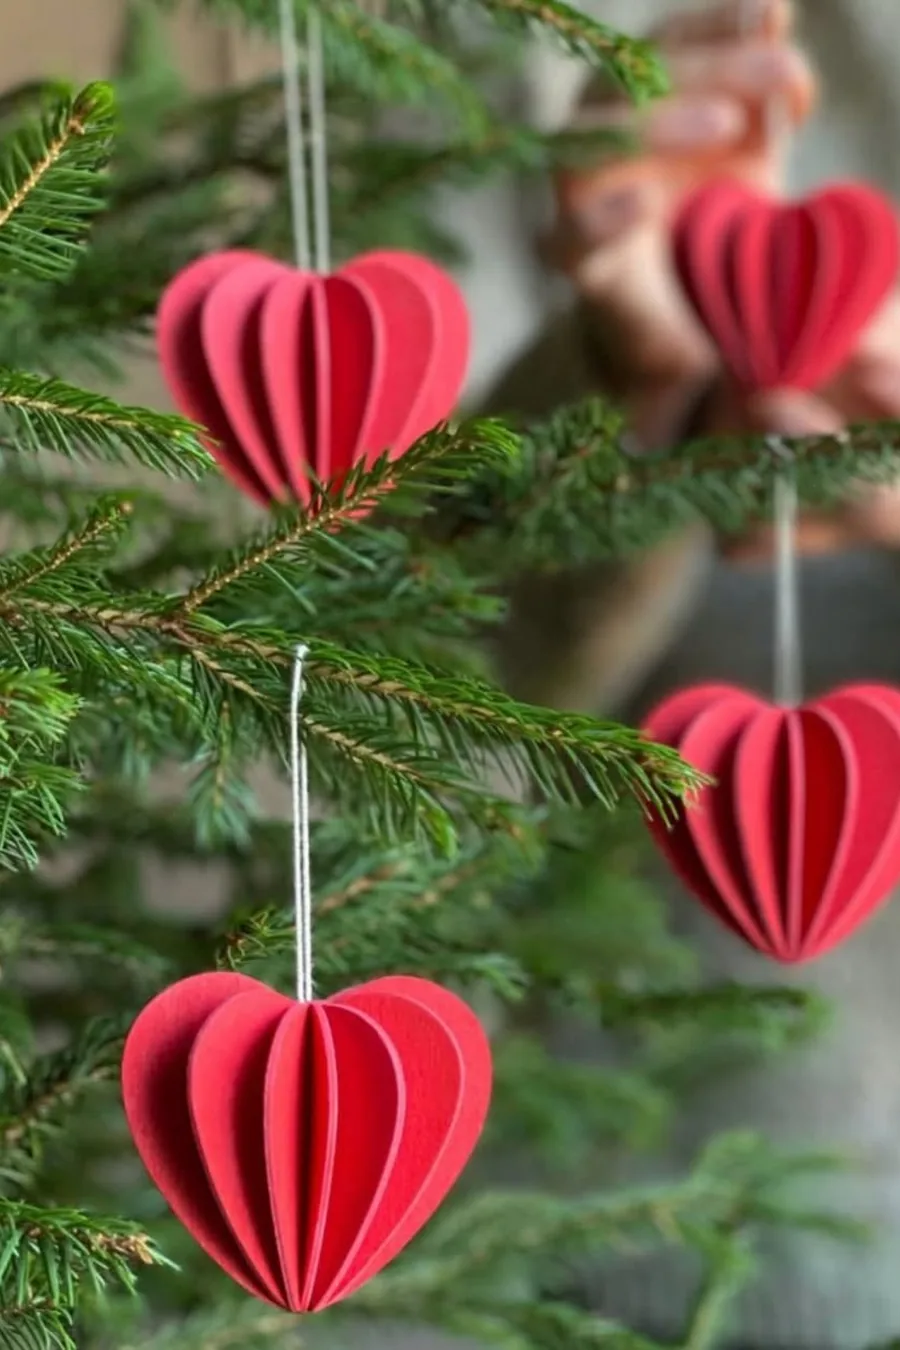
Photo credit: @destinyetikoofficial on Instagram
A tree decorated with only one size of shiny bauble will always look like a shop display. Designers mix three sizes: large 4 to 6-inch ornaments deep inside to fill volume, medium 3-inch ornaments as the main layer, and smaller 2-inch or accent pieces at the tips. That size graduation creates depth even before you add anything fancy.
Finishes matter just as much. Combine matte, shiny, and glitter or textured versions of the same colour. Matte absorbs light and adds calm, shiny reflects and adds sparkle, and glitter or beaded pieces catch light in a different way again. Aim for roughly equal thirds, and cluster different finishes near each other instead of grouping all the shiny ones together.
Scale note: Push the biggest ornaments further into the tree, almost against the trunk. They fill dark gaps and make the outer, smaller ornaments look more delicate and layered.
Colour note: If a colour feels too strong, soften it by pairing a matte version next to it. Matte cream next to shiny gold, for example, stops gold from looking brassy.
6. Anchor with Oversized Statement Pieces

Photo credit: @lucyyoungthecook on Instagram
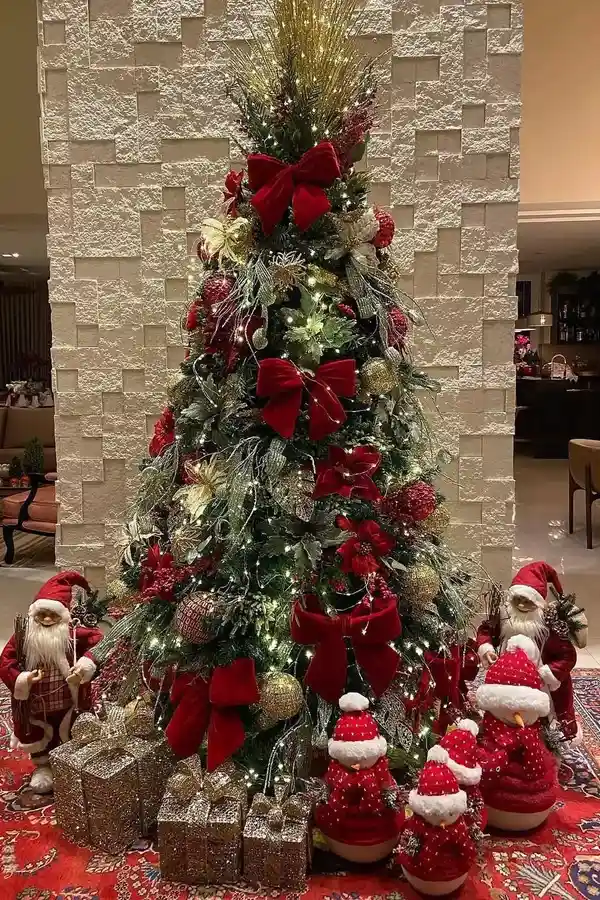
Every designer tree has a few heroes — oversized flowers, large bells, big bows, clustered baubles wired together, or a dramatic topper that earns its place. These statement pieces anchor the design and give the smaller ornaments something to support. Without them, a tree can look busy but forgettable.
You only need 5 to 9 statement moments on a full-size tree. Place the largest one slightly off-centre at about eye level, then balance the others in loose triangles above and below. Wiring three regular baubles together into a cluster instantly creates a statement piece without buying anything new, and it fills space much faster than single ornaments.
Designer note: Statement pieces should still match your palette. One oversized red poinsettia on an otherwise blush and gold tree will pull all the attention for the wrong reason.
You May Also Like: 20 Ralph Lauren Christmas Tree Ideas
7. Fill Gaps with Florals, Picks and Branches
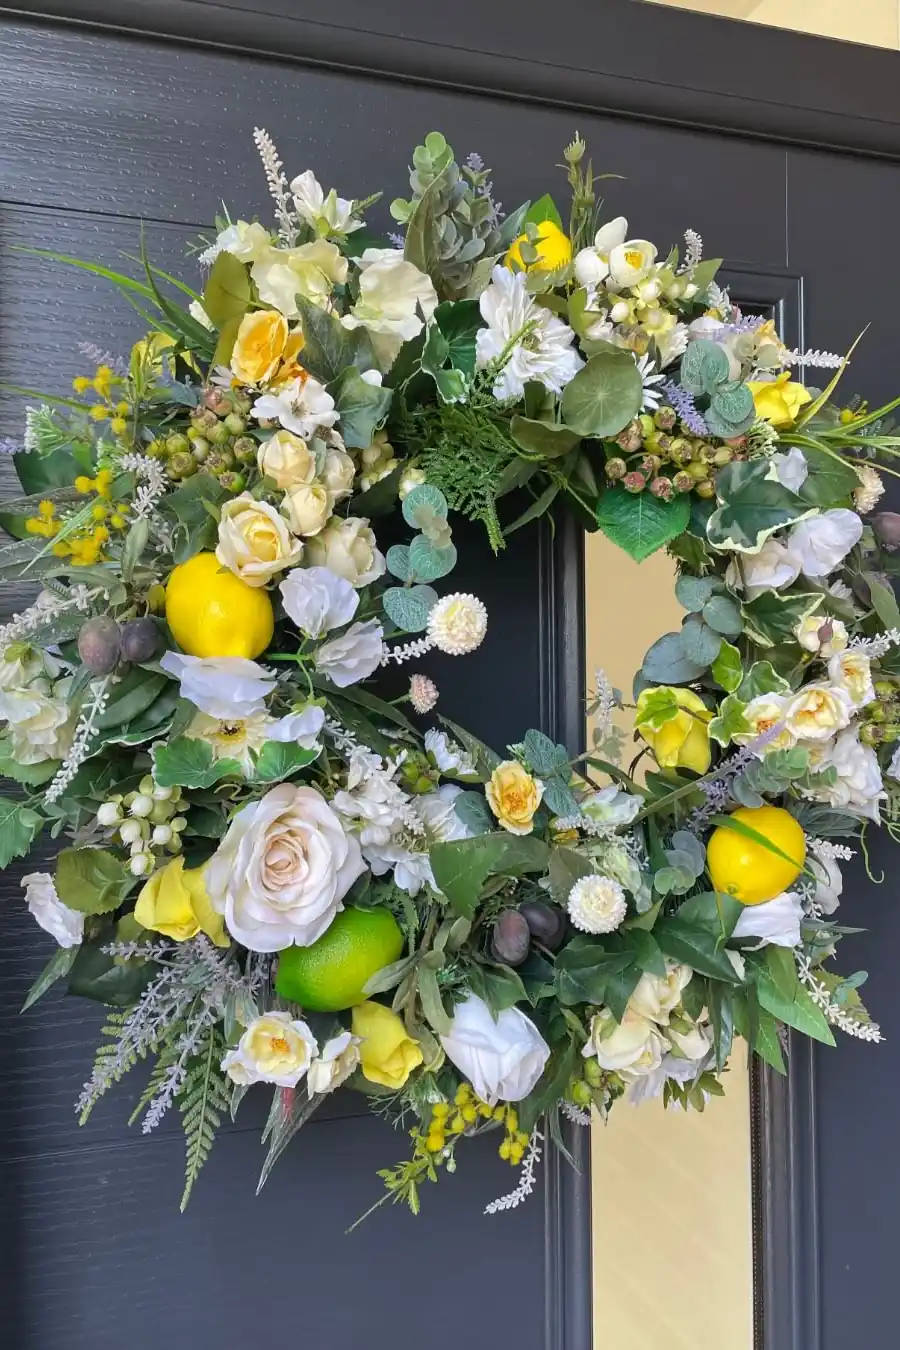
Photo credit: @thechristmasdecorators on Instagram
Once your main ornaments are on, step back and look for holes, dark patches, and skinny spots where you can see straight through the tree. This is where florals, picks, and extra branches come in. Designers almost never leave this step out — it is what makes a tree look lush and finished in photos.
Insert picks at a slight upward angle so they look like they are growing out of the branches, not just stuck on top. Use 12 to 18 picks on a 7.5-foot tree, repeating the same type in triangles just like ornaments. Frosted branches add winter texture, berry sprays add colour without more baubles, and faux florals in your palette soften hard edges beautifully.
Designer note: Fill from the inside out. A pick placed 6 inches deep will hide a gap far better than three small ornaments hung on the very tips.
Lighting note: Keep picks and florals a few inches away from the hottest bulbs, especially on older light strands. LED lights run cooler and give you more freedom here.
8. Step Back, Squint and Edit
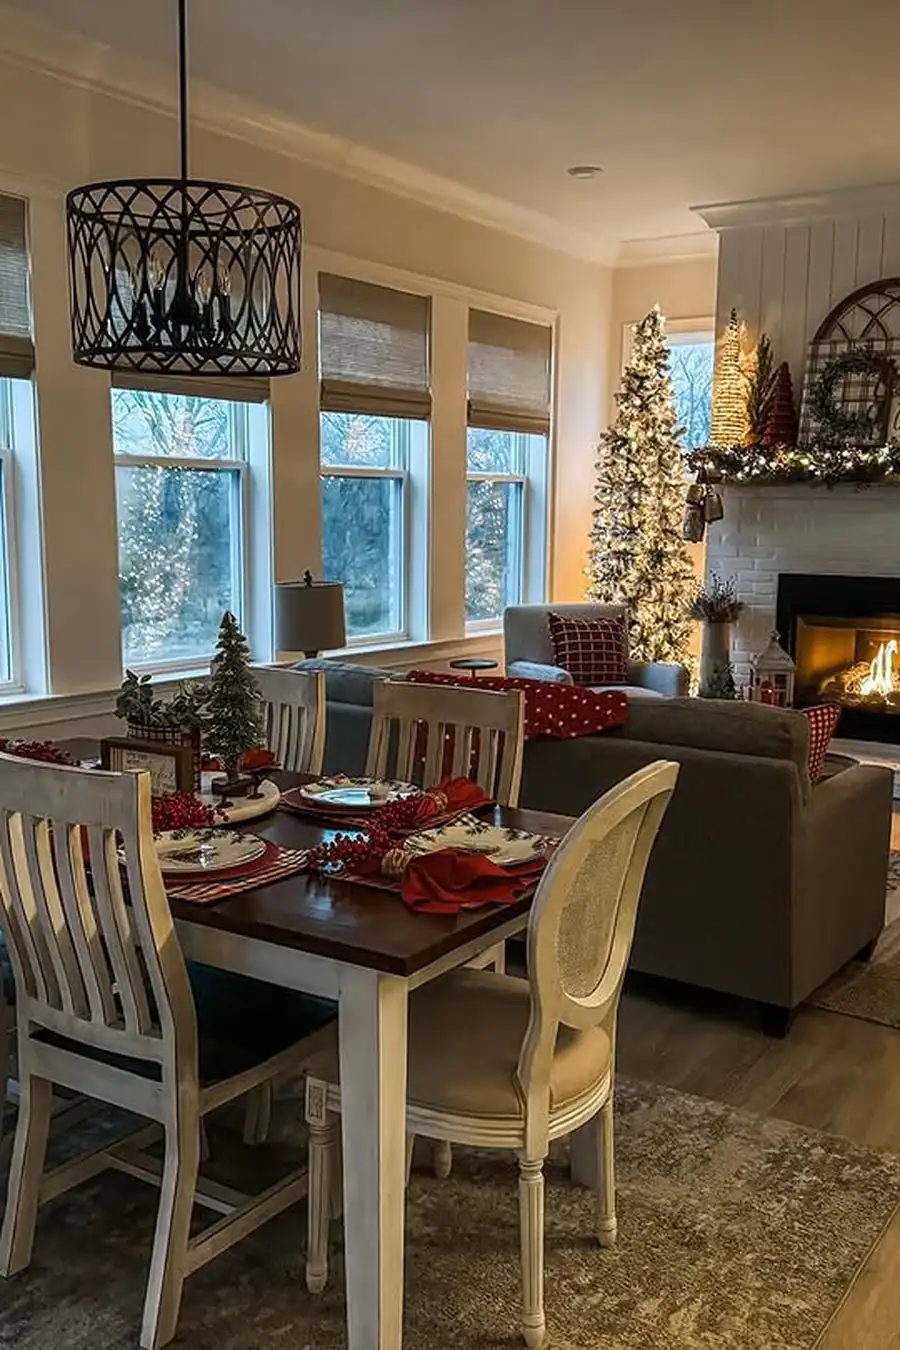
Photo credit: @wilshire_collections on Instagram
The final step is the one most of us skip, and it is the most designer of all: editing. Stand at least 8 to 10 feet back, squint slightly, and look for areas that feel heavier, brighter, or more colourful than the rest. Take a phone photo — the camera flattens everything and reveals balance problems your eye misses in person.
Move one ornament at a time, not five. Often a tree does not need more decorations; it needs two ornaments swapped or one cluster removed. Designers will happily take 10% off a finished tree. That restraint is exactly how to decorate a christmas tree like a designer without it tipping into cluttered.
Designer note: Do your final edit in the evening with only the tree lights on. That is how most people will actually see it, and warm light hides and reveals different things than daylight.
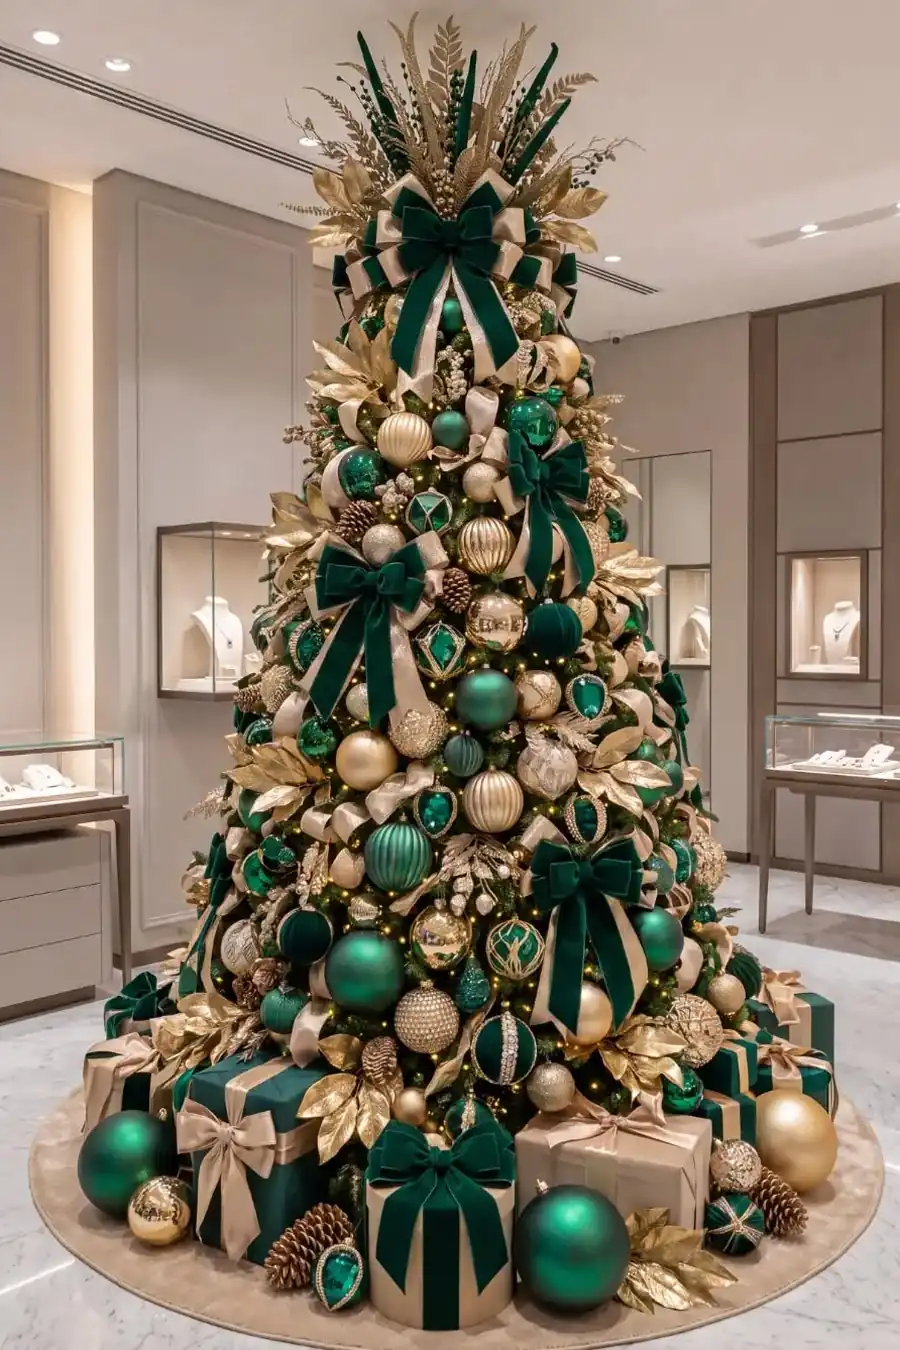
Decorating Formula
| Palette | Stick to 2-3 colours plus one metal, split roughly 60/30/10 so the tree feels calm and deliberate. |
| Depth | Layer lights, ribbon, and largest ornaments deep inside the branches first, then build outward to the tips. |
| Repeat | Place every colour, shape, and pick in triangles of three so the eye travels evenly around the whole tree. |
| Scale | Mix large, medium, and small ornaments in that order — big inside for fullness, small outside for detail. |
| Shine | Combine matte, shiny, and glitter finishes in the same colours to add sparkle without adding more colours. |
| Restraint | Add statement pieces sparingly, photograph the tree, then remove or move about 10% for that clean designer finish. |
Frequently Asked Questions
How do designers stop a tree looking cluttered?
They limit the palette first, then edit at the end. Most clutter comes from too many colours competing, not too many ornaments. Stick to your palette, group similar ornaments in triangles, and take a photo from across the room. If one spot jumps out, remove or move pieces there until the whole tree reads evenly.
How many colours is too many on a Christmas tree?
For a designer look, two to three colours plus one metal is the sweet spot. Four can work if one is a neutral like cream, white, or natural wood. Beyond that, the tree starts to lose focus unless the extra colours are tiny accents repeated very deliberately.
Where should I place my most expensive ornaments?
At eye level and slightly toward the outer third of the branches, where they catch light and are seen first. Keep fragile or heirloom pieces a little higher if you have pets or small children, and never cluster all your best pieces in one spot — spread them in a triangle so the quality shows across the whole tree.
How can I make my tree look good in photos?
Turn off overhead lights and let the tree be the main light source. Layering lights deep inside the tree prevents black gaps on camera. Step back, shoot straight on at tree height, and avoid flash. Matte ornaments photograph softer, so add a few near the front if shiny baubles are blowing out in pictures.
In what order should I decorate the tree?
Lights first, then ribbon or picks, then largest ornaments, medium ornaments, statement pieces, gap fillers, and finally small or delicate ornaments and the topper. That order builds depth from the inside out. Decorating in any other order usually means pushing ornaments past ribbon and lights, which is where breakage and tangles happen.
You Would Also Love
💬 Join Our Decor Community
Decor Fern | Home Decor Ideas & Inspiration — share your rooms, get ideas, and chat with fellow decor lovers.
Join the Facebook GroupFollow on Facebook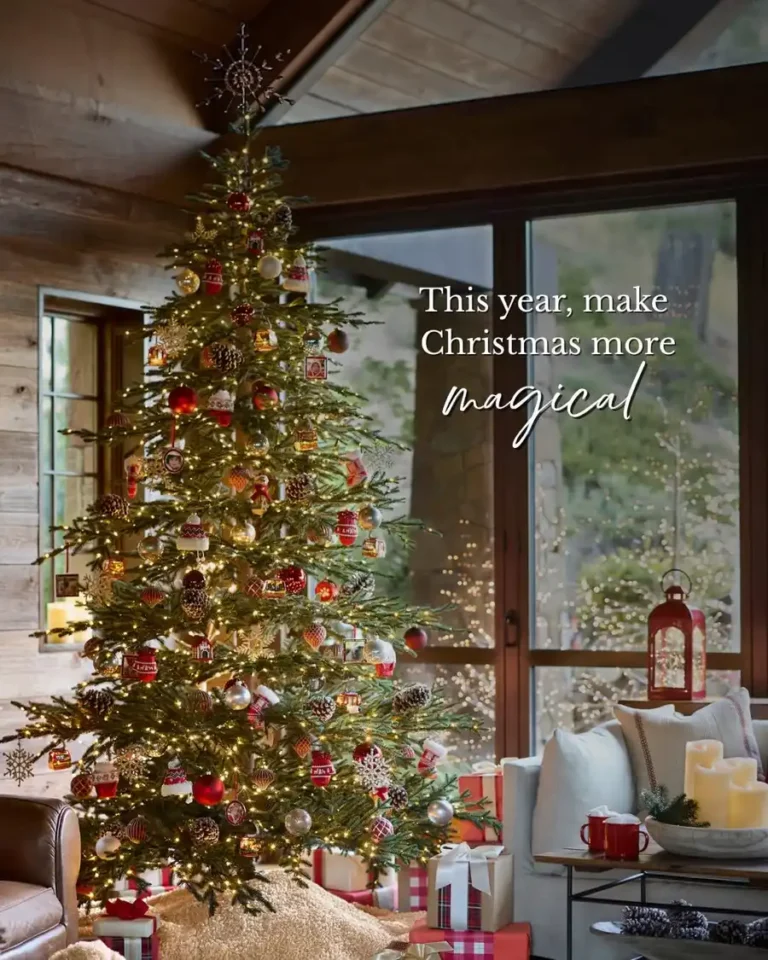
3 Comments