How to Decorate a Christmas Tree with Garland Guide
Garland is the quiet hero of a beautiful Christmas tree. Ornaments get all the attention, but it is the garland that gives a tree its shape, movement, and that finished, layered look you see in magazines. Once you learn how to decorate a Christmas tree with garland properly, the rest of the decorating honestly gets easier.
The good news is that garland is forgiving. There is no single right way to drape it, and small imperfections disappear once the ornaments go on. What matters is choosing the right type, using enough of it, and putting it on at the right moment in the process.
In this guide I will walk you through the whole method step by step, from picking your garland to wiring it in place so it stays put all season. By the end, your tree will look full, intentional, and professionally styled.
1. Choose Your Garland Type First
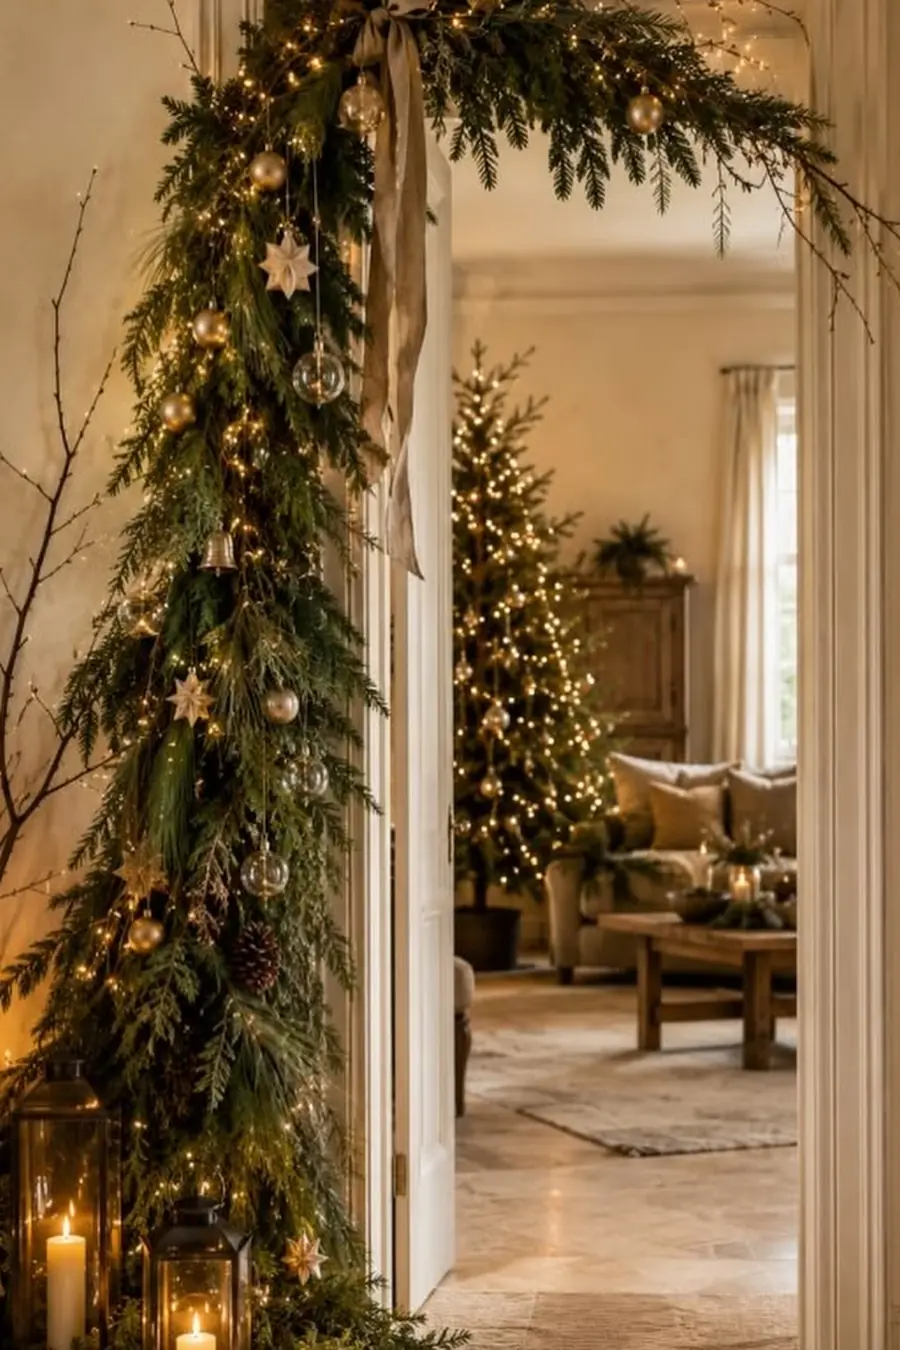
Photo credit: @mychristmasfairy on Instagram
Start by deciding what kind of garland suits your tree's theme. Classic options include beaded strands for sparkle, popcorn and cranberry strings for a nostalgic feel, wide ribbon for a soft designer look, tinsel for vintage shine, and natural pinecone or greenery garlands for a rustic tree. Velvet bow chains and crystal icicle strands are lovely if you want something a little more elegant.
Think about your ornaments before you buy. A busy, multi-colored ornament collection pairs best with a simple single garland, while a minimal ornament scheme can handle two layered garlands. Matching the garland to your overall palette first saves you from a tree that feels chaotic later.
Style note: Pick one garland as your "main character" and let everything else support it — two bold garlands competing with each other is the fastest way to make a tree look messy.
2. Work Out How Much Garland You Need
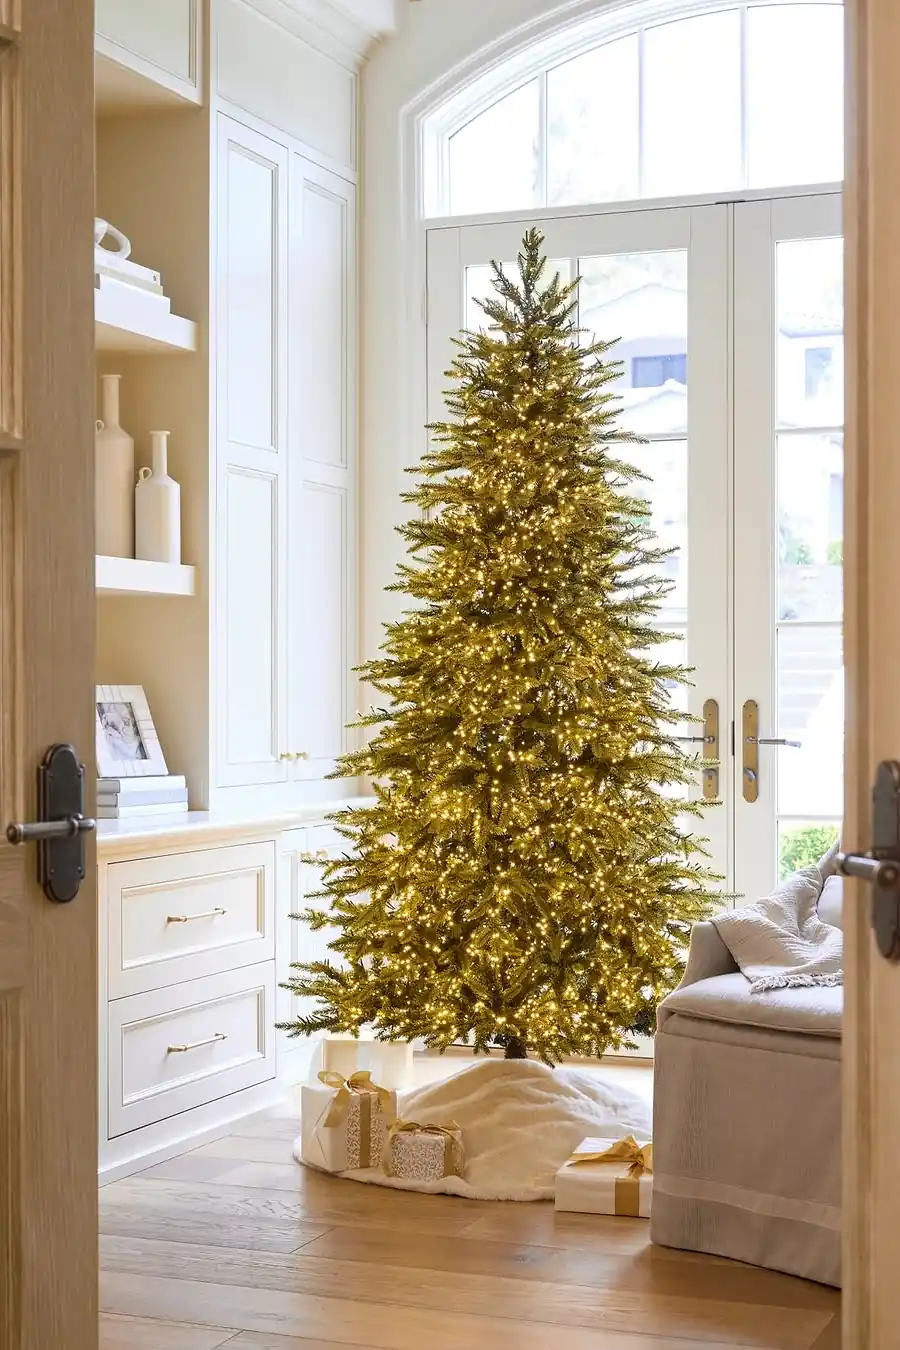
Photo credit: @balsamhill on Instagram
A reliable rule of thumb is about 9 feet of garland for every foot of tree height if you want generous, lush swags. For a lighter, airier look, 5 to 6 feet per foot of height is plenty. That means a standard 7-foot tree needs roughly 45 to 65 feet of garland depending on how full you like it.
If you are layering two garlands, you do not need double of both. Use the full amount of your main garland and about half that amount of the second one, since it is just an accent woven through. Always buy one extra strand than you calculated — running out two-thirds of the way down the tree is a very avoidable frustration.
Budget note: Garland goes on sale hard after Christmas, so buy next year’s strands in late December at 50–70% off and store them loosely coiled, never tightly wound.
You May Also Like: 25 Christmas Tree Ideas for 2026
3. Put Garland On After Lights, Before Ornaments

Photo credit: @christmastreeideas on Instagram
Order matters more than technique here. The correct sequence is: fluff the branches, add lights, then garland, then ornaments, then your topper and finishing picks. Lights go first because garland draped over them creates that gorgeous glow-from-within effect, and you never want to wrestle light strings around ornaments.
Garland goes before ornaments for a practical reason too: the swags create natural "shelves" and pockets that tell you exactly where ornaments want to sit. Once the garland is in place, you will find yourself placing baubles in the dips of each swag almost automatically, which gives the tree an balanced, designed rhythm.
Fixing note: If your tree is already decorated and you forgot the garland, do not strip everything off — thin beaded garland can be woven gently through a finished tree as a last-minute sparkle layer.
4. Master the Classic Swag and Drape Method
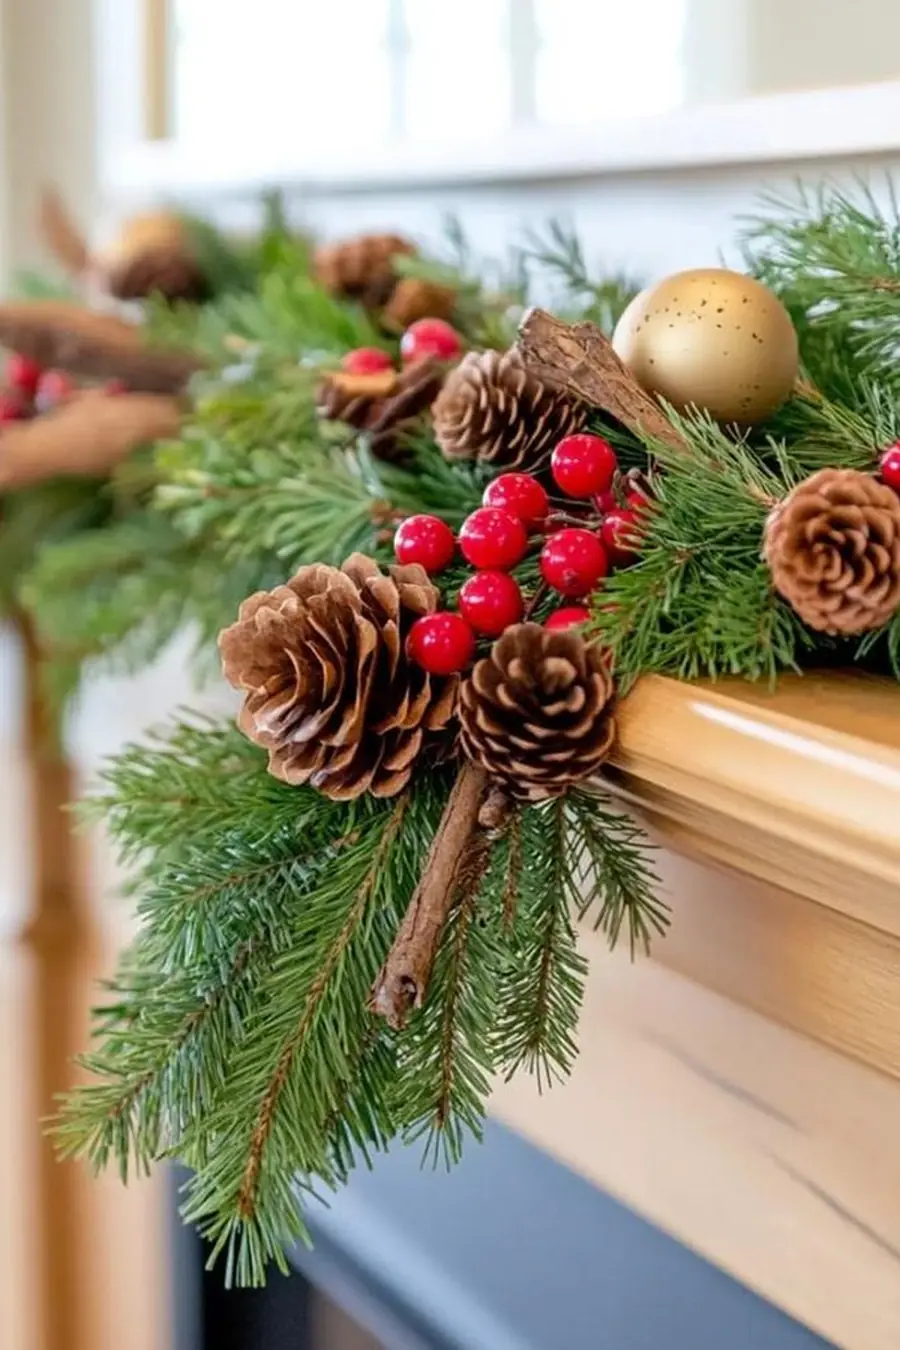
Photo credit: @lovely.harbor on Instagram
The swag method is the traditional way to decorate a Christmas tree with garland, and it suits beaded, popcorn, and tinsel strands beautifully. Start at the top, secure the end of the garland to a branch near the trunk, then drape it down and out in a gentle U-shape before securing it again. Each swag should dip about 6 to 10 inches below where it attaches.
Work your way around and down the tree in horizontal rows, keeping the swags roughly the same depth and spacing. Consistency matters more than perfection — step back every row or two and squint at the tree. If one swag sags noticeably lower than its neighbors, just lift and re-hook it before moving on.
Scale note: Make the swags slightly deeper and wider as you move down the tree, since the branches get longer toward the base. Tiny swags at the bottom look pinched and skimpy.
You May Also Like: 23 Christmas Tree Trends 2026 for a Stylish Holiday Home
5. Try the Spiral Wrap for Ribbon and Greenery
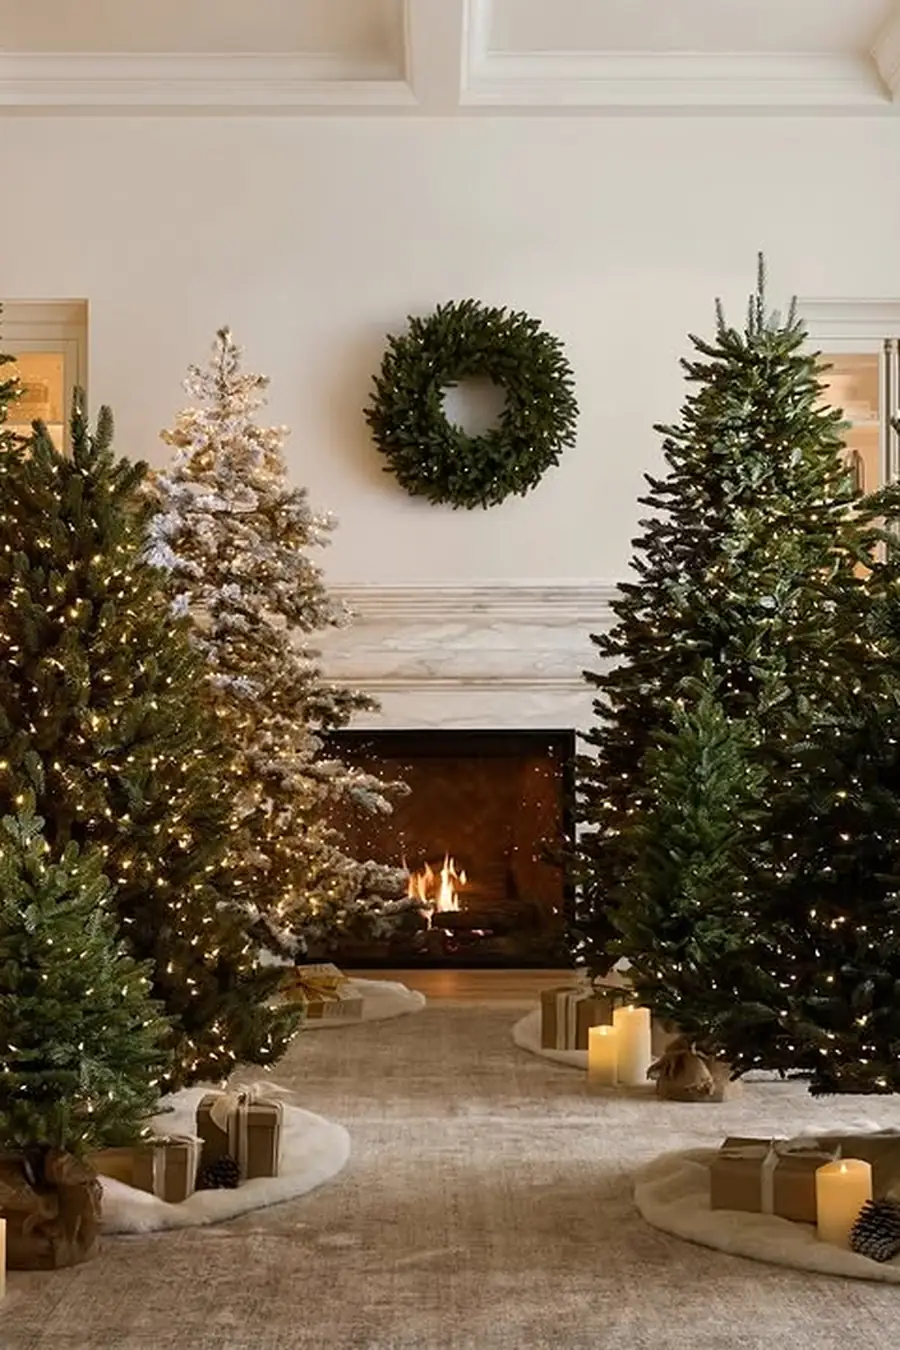
Photo credit: @balsamhill on Instagram
Wide ribbon, fabric strips, and leafy greenery garlands look best wrapped in a continuous spiral rather than swagged. Anchor the end at the top near the trunk, then work downward at a gentle diagonal angle, circling the tree as you go. Keep each loop about 10 to 14 inches below the one above it.
As you wrap, loosely twist ribbon so it billows rather than lying flat — that soft, poufy look is what makes ribbon garland read as "designer." Tuck the ribbon slightly into the branches every turn or so instead of just laying it on the surface, which keeps it looking integrated rather than like streamers.
Style note: Wired-edge ribbon is worth the small extra cost. It holds the twists and billows you shape with your fingers, while unwired ribbon flops flat within a day.
6. Tuck, Wire, and Secure So Nothing Slips
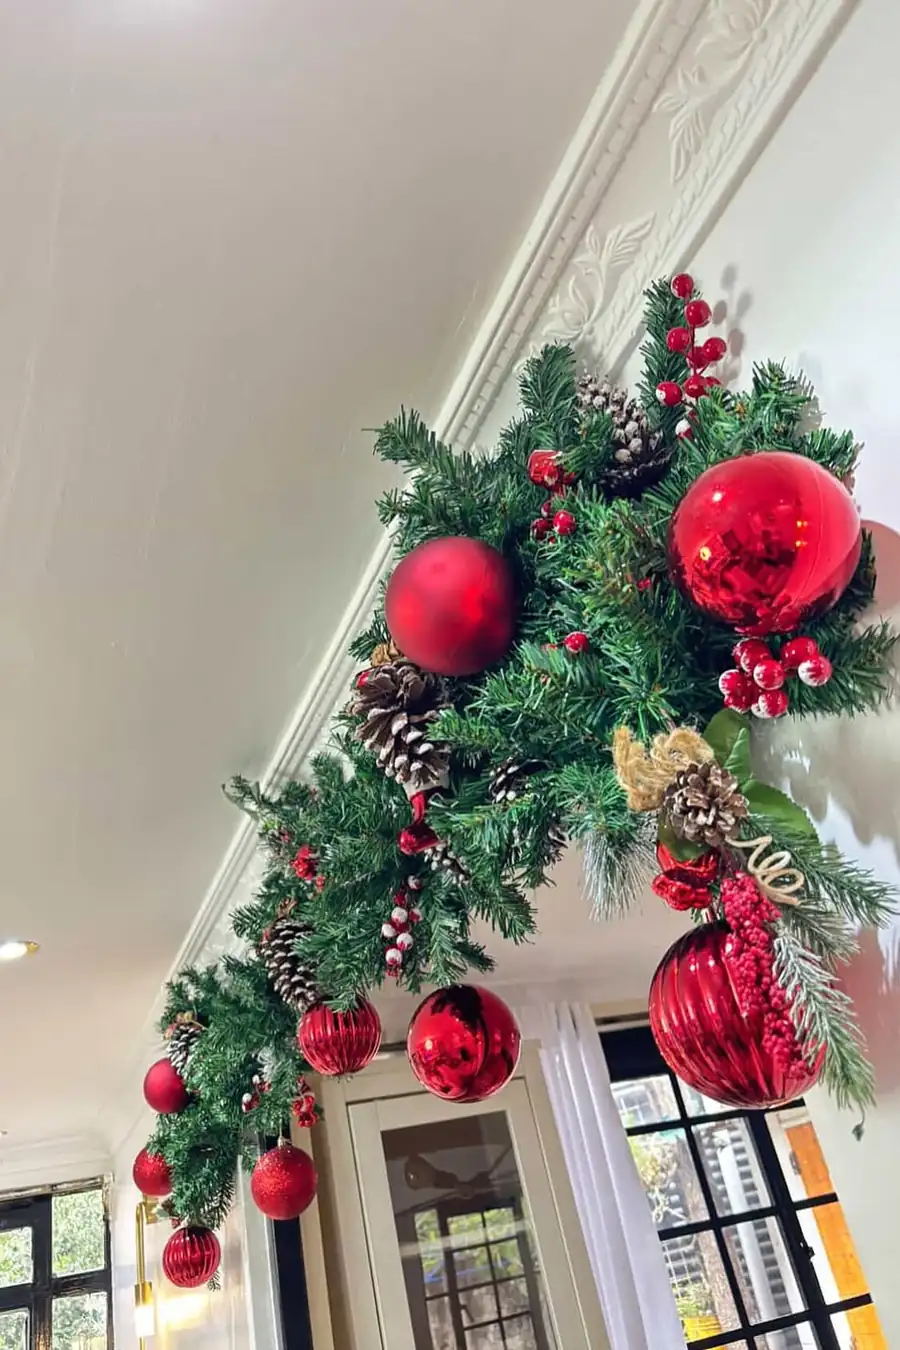
Photo credit: @bemaxhomes254 on Instagram
Slipping garland is the number one complaint I hear, and it is nearly always a securing problem, not a garland problem. Every time your garland meets a sturdy branch, wrap a small piece of green floral wire or a pipe cleaner around both the strand and the branch. Two or three anchor points per swag is plenty.
Also push the garland slightly into the tree rather than letting it perch on the very tips of the branches. Garland that sits about an inch or two in from the branch ends looks fuller, catches the light better, and is far less likely to slide off when someone brushes past. At the bottom, let the last swag end just above the lowest branches for a clean finish.
Fixing note: For heavy bead or crystal garlands, anchor at the trunk side too, not just at the outer branches — the weight distributes better and the swags hold their shape all season.
You May Also Like: 20 Ralph Lauren Christmas Tree Ideas
7. Layer Two Garlands for a Designer Finish
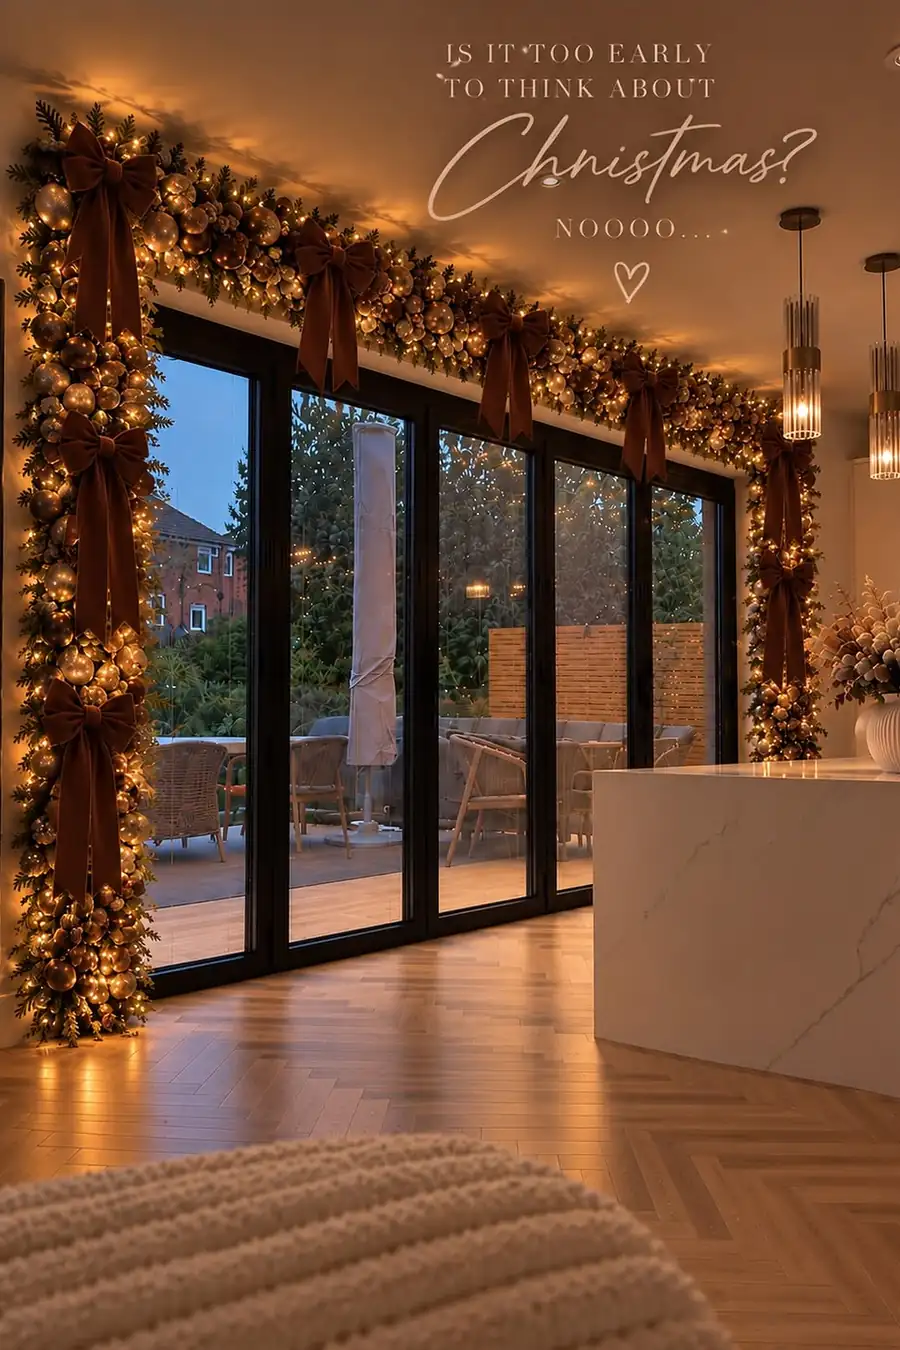
Photo credit: @37_reno on Instagram
Once you are comfortable with one garland, layering a second is how you get that rich, high-end look. The classic pairings are ribbon plus beads, greenery plus cranberry, or tinsel plus popcorn for a nostalgic tree. Put the bulkier garland on first using your chosen method, then weave the slimmer one through it, following the same swags or spiral path.
Keep the two garlands in the same color family or in clearly complementary tones — a warm gold bead strand over deep red ribbon looks intentional, while five unrelated colors just looks busy. Let the second garland sit slightly deeper in the branches so it peeks through rather than sitting on top.
Style note: If you love the layered look but fear overload, layer only the front two-thirds of the tree that faces the room and keep the back simple — nobody sees the back, and you save a third of your garland.
Garland Types at a Glance
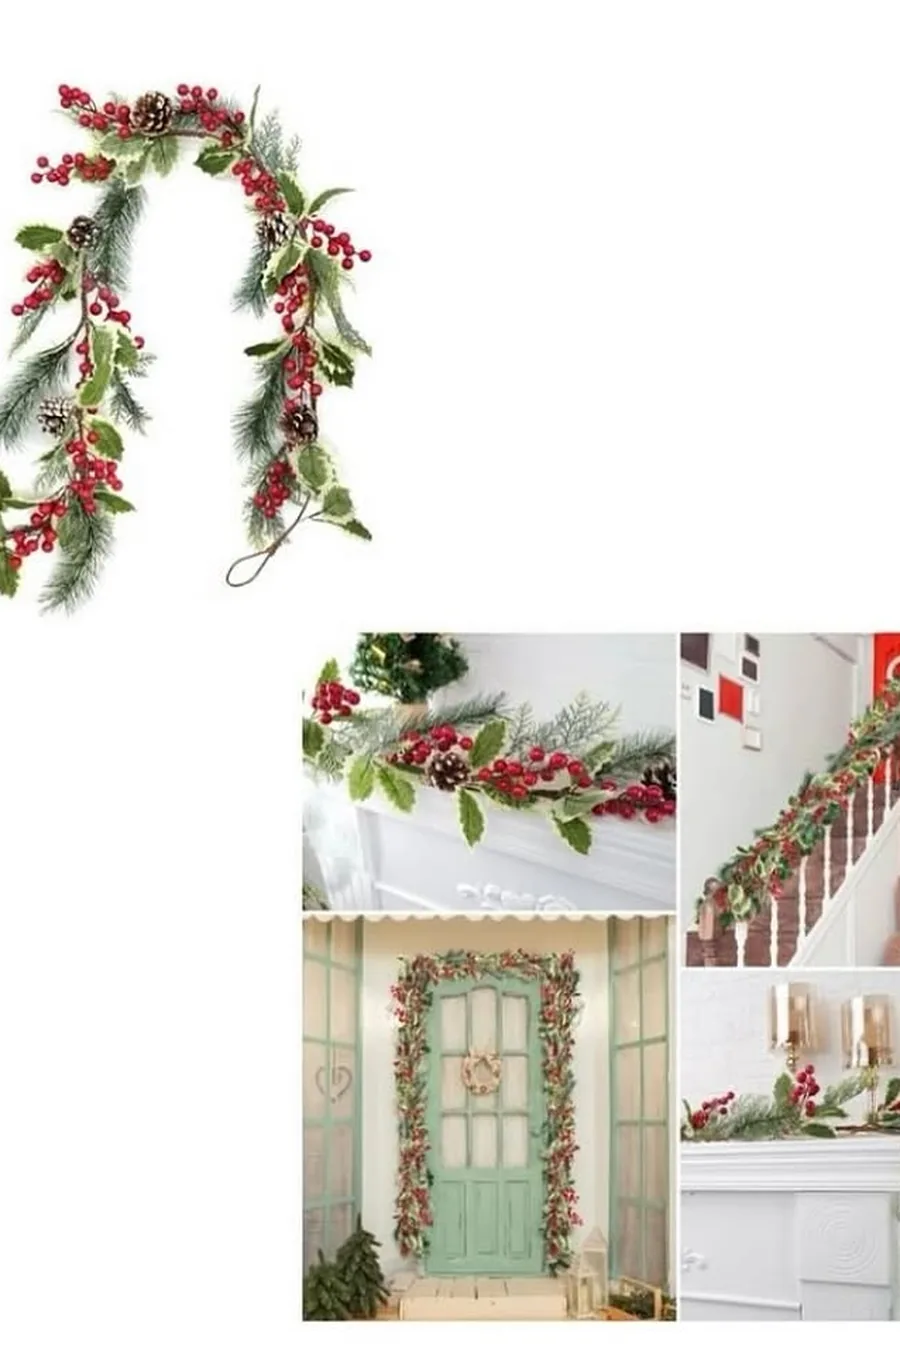
Photo credit: @sasdepartmentstore on Instagram
| Garland type | Look it gives | Best for |
|---|---|---|
| Beaded | Classic sparkle and shine | Traditional and glam trees |
| Popcorn & cranberry | Nostalgic, handmade charm | Vintage and family trees |
| Wide ribbon | Soft, full, designer finish | Elegant and modern trees |
| Tinsel | Bright retro shimmer | Vintage and playful trees |
| Pinecone & natural | Rustic, woodsy texture | Farmhouse and nature themes |
| Velvet bow chain | Rich, tailored elegance | Classic luxury trees |
| Crystal & icicle | Frosty, glittering sparkle | Winter wonderland themes |
| Fabric strip | Cozy, homespun softness | Country and cottage trees |
Frequently Asked Questions
Do you put garland on before or after ornaments?
Garland goes on after the lights but before the ornaments. The swags create natural pockets that guide where ornaments should hang, and it is much easier to drape garland over bare branches than to weave it around fragile baubles.
How much garland do I need for a 7-foot tree?
For full, generous swags, plan on about 60 to 65 feet total. For a lighter look, 40 feet is enough. A simple formula is 9 feet of garland per foot of tree height for lush coverage, or 5 to 6 feet per foot for a minimal style.
How do I stop my garland from slipping off the tree?
Secure it with small pieces of green floral wire or pipe cleaners at two or three points per swag, and tuck the strand an inch or two into the branches instead of resting it on the very tips. Heavier garlands should also be anchored closer to the trunk.
Can you mix garland and ribbon on the same tree?
Absolutely — it is one of the prettiest combinations. Put the ribbon on first in a spiral, then layer a beaded or cranberry garland over it in swags. Keep both in the same color family so the tree reads as coordinated rather than busy.
How deep should garland swags be?
Aim for a dip of about 6 to 10 inches between attachment points, and make the swags a little deeper toward the bottom of the tree where branches are longer. Stepping back every row to check the spacing keeps the whole tree looking even.
You Would Also Love
💬 Join Our Decor Community
Decor Fern | Home Decor Ideas & Inspiration — share your rooms, get ideas, and chat with fellow decor lovers.
Join the Facebook GroupFollow on Facebook

2 Comments