How to Decorate a Christmas Tree for Beginners Easily
If this is your first Christmas tree, take a deep breath — you have absolutely got this. Learning how to decorate a christmas tree for beginners can feel a little overwhelming when you see those perfect magazine trees, but real homes are not showrooms, and your tree does not need to be perfect. It just needs to feel warm, cozy, and like yours.
The good news is that a beautiful tree is mostly about order, not talent. When you do things in the right sequence — shape first, lights next, ornaments after — the whole job becomes simple and even fun. Most beginners struggle only because they start hanging pretty baubles before the basics underneath are done.
This friendly step-by-step guide walks you through exactly what to do, in the order that works. Pour yourself a hot drink, put on some Christmas music, and let's decorate your first tree together, one easy step at a time.
What You Need Before You Start

Photo credit: @thechristmasdecorators on Instagram
You do not need a huge shopping list to decorate a lovely tree. A few basics, chosen well, will do all the hard work for you. Buying one coordinated ornament set instead of lots of random pieces is the single best shortcut for a first-timer, because everything already matches.
Gather everything before you begin so you are not hunting for hooks halfway through. Lay your ornaments out on a table or sofa where you can see colours and sizes at a glance — that small bit of preparation makes hanging them so much easier later.
| Item | Beginner-friendly choice | Why it helps |
|---|---|---|
| Christmas tree | 6ft artificial tree with hinged branches | Easy to shape, no watering, and lasts for many years |
| Lights | Warm white LED string, 300–400 lights | Gives a soft, cozy glow and stays cool to touch |
| Ornament set | Shatterproof set in 2–3 colours | Looks coordinated straight away and will not break if dropped |
| Ribbon | Wired ribbon, about 2.5 inches wide | Holds soft loops and bows without going floppy |
| Ornament hooks | Simple green or gold metal hooks | Disappear into the branches and hold baubles securely |
| Tree topper | Lightweight star or angel | Sits safely on top without bending the top branch |
| Tree skirt or collar | Felt skirt or a woven collar basket | Hides the stand and finishes the base neatly |
| Scissors and florist wire | Ordinary kitchen scissors plus thin wire | Trims ribbon and secures anything that will not stay put |
1. Fluff and Shape the Tree First
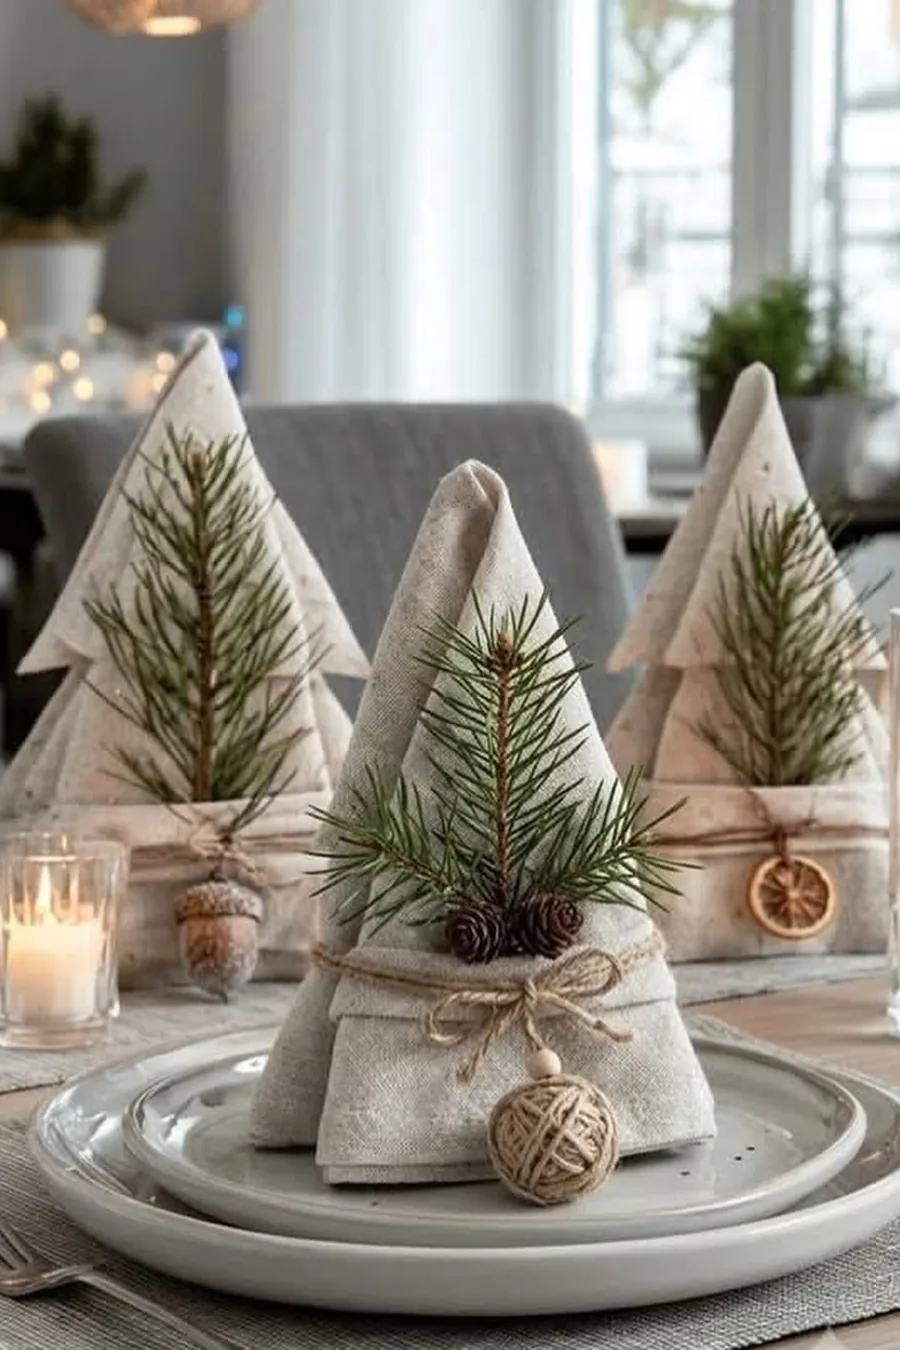
Photo credit: @mychristmasfairy on Instagram
This is the step most people rush, and it makes the biggest difference. When a tree comes out of the box or storage, its branches are squashed flat. Gently pull each branch outward and upward, then separate the individual tips so they point in different directions, like a real branch growing. Work from the bottom of the tree to the top, and from the inside out.
Shaping fills in the gaps before anything goes on, so your tree already looks full and green on its own. Step back every few minutes and turn the tree slightly — you will spot flat patches far more easily from a distance than with your nose in the branches.
Beginner note: Wear soft gloves if your tree feels prickly — fluffing is much more pleasant, and you will do a better job.
Time note: Give this step a good 20–30 minutes. It feels slow, but it saves you from a sad, sparse-looking tree later.
You May Also Like: 25 Christmas Tree Ideas for 2026
2. Add the Lights Before Anything Else
Photo credit: @thechristmasdecorators on Instagram
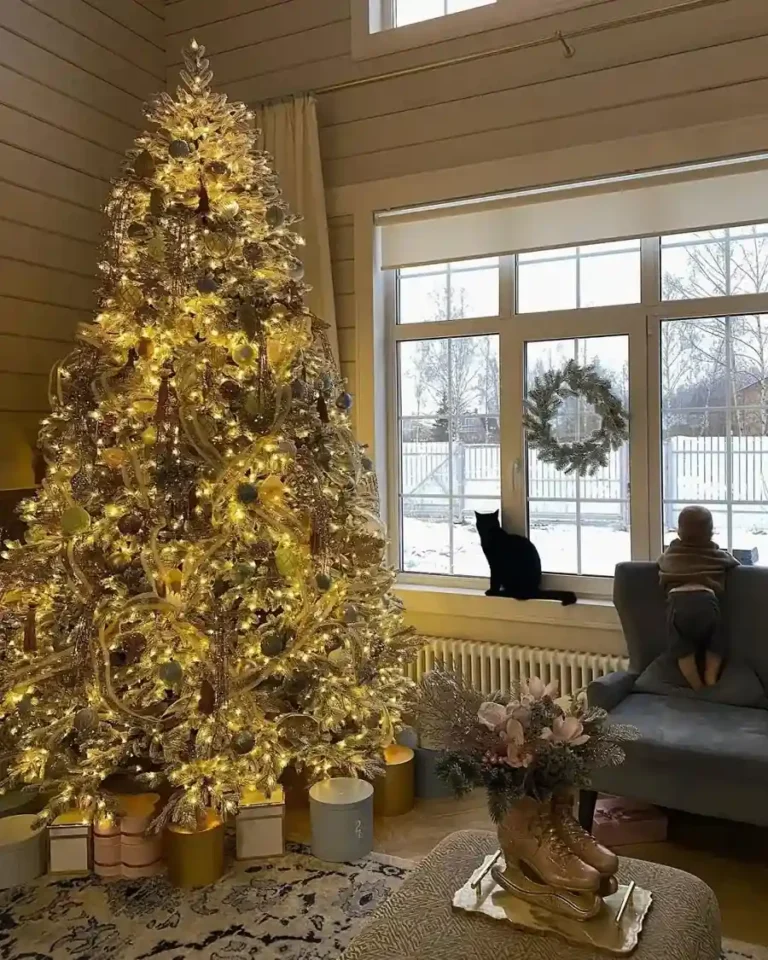
Lights always go on before ornaments, ribbon, or anything else. This is the golden rule of how to decorate a christmas tree for beginners, because trying to weave lights through finished decorations is fiddly and frustrating. Plug your lights in first to check every bulb works — it is much easier to swap a faulty string now than later.
Start at the bottom, near the trunk, and weave the string in and out of the branches as you slowly work upward. Push some lights deeper toward the centre and bring others nearer the tips. That mix of depths is what creates that lovely, twinkly glow that seems to come from inside the tree rather than sitting flat on the surface.
Lighting note: Warm white lights are the most forgiving choice for a first tree — they flatter every colour scheme and feel instantly cozy.
Beginner note: If your lights tangle, do not fight them. Lay the string on the floor, find the plug end, and wind from there.
3. Pick Two or Three Colours and Stick to Them

Photo credit: @mychristmasfairy on Instagram
Here is the secret behind almost every tree you have ever admired: it uses only two or three colours. A simple palette like gold and cream, red and gold, or silver and soft white instantly looks calm and pulled together. When every colour under the rainbow goes on, even pretty ornaments start to look messy.
Choose colours that already exist in your room — your sofa cushions, rug, or curtains are a great guide. If you are unsure, gold and warm white suit almost every home and every style, from modern to traditional. Deciding your colours now also stops you impulse-buying ornaments that will never quite fit in. If you love a classic, tailored look, these Ralph Lauren Christmas tree ideas are a beautiful place to start.
Colour note: A classic beginner-friendly mix is one metal (gold or silver) plus one main colour plus one neutral like cream.
Budget note: One box set in your chosen colours costs far less than buying lots of single ornaments, and it looks far better too.
You May Also Like: 20 Ralph Lauren Christmas Tree Ideas
4. Hang Your Biggest Ornaments First

Photo credit: @mytexashouse on Instagram
Now the fun part begins. Start with your largest ornaments and hang them first, spreading them evenly all around the tree. Big baubles need the most room, and placing them early guarantees they get the best spots instead of being squeezed into whatever gaps remain at the end.
Hang the larger pieces a little deeper into the branches, not just dangling on the very tips. This creates depth and makes the tree look layered and full. Walk around the tree as you go, or spin it gently if you can, so no side ends up overloaded while another looks bare.
Beginner note: Place roughly one large ornament per branch area, then step back and check the balance before adding anything else.
Styling note: If you love a special statement ornament, give it a front-and-centre spot at eye level where everyone will see it.
5. Fill the Gaps with Medium and Small Ornaments

Photo credit: @wilshire_collections on Instagram
With the big pieces in place, fill in around them with your medium ornaments, then finish with the smallest ones. Work in a loose zigzag down the tree rather than neat rows — your eye loves a natural, scattered pattern much more than strict lines. This is also the moment to tuck a few baubles closer to the trunk, which adds sparkle from deep inside the branches.
Keep stepping back every ten ornaments or so. From across the room you will clearly see clumps, empty patches, and colours bunched together. Small ornaments are perfect for fixing those spots, and they are easy to move, so do not be afraid to rearrange as you go.
Beginner note: Hang delicate or favourite ornaments higher up, safely away from curious toddlers and wagging dog tails.
Colour note: If one colour is clustering in one area, swap a few pieces around until each colour appears all over the tree.
You May Also Like: 23 Christmas Tree Trends 2026 for a Stylish Holiday Home
6. Add Ribbon or Garland the Easy Way
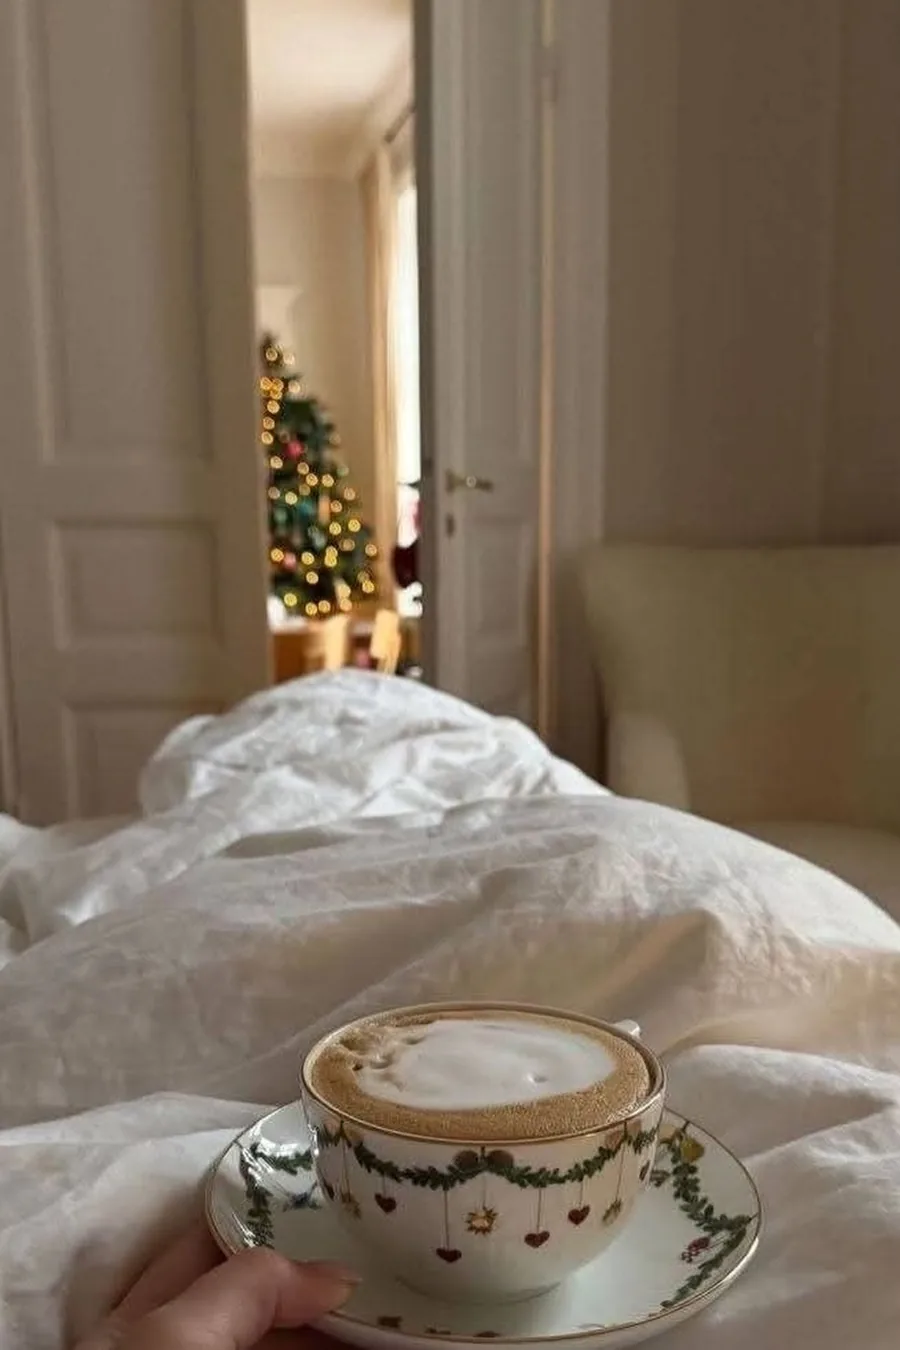
Photo credit: @mychristmasfairy on Instagram
Ribbon looks fancy, but the beginner method is wonderfully simple. Instead of wrapping it tightly around the tree like a bandage, cut your ribbon into pieces about a metre long. Tuck one end into the top of the tree, let it billow out in a gentle loop, then tuck it in again lower down. Repeat all around, and the ribbon appears to cascade softly through the branches.
Garland follows the same idea: drape it loosely, letting it dip between branches rather than pulling it straight. Beaded garlands and simple greenery strands both work beautifully. Because your ornaments are already on, a few short ribbon pieces tucked into gaps are often all you need.
Beginner note: Wired ribbon is your best friend — it holds the pretty loops you shape instead of drooping flat against the branches.
Budget note: No ribbon? A simple strand of wooden beads or even leftover tinsel, used lightly, gives the same finished feeling.
7. Finish with the Topper and Tree Skirt
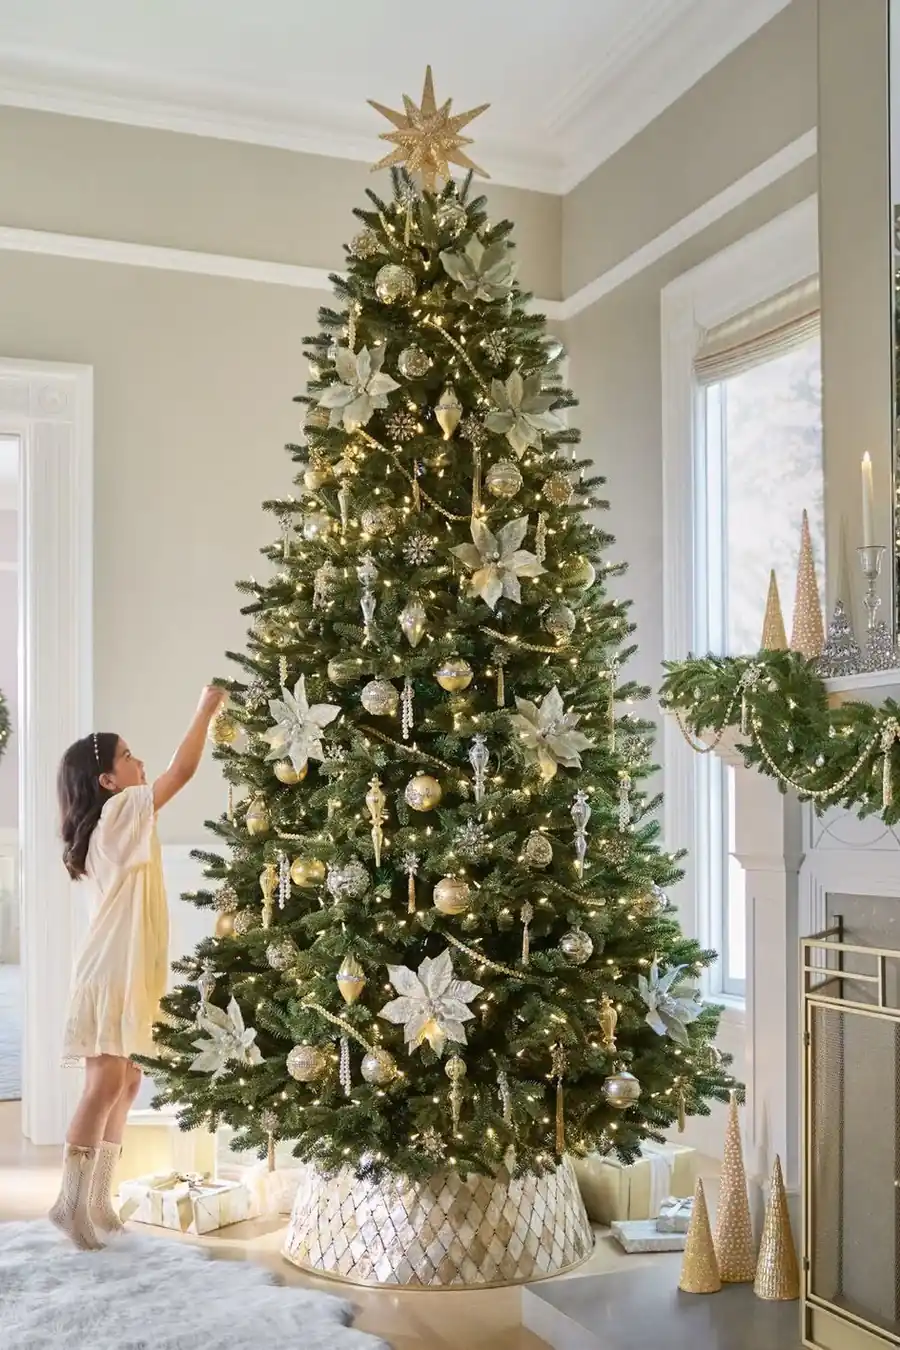
Photo credit: @balsamhill on Instagram
You are nearly done. Place your topper — a star, angel, or even a big bow — on the strongest top branch. If it wobbles or leans, secure it with a little florist wire or tie it gently with ribbon. A topper that sits straight makes the whole tree look instantly more polished.
Finally, wrap the tree skirt around the base or slide the collar into place to hide the stand and any visible wires. Fluff the skirt out evenly, then scatter a few wrapped presents or gift bags on top if you have them. Step back, turn the lights on, and enjoy it — you will be amazed how professional it looks.
Beginner note: Add the topper before the skirt while you can still reach the top comfortably, ideally with a sturdy step stool.
Safety note: Keep the skirt and presents a little away from light plugs and sockets, and switch lights off before bed.
Frequently Asked Questions
How many ornaments do I need for a 6ft tree?
For a 6ft tree, around 60 to 80 ornaments gives a nicely full look without crowding. A common beginner mix is roughly 15 large, 25 medium, and 30 small pieces. If you use ribbon too, you can happily use a few fewer.
Should lights go on before or after ornaments?
Always before. Lights are the foundation layer, and weaving them through a finished tree knocks ornaments off and tangles everything. Lights first, then ribbon and ornaments, is the order every decorator swears by.
How do I stop my tree looking messy?
Stick to two or three colours, hang big ornaments first, and keep stepping back to check balance. Most messiness comes from too many colours or everything clustered in one spot. Moving just a few pieces usually fixes it.
Is a real or artificial tree better for beginners?
Artificial is usually easier for a first-timer — no watering, no dropping needles, and you can shape it once and reuse it for years. If you love a real tree's scent, start with a smaller one while you learn.
How long does it take to decorate a tree?
For your first tree, allow about two relaxed hours, including fluffing and lights. It gets much faster each year. Put on music, take breaks, and remember this is meant to be one of the cozy parts of Christmas.
You Would Also Love
💬 Join Our Decor Community
Decor Fern | Home Decor Ideas & Inspiration — share your rooms, get ideas, and chat with fellow decor lovers.
Join the Facebook GroupFollow on Facebook
2 Comments