New Year Photo Booth Backdrop Ideas for Fun Pictures
Every New Year's Eve party ends the same way: everyone squeezed into one corner, phones up, laughing at the photos. The only question is whether that corner looks like a glittering party set or a plain wall with a radiator. A simple backdrop is what makes the difference.
If you want new year photo booth backdrop ideas that take an hour to build and make every picture look styled, work in this order: choose the wall, hang a shiny base, frame it, add one big focal point, layer small sparkle, set the light, and finish with props.
Everything here hangs with removable hooks, tape on trim, or a freestanding frame — no holes, no paint damage, and it all comes down on January first without a fight.
1. Pick a Wall With Room to Pose
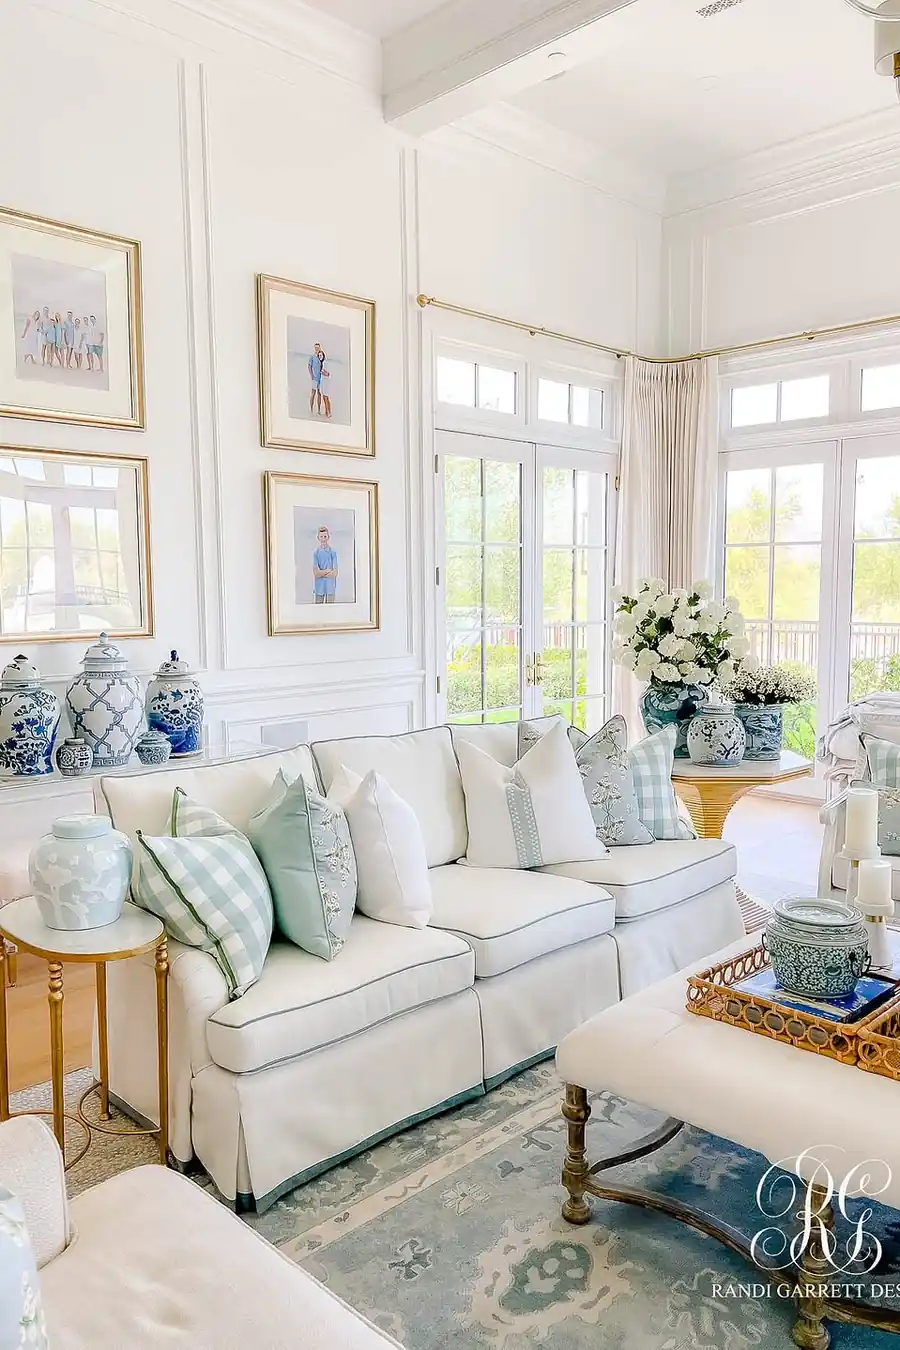
Photo credit: @randigarrettdesign on Instagram
Choose your wall before buying anything. You need roughly two metres of width, enough floor space for people to stand a metre in front of the backdrop, and no door swinging through the shot. A wall near — but not inside — the main mingling area works best, so photos happen all night without blocking the party.
Check what is already there. A mirror or glossy picture frame behind guests creates strange reflections; a dark wall swallows a dark backdrop. Light, plain walls are the easiest base. Also notice the nearest plug or where you could hide a battery pack if you plan lights.
Space note: Mark the "stage" with a small rug or a line of confetti on the floor. Guests instantly understand where to stand, and your backdrop stays centred in every photo.
2. Start With a Shiny Base Layer
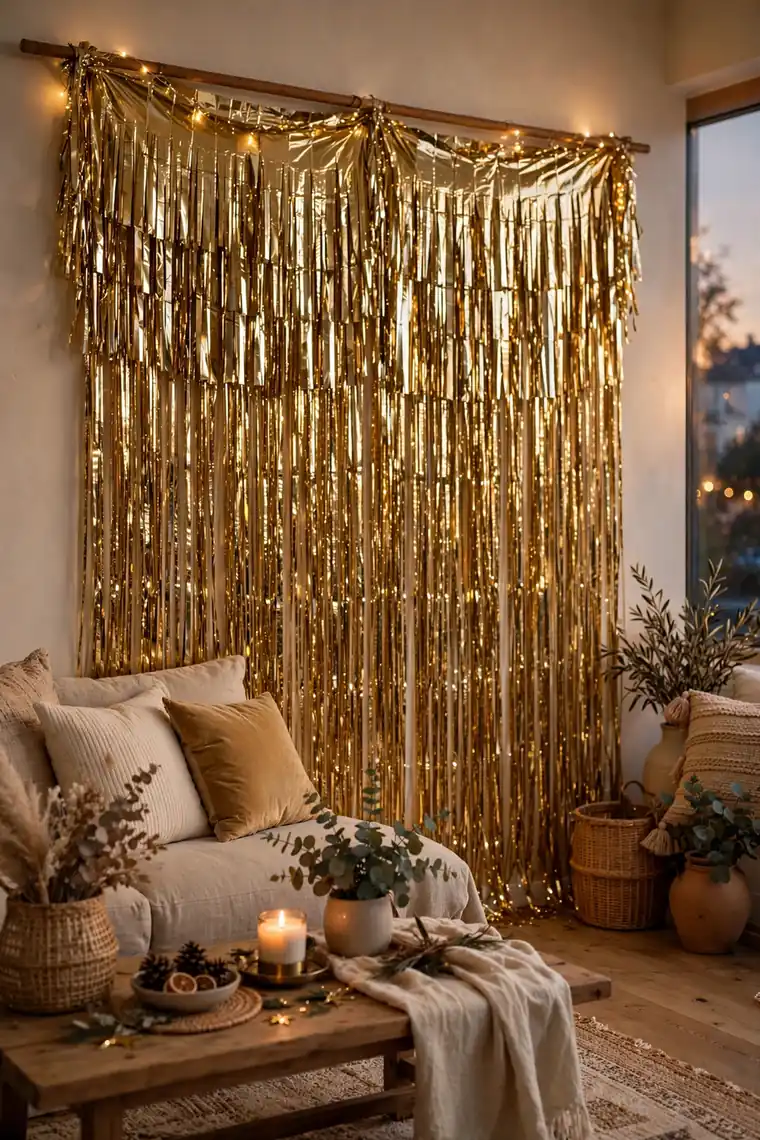
The fastest professional-looking base is a foil fringe curtain — the metallic tinsel curtains sold in gold, silver, black, and champagne. Hang two side by side for full coverage; one alone is usually too narrow and slightly see-through. Let the strands fall straight and trim the bottom to just above the floor.
Alternatives work too: a sequin fabric panel, a black sheet with fairy lights pinned behind it, or even wide strips of metallic wrapping paper taped seam-to-seam. The base layer’s job is simple — bounce light, hide the wall, and give everything else a stage.
Fixing note: Fringe curtains gap at the top. Overlap the two panels by a few inches and add one strip of tape along the header behind the strands; the seam disappears completely in photos.
You May Also Like: Gold and Silver New Year Decor Ideas for a Glam Home
3. Frame It With a Balloon Border
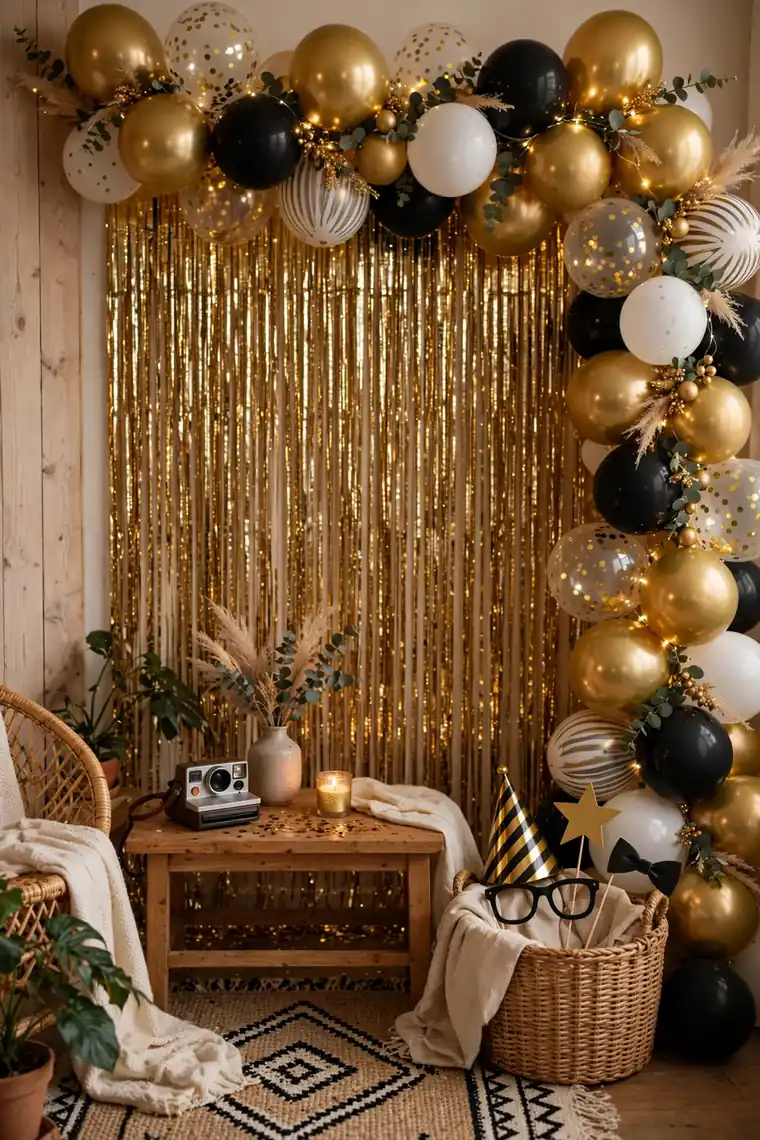
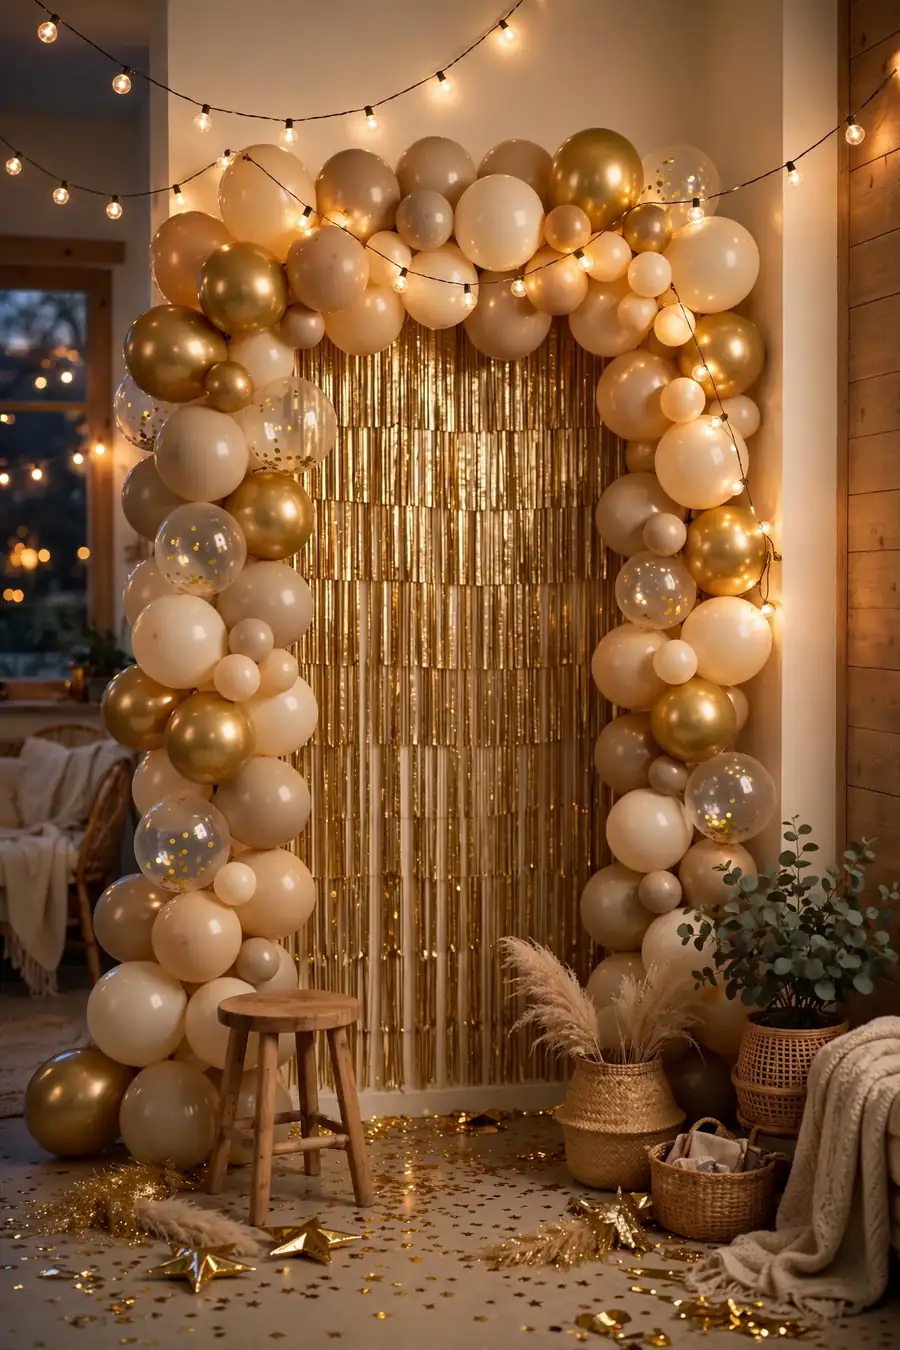
A balloon frame turns a flat curtain into a set. Build a short garland — mixed sizes in your party metal plus black and white — and run it down one side and across the top, or frame both sides like theatre curtains. It does not need to be huge; five to six feet of garland makes a strong L-shaped frame.
Attach the garland to hooks at the corners rather than to the curtain itself, so the weight hangs on the wall, not on tinsel. Leave the lower half of one side open: guests pose inside the frame, and an unbroken bottom edge is the part that most often gets kicked and popped.
Budget note: A half-frame (one side plus the top) gives ninety percent of the look for half the balloons. Spend the saving on better props.
4. Add One Big Focal Point
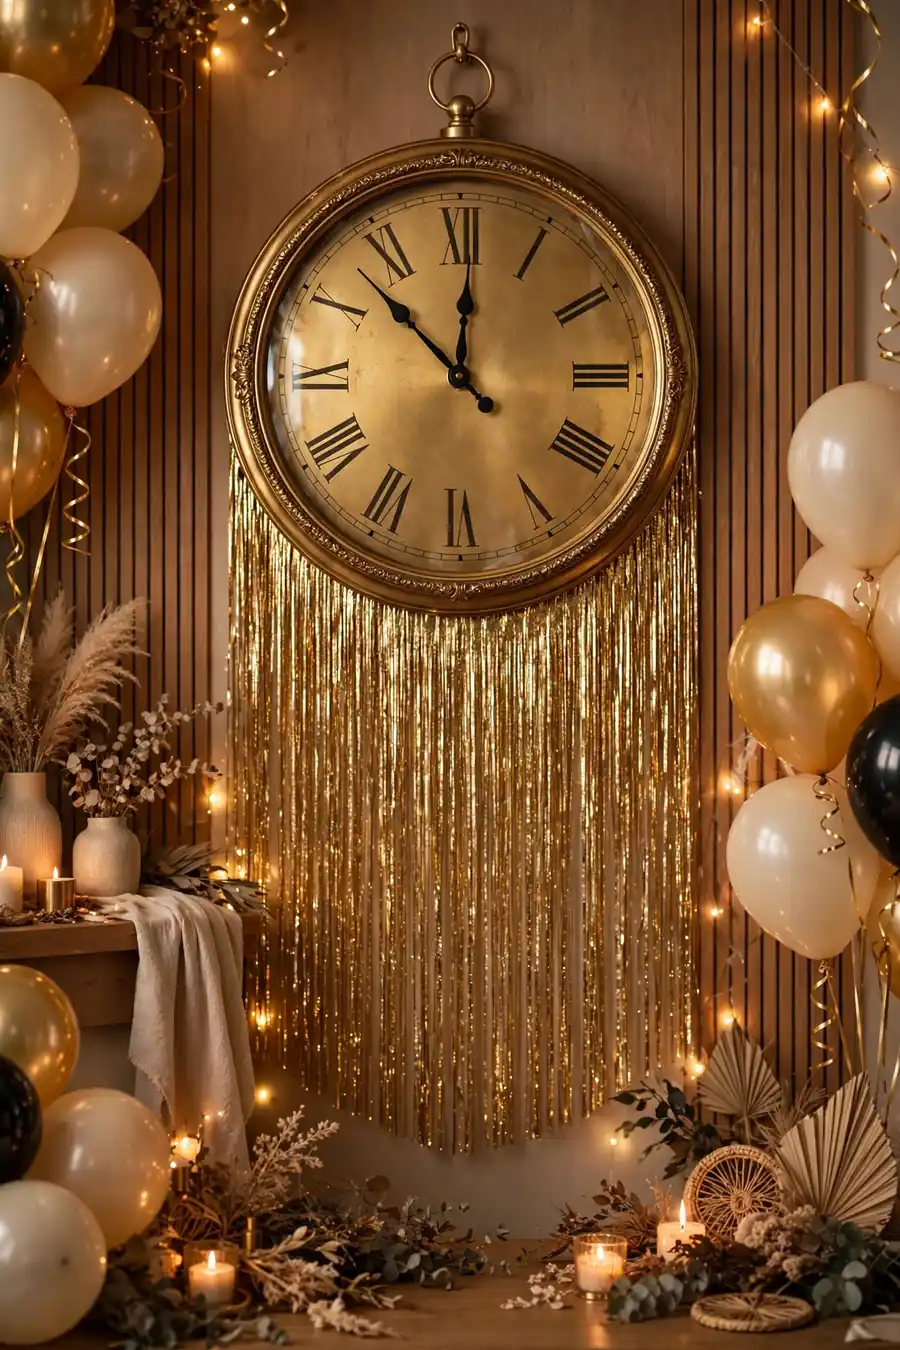
Every backdrop needs a single hero your eye lands on: an oversized clock face edging toward midnight, giant foil numbers for the new year, a disco ball, or a script sign that says Cheers or Midnight. One hero, placed slightly above head height at the centre or top corner, organises the whole wall.
Hang the hero first, then build around it. Foil numbers and clocks are light enough for removable hooks; a real disco ball needs a ceiling hook or a stand. If the hero has a shiny surface, angle it slightly downward so it catches faces and light instead of the ceiling.
Style note: Match your hero to your metal. A gold clock on a silver curtain fights; the same clock on black or champagne fringe looks like a magazine shoot.
You May Also Like: 22 Thanksgiving Table Centerpieces for a Festive Feast
5. Layer Signs and Sparkle Details
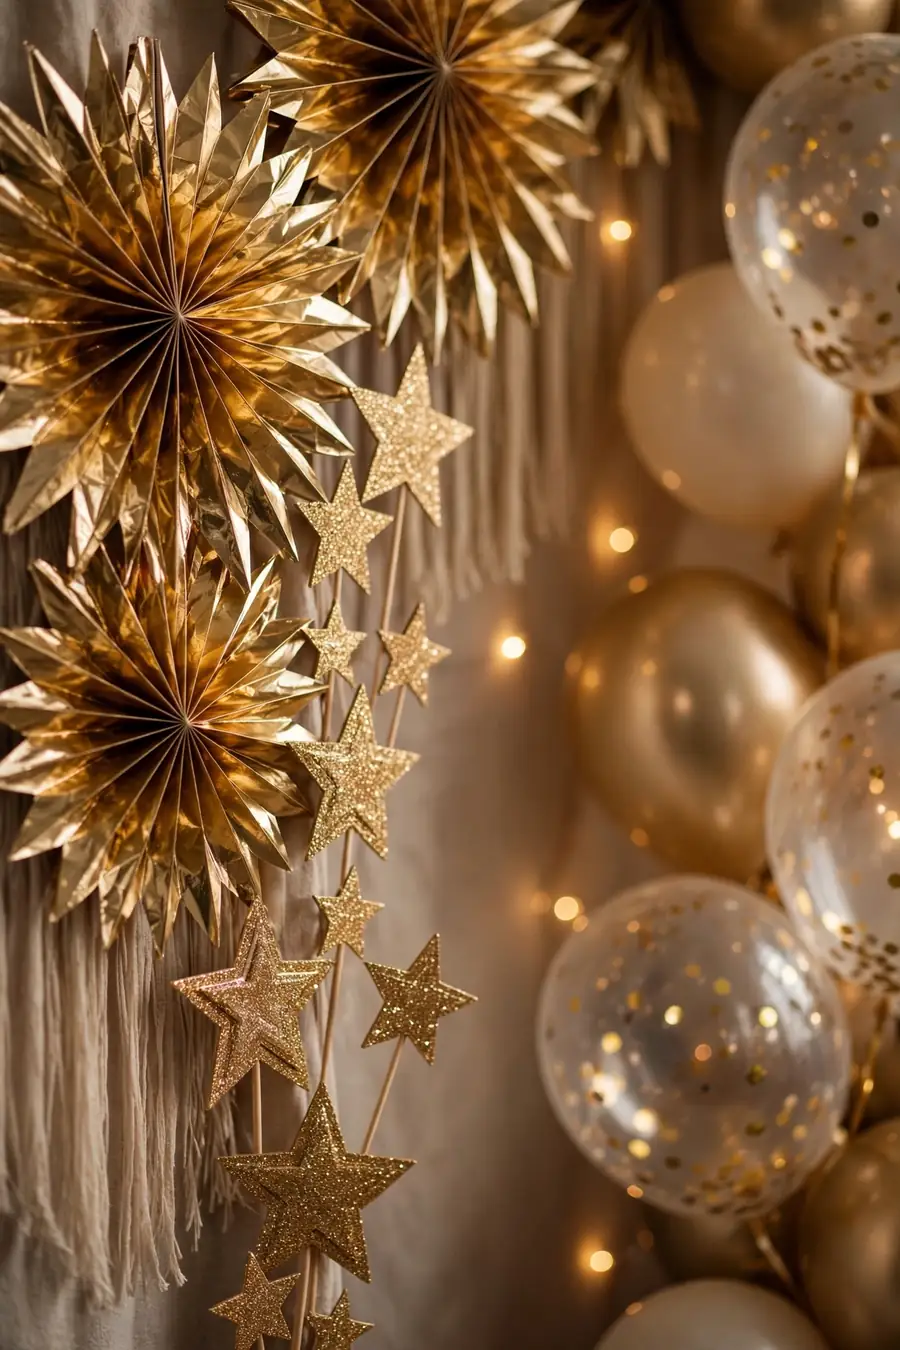
With the frame and hero in place, add the supporting layer: a small hanging sign, starburst picks poked into the balloon frame, a scatter of foil stars across the curtain, or a short banner along the top. Work in odd groupings and keep everything within your two-metal palette.
Keep the centre of the backdrop relatively clear — that is where faces will be. Details belong at the edges and top, framing people instead of competing with them. Glittery items directly behind heads create sparkly halos in flash photos, which is rarely flattering.
Texture note: Mix one matte element (a paper banner or card sign) with the metallic shine. All-shine backdrops can look flat on camera; a touch of matte gives photos depth.
6. Light It So Faces Look Great
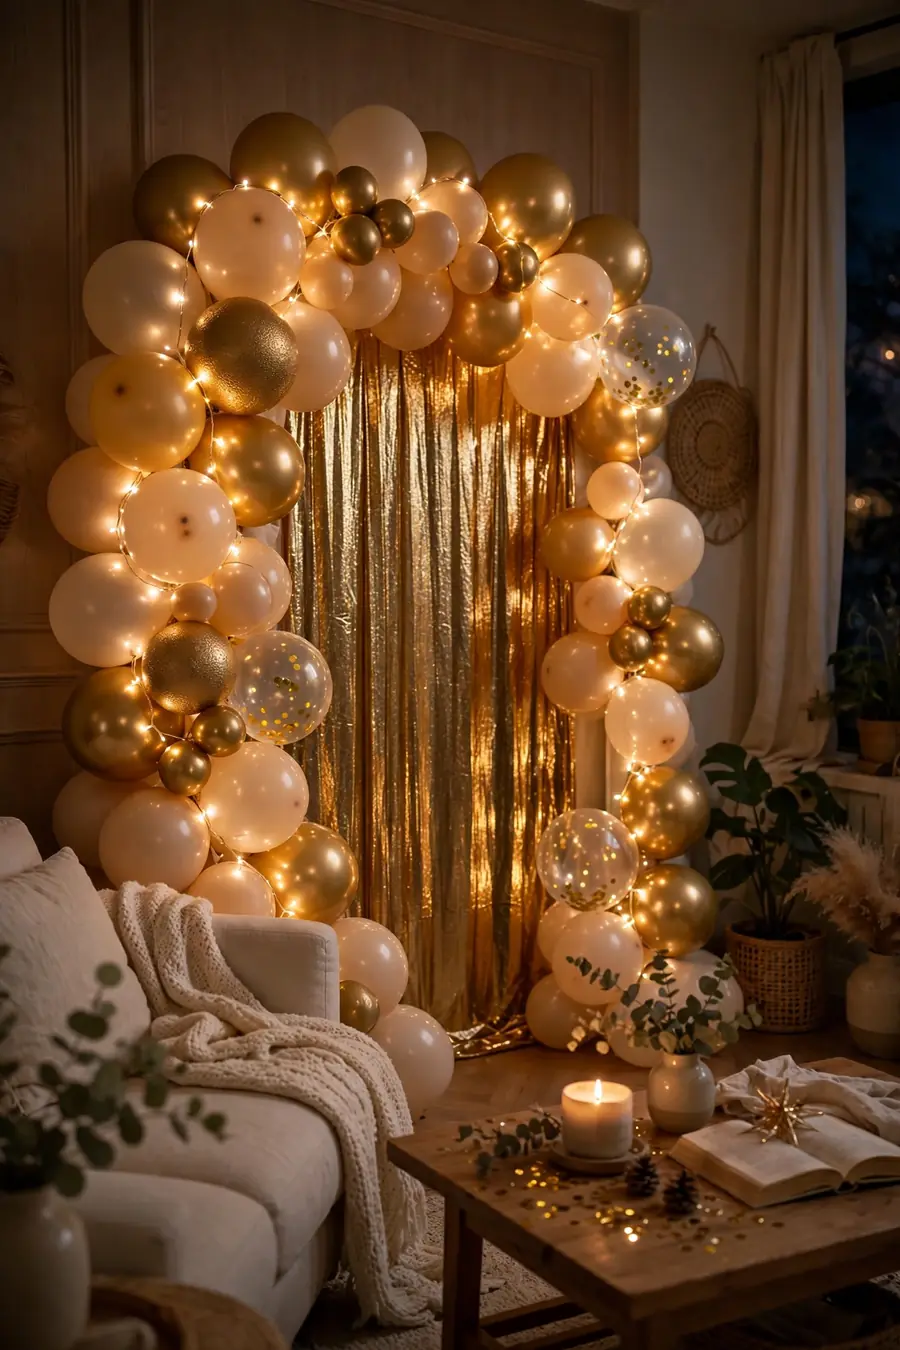
Good light matters more than the backdrop itself. Face a soft light source toward your guests — a lamp with the shade off to the side, a ring light on its lowest warm setting, or fairy lights strung along the frame with faces lit by the room. Harsh overhead light alone carves shadows under eyes in every picture.
If you use lights on the backdrop, keep them behind or beside the posing spot, never at eye level pointing into faces. Warm-white LED string lights tucked into the balloon frame give a glow that flatters every skin tone and makes metallics sparkle without blowing out the photo.
Safety note: Only LED lights near tinsel and balloons, and keep cords taped along the floor edge so nobody trips mid-photo in party shoes.
You May Also Like: 25 Halloween Centerpiece Ideas for a Spooky Stylish Table
7. Set Up a Simple Prop Station
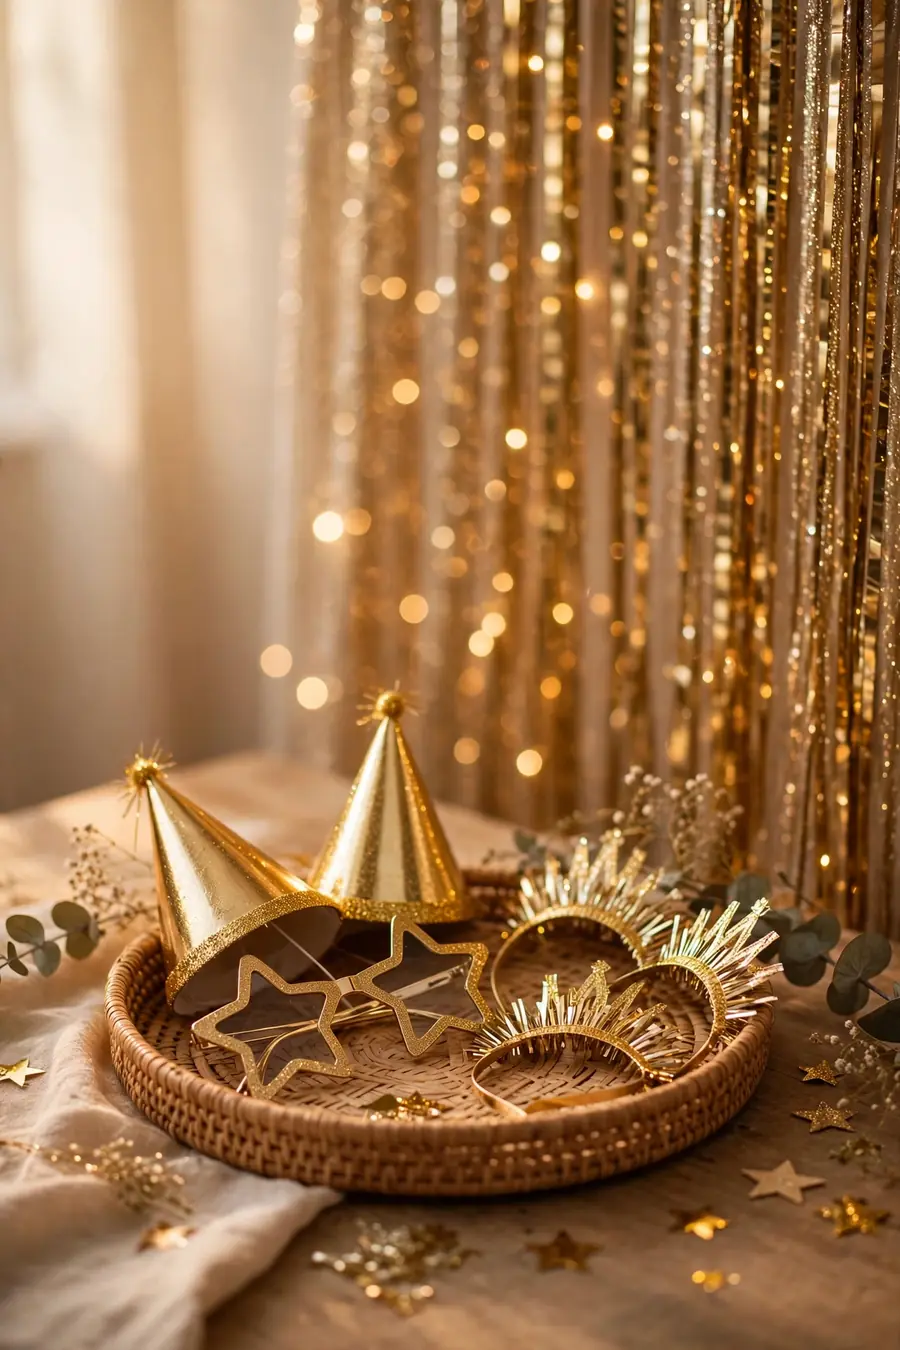
Props are what turn one polite photo into twenty silly ones. Set a small basket or tray beside the backdrop with eight to twelve items: top hats, star glasses, foil tiaras, speech-bubble signs, a mini clock, feather boas in your palette. Sticks and handles survive the night better than flimsy hand-held cards.
Add one instruction, written on a small sign: "Grab a prop & strike a pose." Guests genuinely do not start until invited. Place the prop station just outside the frame so it never photobombs the backdrop itself, and give people a phone stand or mark where the photographer stands for group shots.
Halfway through the night, quietly retire any prop that has been bent, sat on, or claimed by one guest as a permanent accessory, and rotate in a spare or two. A prop basket that still looks fresh at eleven is the difference between photos that keep happening and a photo corner everyone quietly stops visiting.
Budget note: Printable props on card with wooden skewers cost almost nothing and photograph as well as shop-bought sets. Print two of the most popular items — someone always wants matching hats.
Photo Booth Recipe at a Glance
| Base layer | Frame | Best hero | Feels like |
|---|---|---|---|
| Gold fringe curtain | Gold and white balloon L-frame | Oversized clock at midnight | Classic glam party |
| Black fringe curtain | Silver balloon frame both sides | Giant new-year numbers | Bold midnight studio |
| Champagne sequin fabric | Blush and gold short garland | Script Cheers sign | Soft elegant celebration |
| Black sheet with fairy lights | No balloons, light border only | Hanging disco ball | Sparkling dance-floor corner |
| Silver fringe curtain | Black and silver arch top | Starburst cluster | Icy modern photo set |
Frequently Asked Questions
What are the easiest new year photo booth backdrop ideas for beginners?
Start with two foil fringe curtains overlapped for coverage, one balloon L-frame across the top and one side, and a single hero like a clock or the new year’s numbers. That trio takes under an hour, needs no special skills, and photographs beautifully.
How do I stop a fringe curtain backdrop looking see-through?
Hang two curtains overlapped, or one curtain over a plain sheet or paper layer in a matching tone. In photos, gaps show most against bright walls, so a dark backing layer behind gold or silver fringe fixes almost every case.
Where should a photo backdrop go at a house party?
On a wall near the action but out of the traffic flow — beside the drinks table or at the end of the living room — with a metre of standing space in front. Avoid doorways, the kitchen entrance, and anywhere guests queue.
What lighting is best for party photos at home?
Soft, warm light aimed at faces from the front-side, plus gentle sparkle behind. A lamp or low ring light for faces and LED fairy lights on the backdrop itself give the most flattering mix; avoid bare overhead bulbs as the only source.
One Comment