23 Christmas Garland on Staircase Ideas for a Grand Holiday Entry
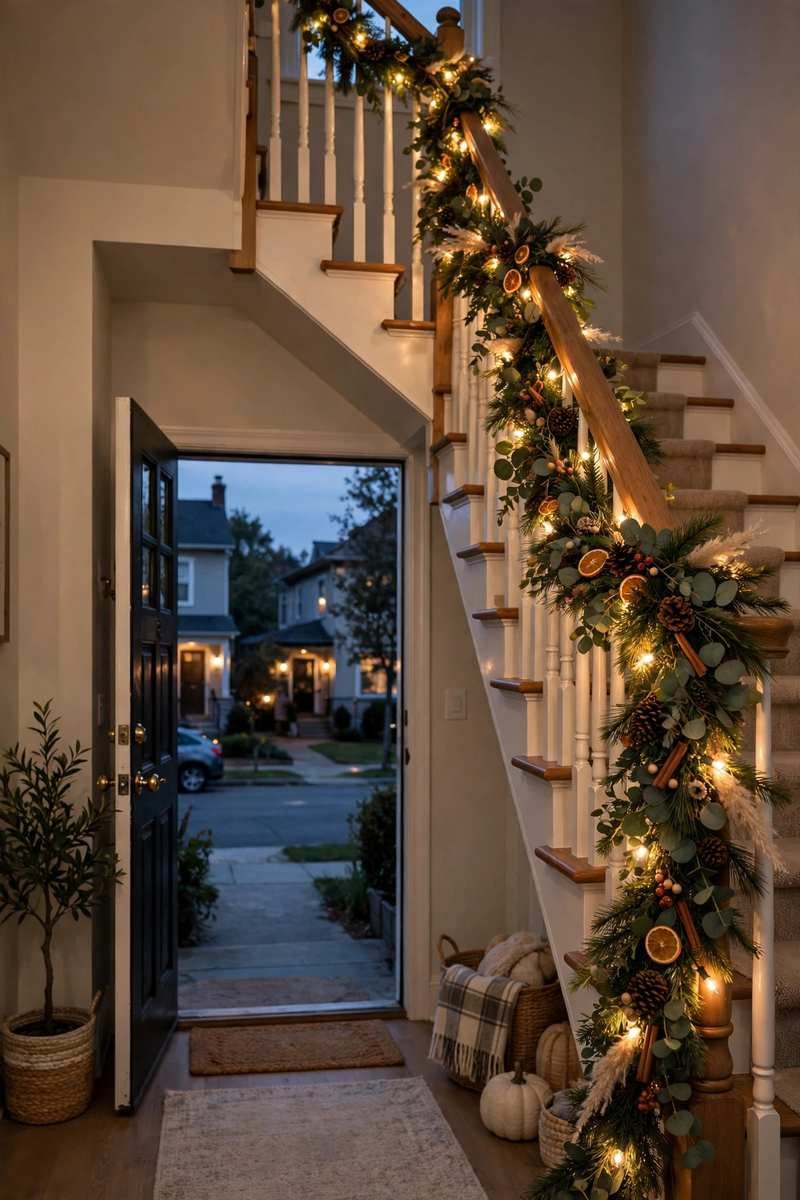
Your staircase is the first thing guests see when they walk through your front door — and a beautiful garland turns it into a full holiday welcome. It frames your entry, glows in your family photos, and makes every trip upstairs feel a little bit magical.
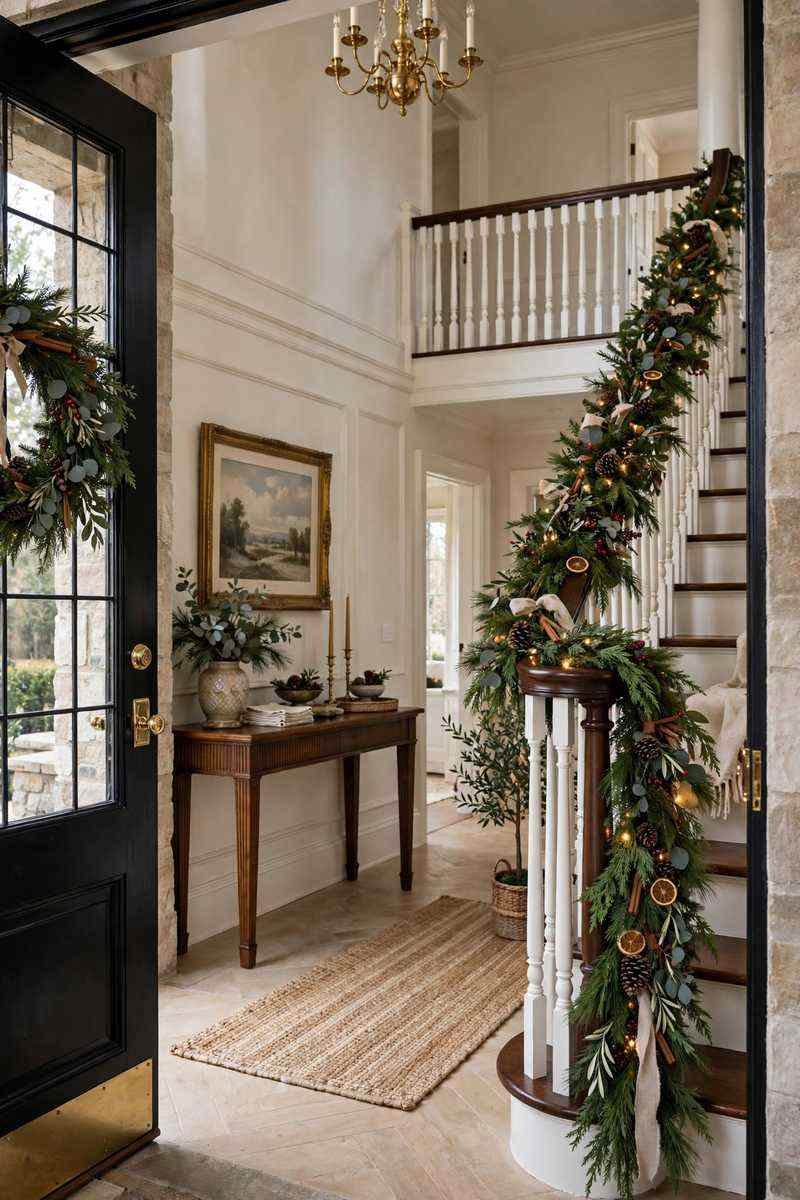
The good news? You don’t need a grand staircase or a big budget. Whether your railing is long and curved or short and straight, one of these 23 ideas will fit it. If you want the bigger picture first, start with our Ultimate Christmas Decorating Guide — then come back here and dress those stairs.

★ Quick Facts
| TIME About 30–45 minutes once you’ve done it once |
BUDGET Small — one good strand beats three thin ones, and newel posts alone cost almost nothing |
DIFFICULTY Beginner friendly — ribbon ties and zip ties, no nails, screws or staples |
BEST FOR Entries and family photos — it is the first thing guests see |
📏 MEASURE BEFORE YOU BUY
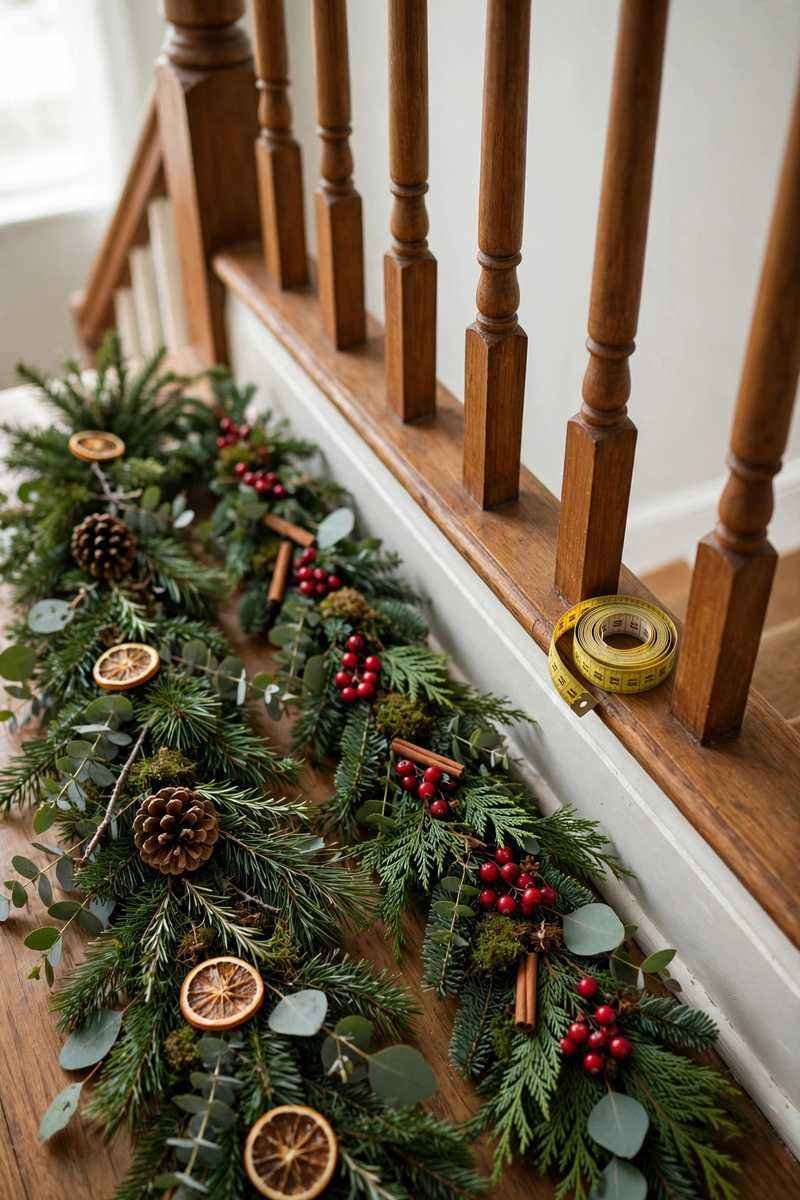
Garland is sold by length, and guessing is how you end up 3 feet short. Use this simple math:
- Wrapped tight around the railing: railing length × 2
- Draped in soft swags (swoops): railing length × 1.5
- Laid along the top only: railing length × 1
Example: a 12-foot railing needs about 18 feet of garland for pretty swags. When in doubt, buy one strand longer — extra garland can always dress the newel post or a doorway.
Classic Greenery Garlands
1. The Timeless Pine and Cedar Mix
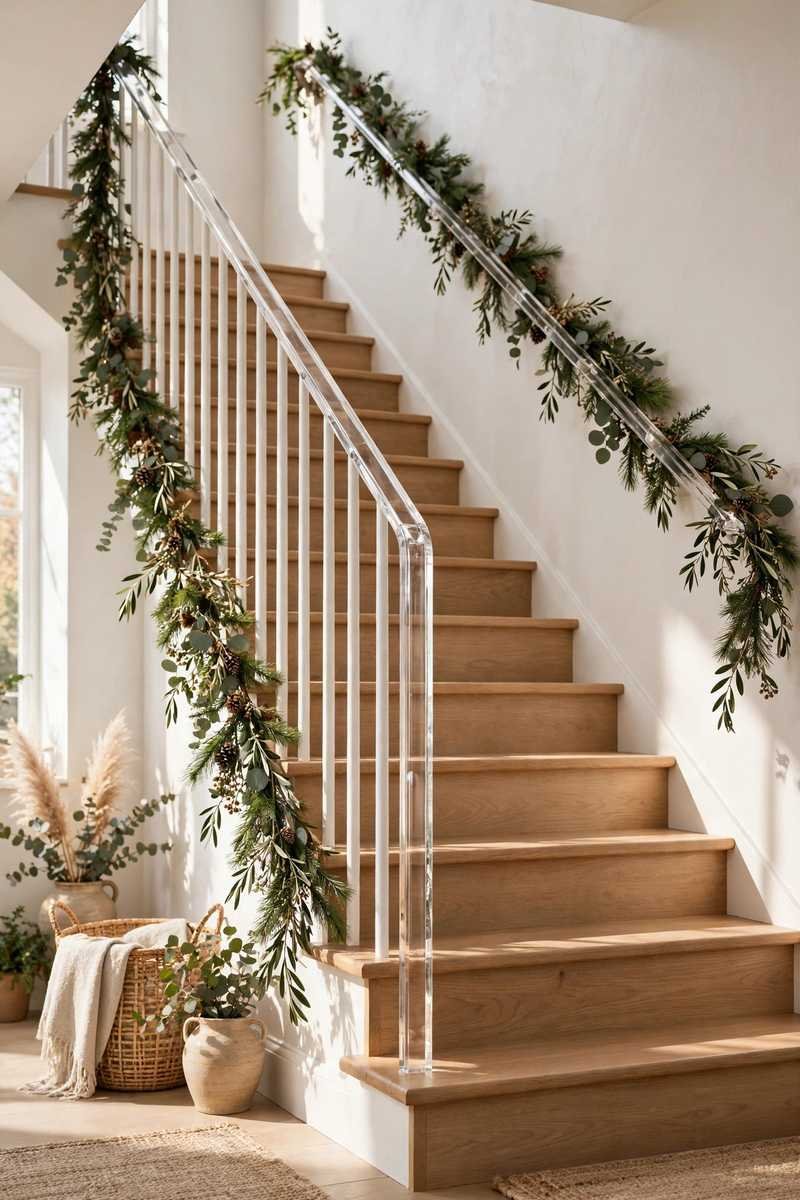
Layer two kinds of greenery — full pine with flatter cedar — for that rich, just-cut look. Real greenery smells amazing but dries out, so many families use a good faux base and tuck in a few fresh cedar clippings each week. It reads classic in every photo and never goes out of style.

2. Plaid Ribbon Woven Through
Take one wide plaid ribbon and weave it loosely in and out of a plain green garland as you hang it. The ribbon adds instant color without a single ornament. This is a cornerstone of classic Christmas decor, and it works especially well on white railings where the plaid really pops.

Choose wired ribbon 2.5 to 4 inches wide — narrower ribbon disappears into full greenery. Weave in a steady rhythm: over two branches, under one, and let the ribbon surface every 12–18 inches rather than constantly. Cut the ribbon only after the whole length is woven, and finish the ends with a simple dovetail cut so they look intentional instead of frayed.

3. Pinecones and Berries, Nothing Else
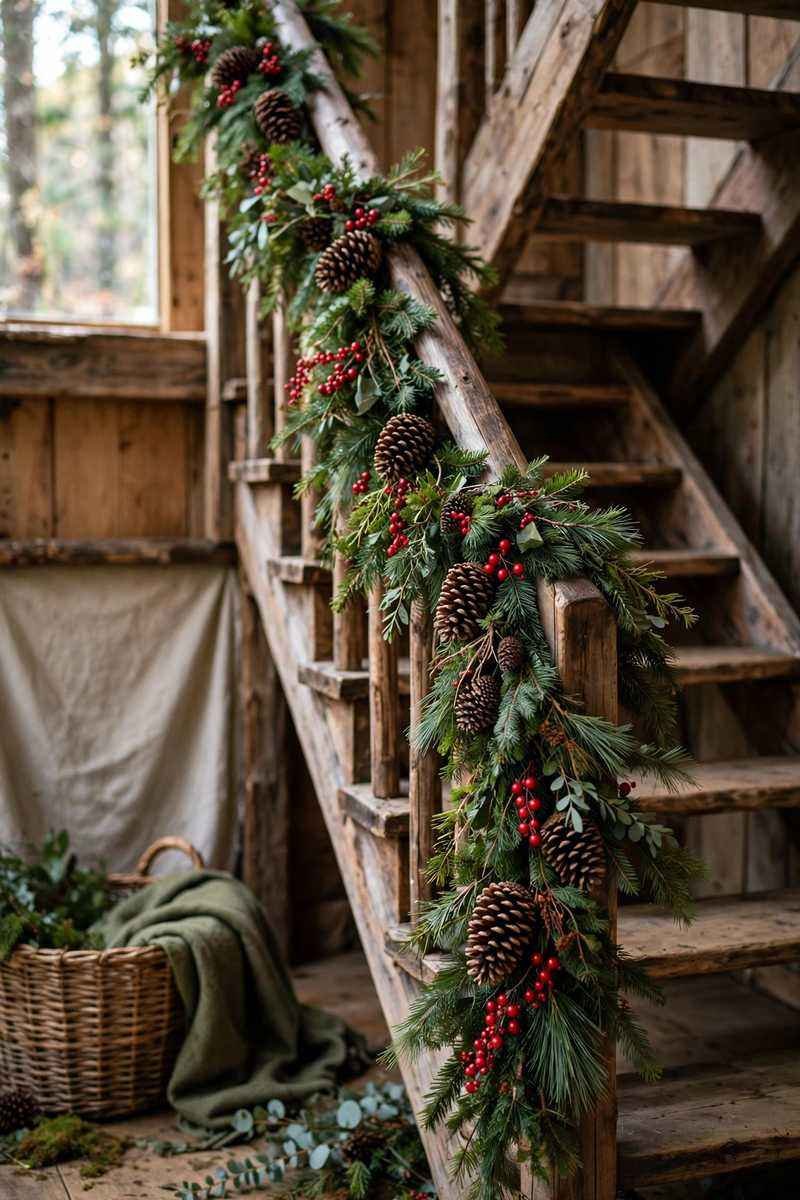
Skip the sparkle and go woodsy: greenery, wired pinecones, and clusters of red berries. Push the pinecones deep into the garland so they look nestled, not glued on. It’s cozy, it’s cheap — most of it can be gathered on a walk — and it suits rustic and farmhouse entries perfectly.
4. The Double Swag Drape
Instead of one long swoop, anchor your garland at every third or fourth baluster to create deep, even swags. The rhythm of those curves is what makes a staircase look “grand.” Keep each swag the same depth — measure with your hand span so they match — and finish each anchor point with a bow or a cluster of bells.

Aim for a drop of about 8–12 inches at the center of each swag; shallower looks stingy, deeper crowds the handrail. Pinch and fluff the garland at each anchor so the tie point looks lush, not squeezed. If your swags keep coming out uneven, tie a small ribbon marker at each anchor first, adjust the dips until they match, then add the garland.
5. Eucalyptus and Pine, Soft and Silvery
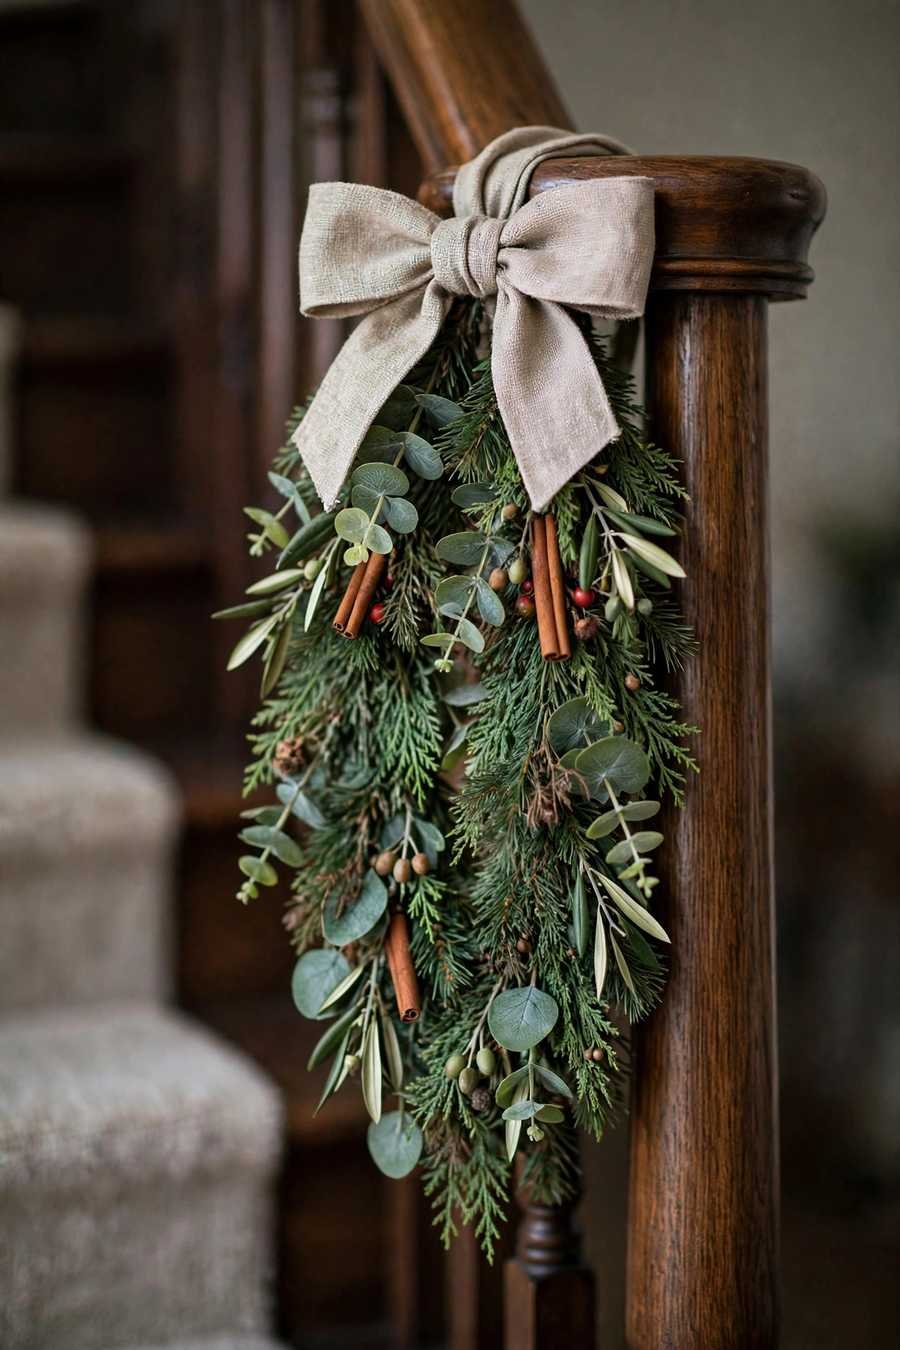
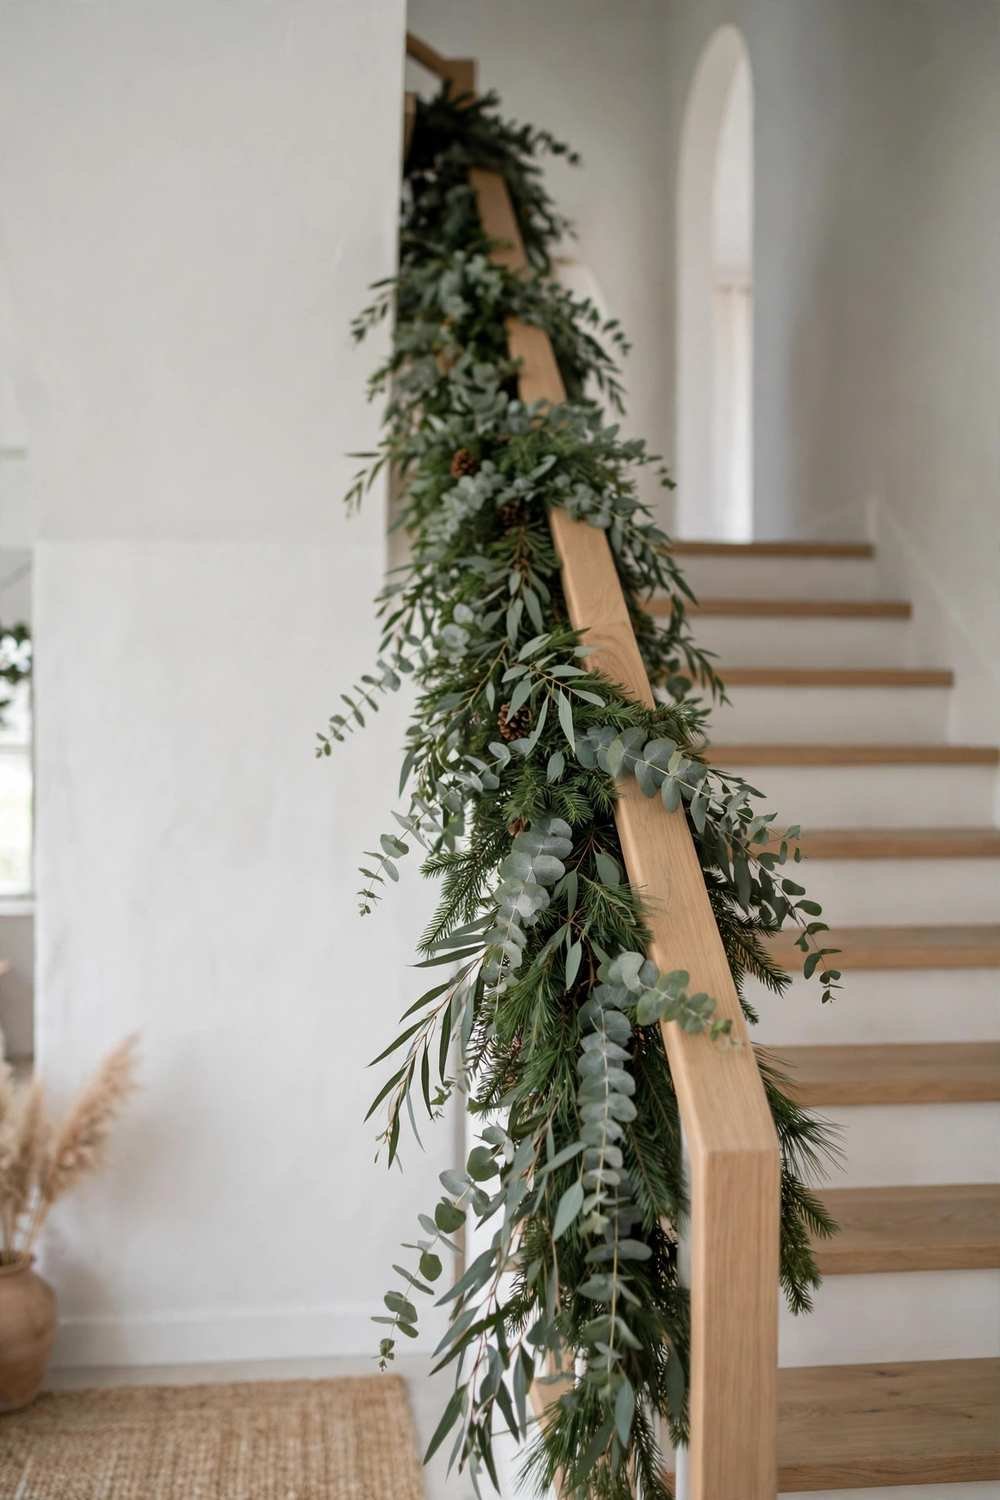
Mix silvery-green eucalyptus stems into a pine garland for a softer, modern-classic look. The dusty color calms down busy entries and pairs beautifully with cream, sage, and brushed gold. Faux eucalyptus garland is inexpensive and lasts for years, so this one is easy on the budget.
Lit Garlands That Glow
6. Pre-Lit Garland, Zero Fuss
A pre-lit garland means no separate light string to wrestle with — hang it, plug it in, done. Choose warm white lights; they flatter wood railings and skin tones in photos. Battery-operated versions are best if your nearest outlet is far from the stairs, and most have timers so they switch off at bedtime on their own.
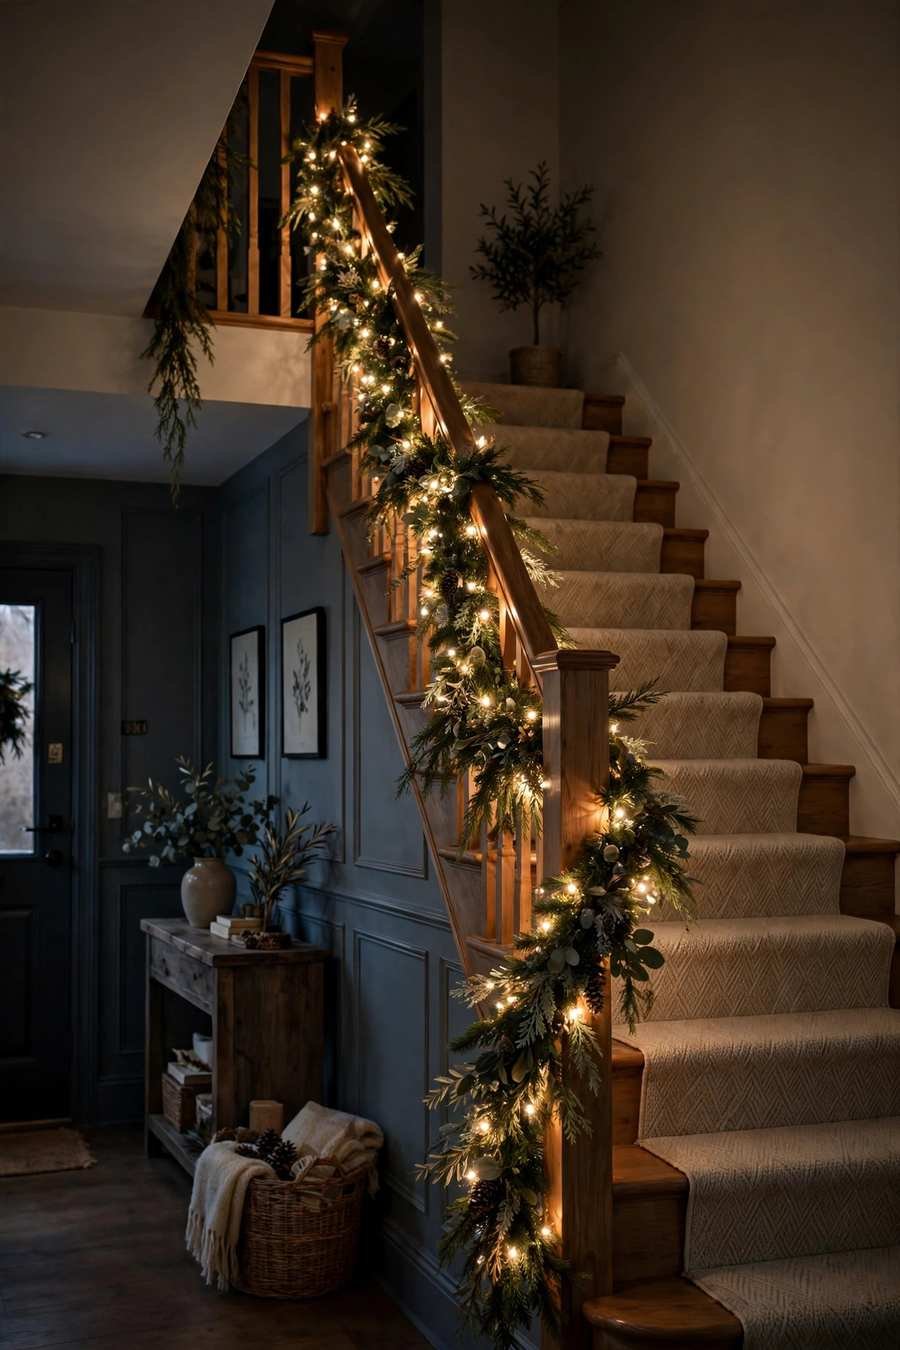
Before you hang it, unroll the garland on the floor, plug it in, and check every bulb — replacing a dead section on the floor takes a minute, on the railing it takes twenty. A 9-foot pre-lit strand with 50–100 lights is the sweet spot for most railings; fewer looks sparse after dark. Tape the cord run along the wall side of the railing so nothing dangles into the walkway.

7. Fairy Lights Wound Loose and Airy
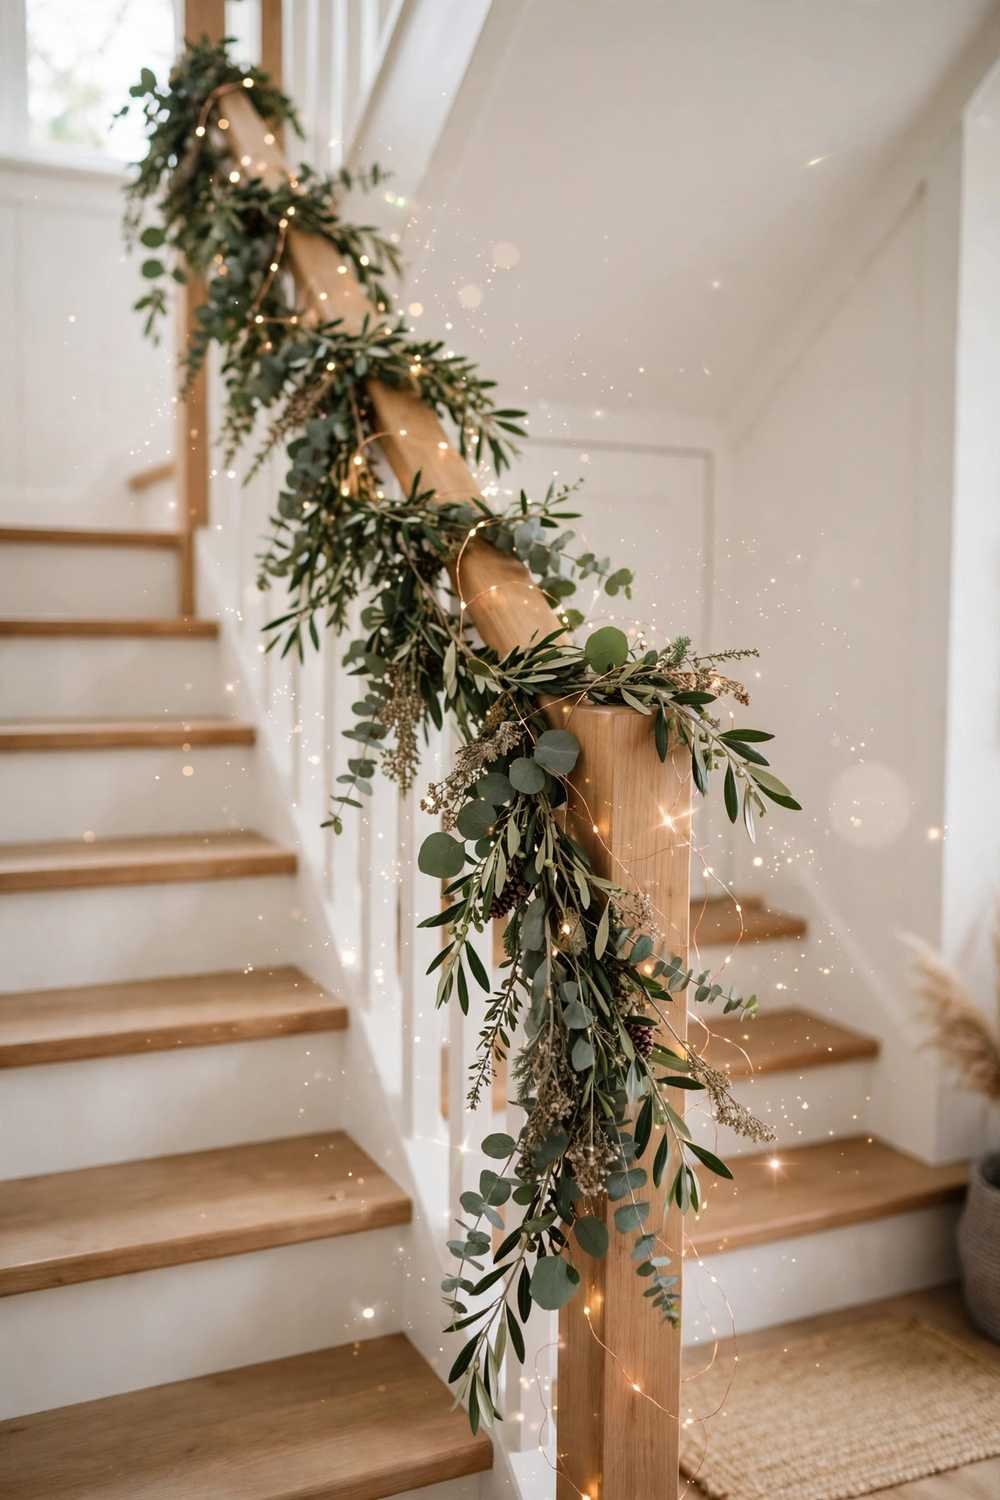
Thin copper-wire fairy lights give a delicate sparkle instead of a bold glow. Wind them loosely so the wire disappears into the greenery. Because the wire bends and holds its shape, you can also shape little spirals at the newel post. This is the sweetest option for a smaller staircase that a heavy garland would overwhelm.
8. Candlelight on the Steps
Place flameless LED candles or hurricane lanterns on every third step, tucked against the garland. The flicker at foot level makes the whole staircase feel like a holiday movie scene. Always use flameless candles on stairs — real flames and passing pajamas are a bad mix.
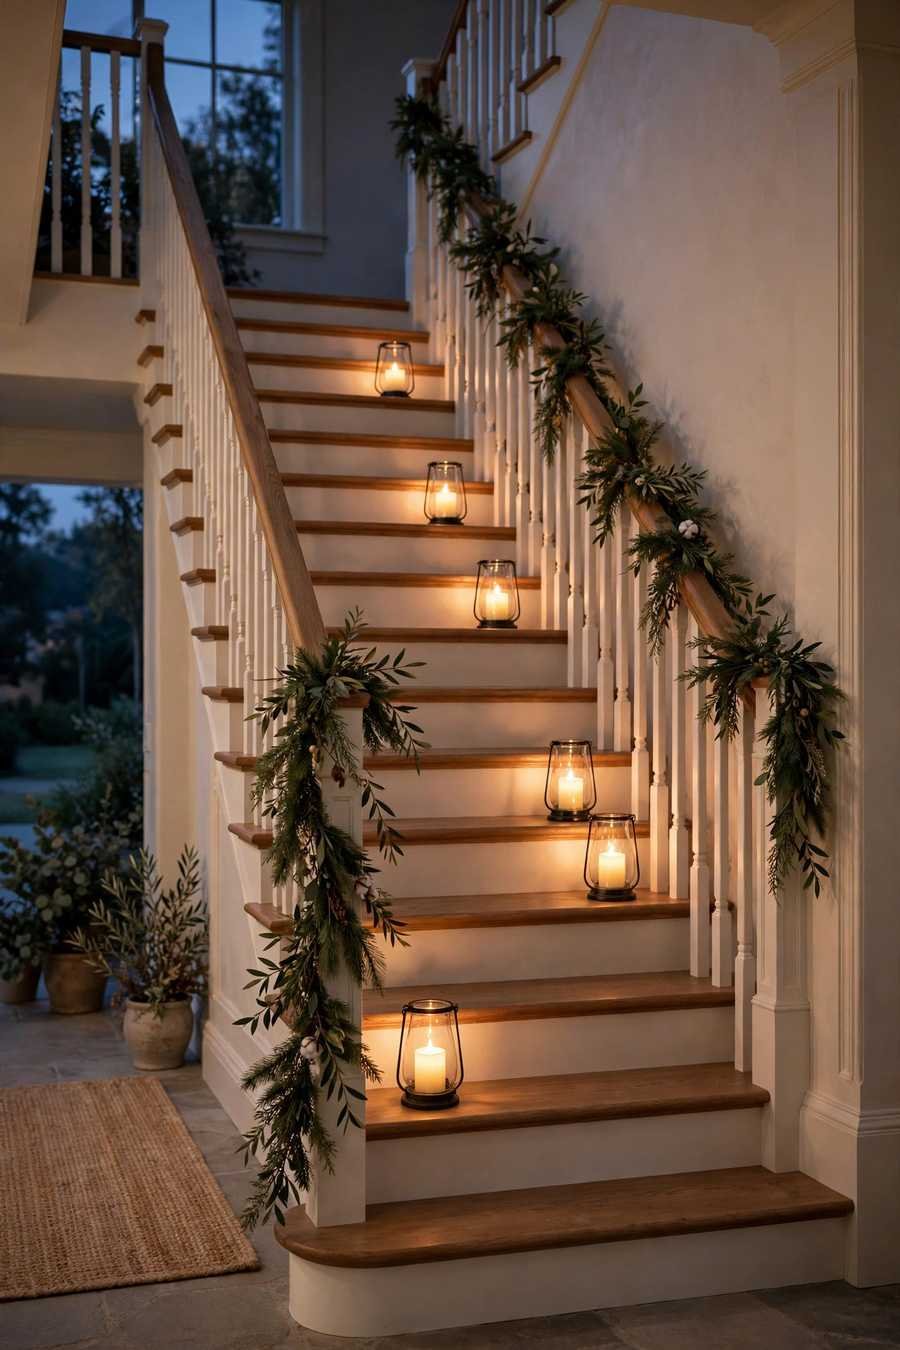
Place candles on the wall side of the step, never the open edge where a heel or a trailing blanket can catch them, and keep the middle of every step completely clear. Candles with a built-in timer and a realistic flicker setting are worth the small upgrade. Vary the heights slightly — a 4-inch and a 6-inch candle alternating reads more natural than a matched row.

9. Twinkle Lights Plus Mirror Shine
If your entry has a mirror or glossy banister, lean into it: lights reflect and double. Keep the garland greenery-only and let the lights do the decorating. It looks twice as full at night, which is exactly when guests arrive for dinner.

Ribbon-Woven and Bow Garlands
10. Big Velvet Bows at Every Anchor
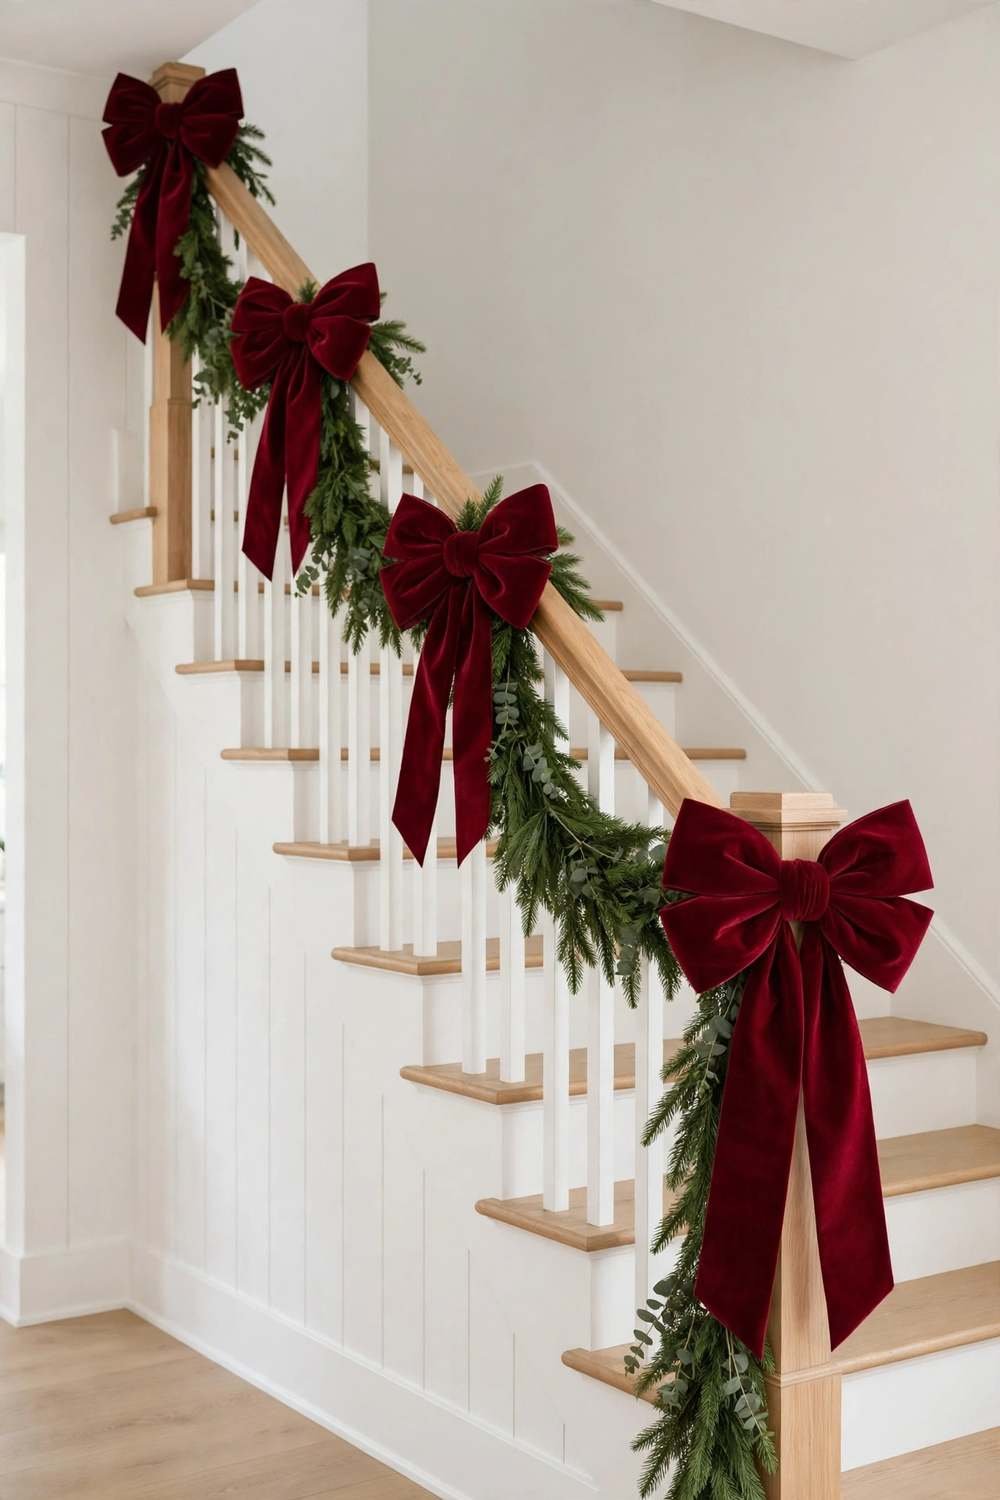
Hang a simple garland, then tie one oversized velvet bow wherever it meets the railing. Deep red is timeless; burgundy and forest green look rich on dark wood. Buy wired velvet ribbon — you can fluff the loops back into shape in seconds, year after year.
11. Ribbon Tails That Flow Down
Cut ribbon into long tails and tie them at intervals so they hang down between the balusters like streamers. They move slightly when people walk past, which makes the whole display feel alive. Mix two ribbons — one plaid, one plain velvet — for a layered, collected look.

12. Buffalo Check Farmhouse Style
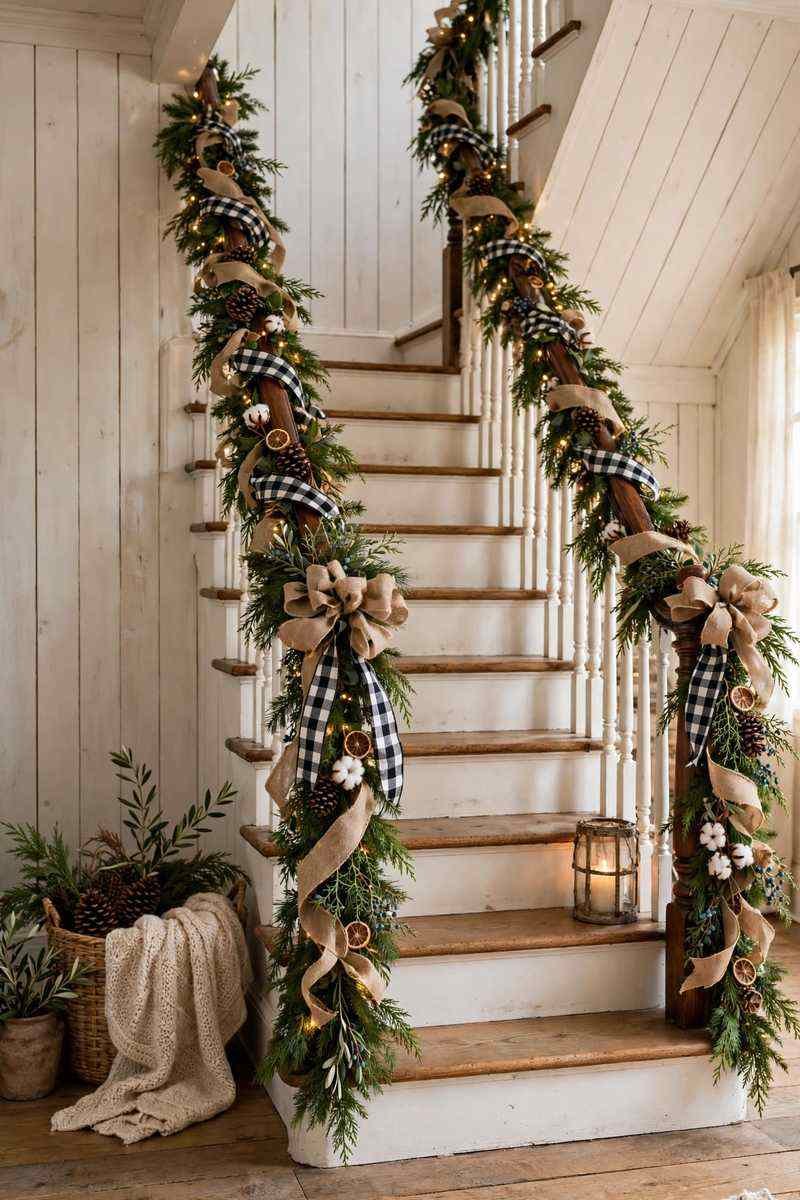
Black-and-white buffalo check ribbon plus burlap turns any garland farmhouse in minutes. Add a few galvanized bells if you have them. This style hides an older, worn railing beautifully because the bold pattern pulls the eye.
Ornament-Loaded Garlands
13. Red and Gold Bauble Clusters
Wire ornaments together in clusters of three, then tuck the clusters into the garland instead of hanging ornaments one by one. Clusters look fuller and more “designed” than singles. Use shatterproof baubles anywhere little hands or dog tails can reach.
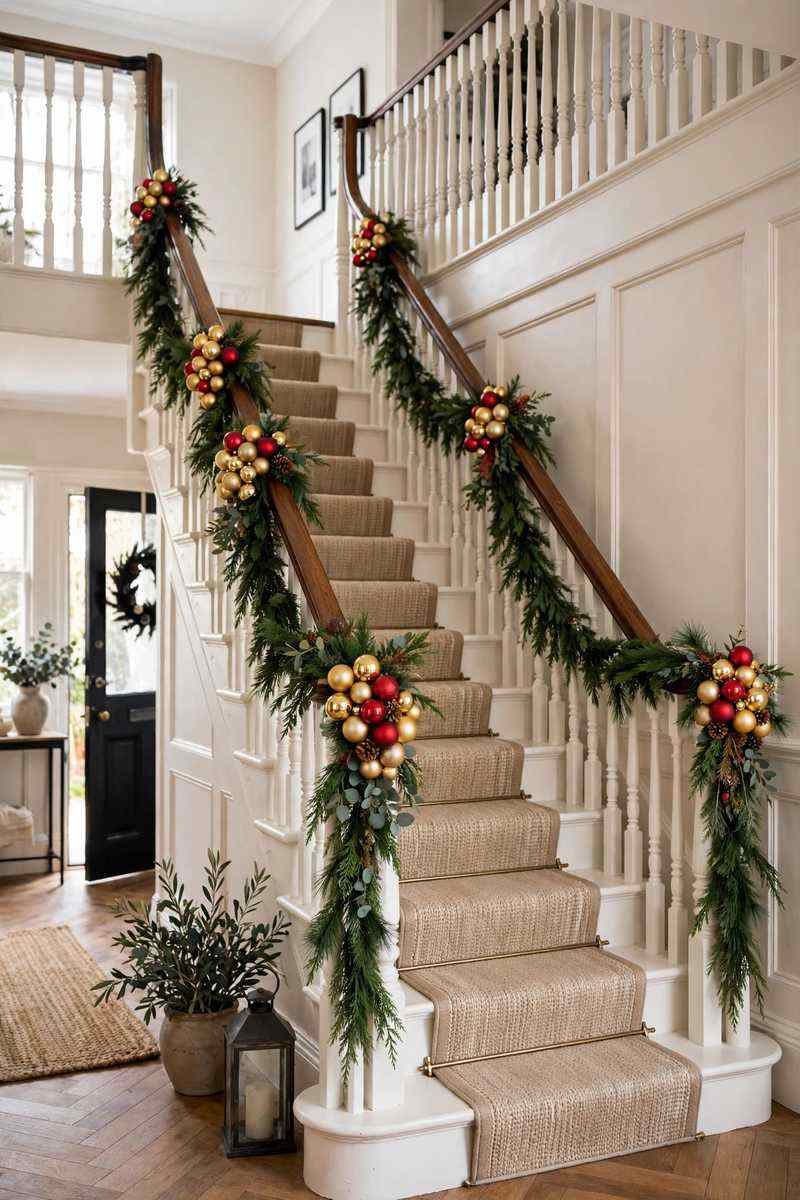
Build each cluster with one large (3-inch), one medium, and one small bauble on a single wire loop, mixing finishes — shiny, matte, glitter — inside the same cluster. Space clusters at the swag bottoms and anchor points where the eye already pauses, roughly every 2–3 feet. Ten to twelve clusters dress a full staircase; it sounds like a lot until you see how fast they wire together.

14. A Bow-Topped Newel Post
The bottom newel post is the handshake of your staircase — dress it properly. Wrap it in a short spiral of garland and finish with your biggest bow, a pinecone cluster, or a small wreath. If you enjoy the craft side, our guide on how to make a Christmas garland shows the wiring basics that make this easy.
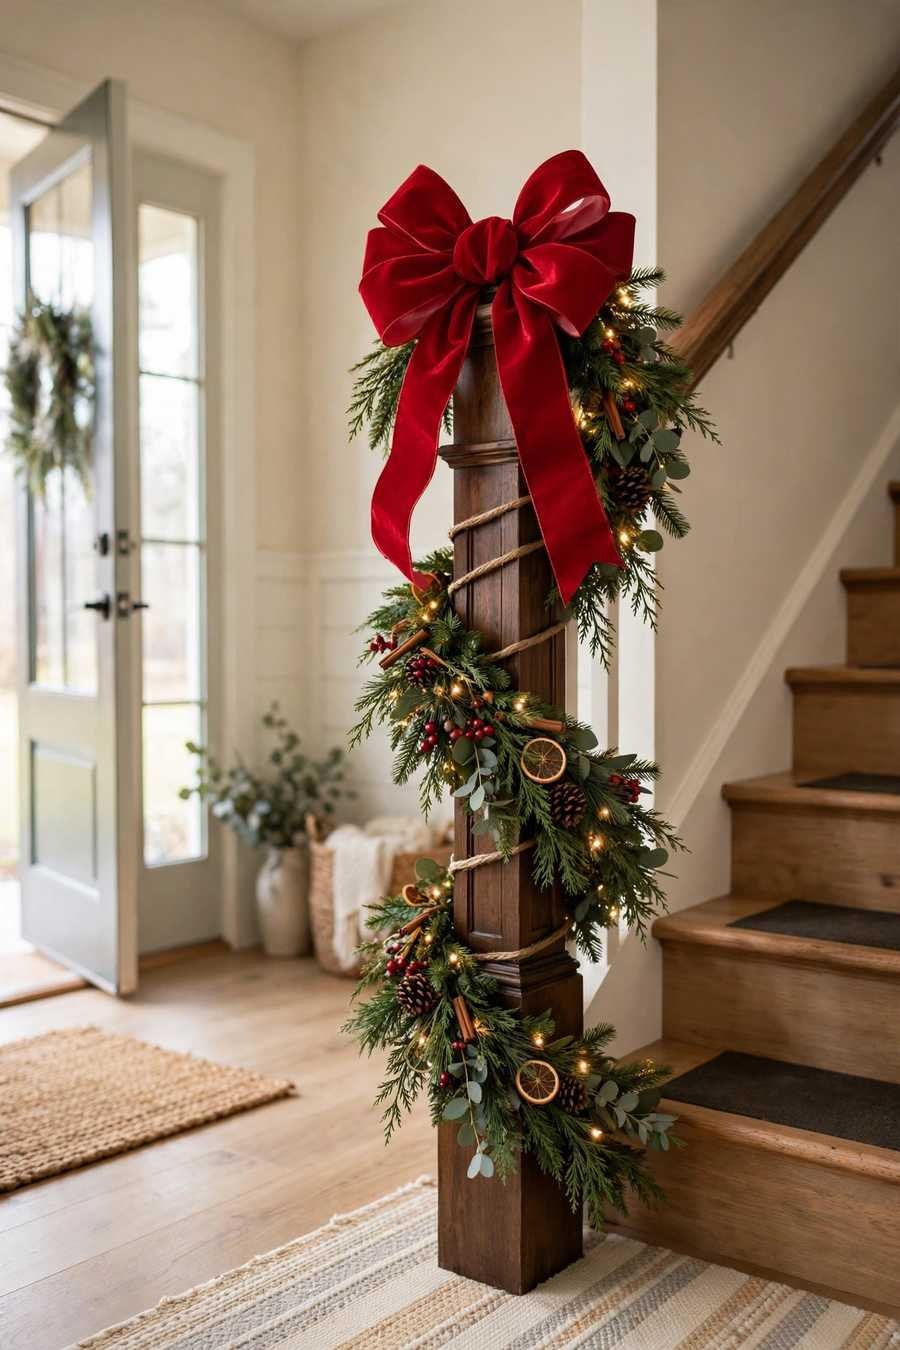
A 3-foot offcut of garland is usually enough for the spiral — another reason to buy one strand long. Wrap downward from the post cap and secure top and bottom with ribbon ties; the spiral stays put without a single staple. If the post has a flat cap, set a small lantern or a pillar candle holder on top and let the garland wrap beneath it.

15. Stockings Hung From the Railing
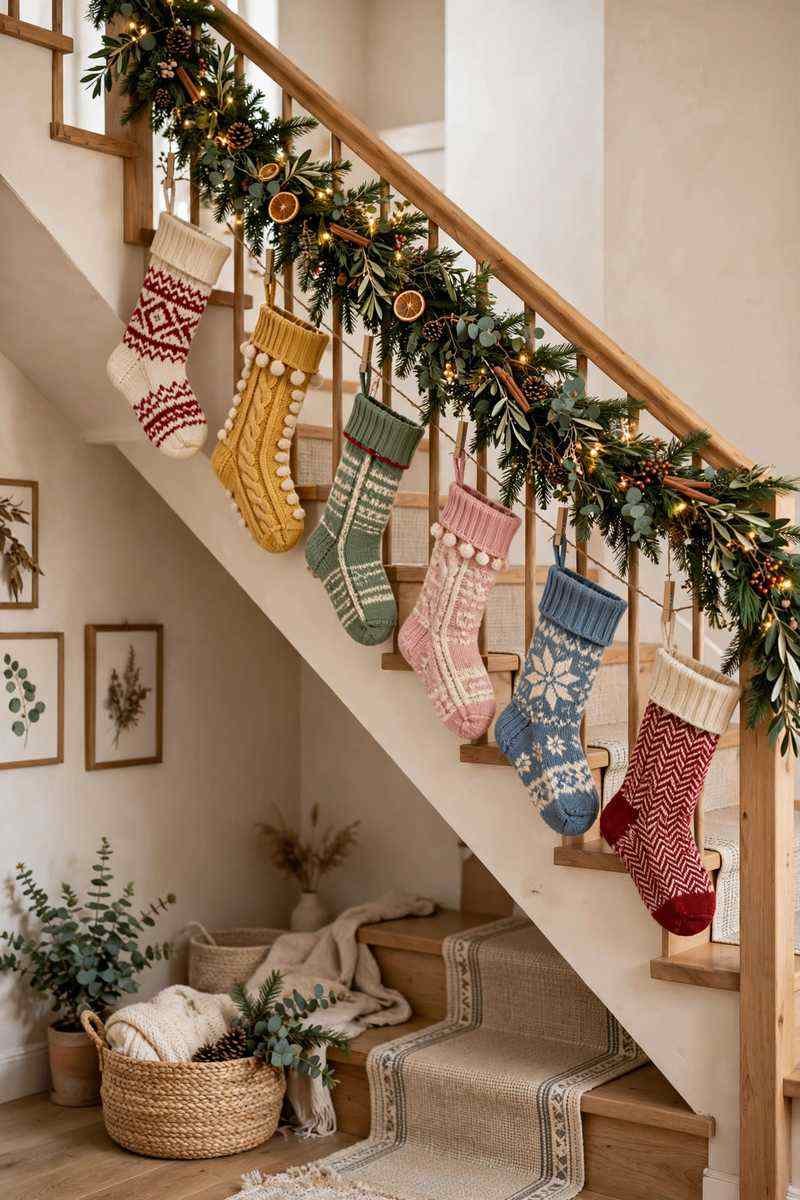
No mantel? Your staircase is the answer. Hang your family’s stockings along the railing with ribbon loops between the swags. It solves the stocking problem and looks straight out of a Christmas card. Keep them on the wall side of the railing so nobody brushes them off on the way up.
16. Dried Oranges and Cinnamon
Thread dried orange slices and cinnamon sticks into the greenery for a garland that smells as good as it looks. Every time someone passes, the warm spice scent lifts a little. It’s inexpensive, fully natural, and compostable in January — no storage bin required.

Dry orange slices at 200°F for about 3 hours until papery, then pierce each one and tie it on with twine alongside a bundle of two or three cinnamon sticks. Space the scented pieces every foot or so, concentrating them at hand height where passing hands warm them. By the second week the scent fades to a whisper — a drop of orange or clove oil on the cinnamon revives it instantly.

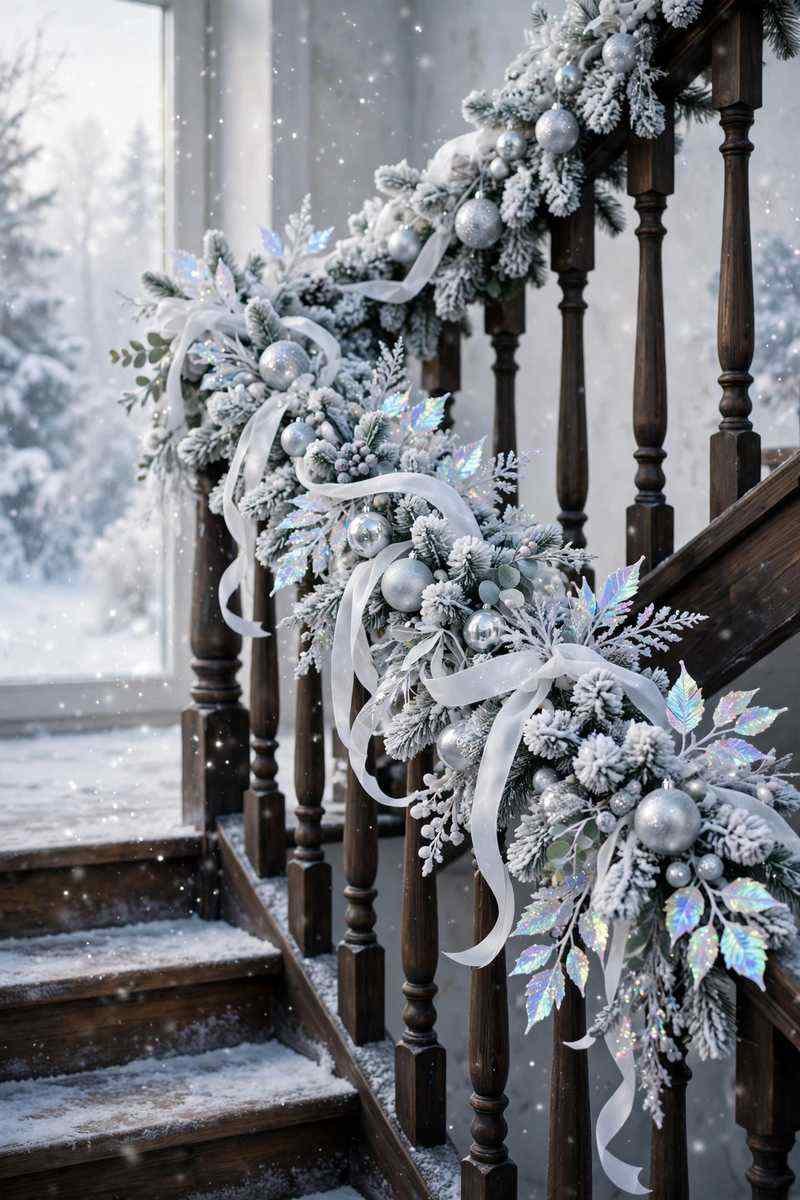
17. Silver and White Winter Wonderland
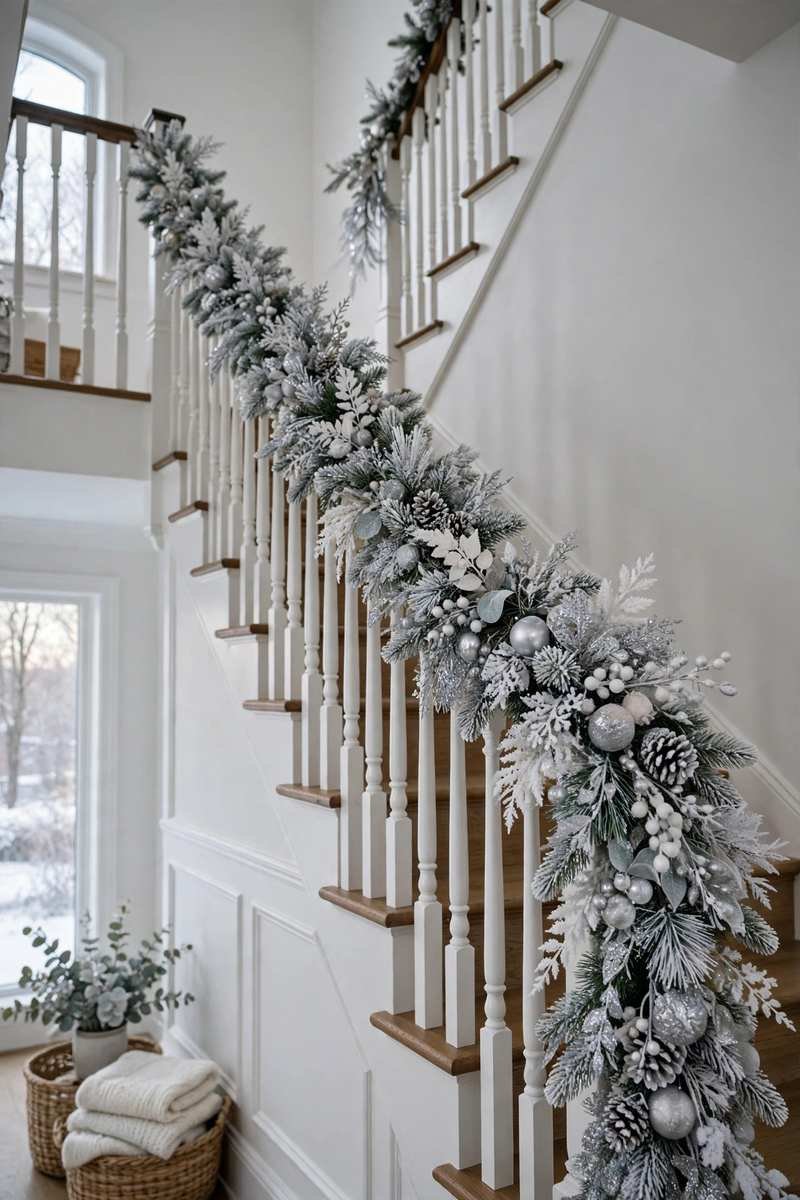
Go frosty: flocked garland, silver baubles, white ribbon, and clear or iridescent picks. Against a dark wood railing this combination is stunning, and it carries your entry gracefully from Christmas right through January’s winter weeks.
Minimalist Garlands
18. One Simple Strand, Beautifully Plain
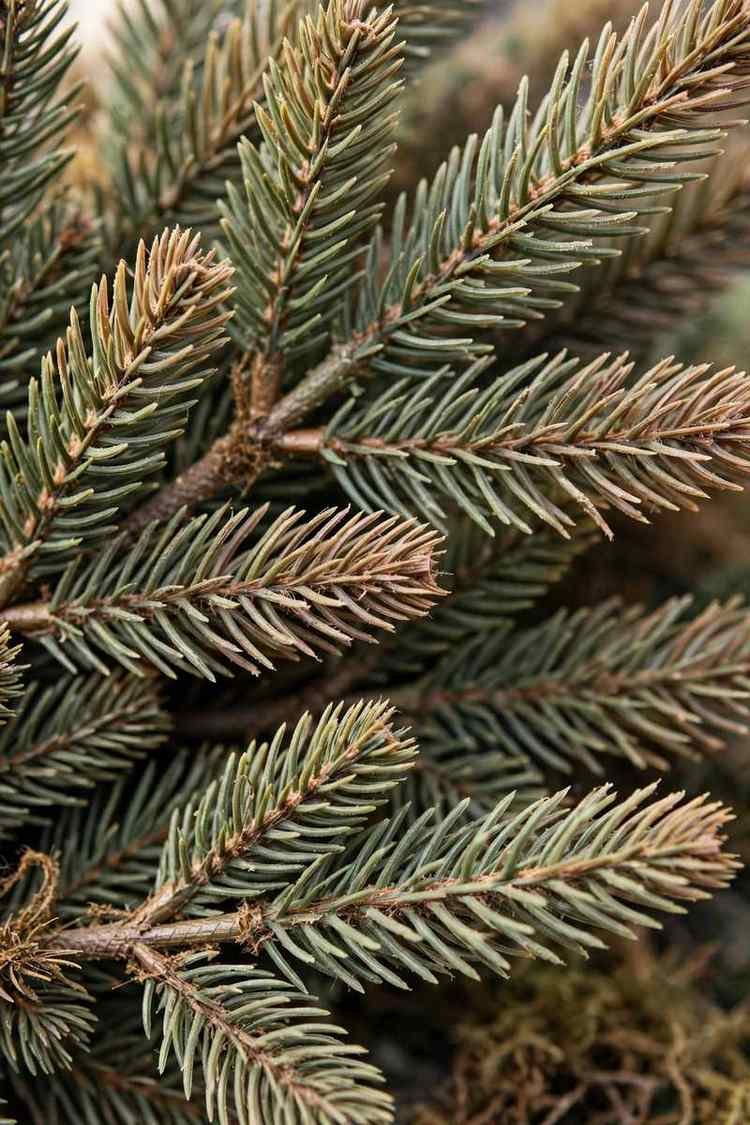
A single strand of realistic greenery, nothing added, swagged gently — sometimes that’s the whole look. It suits Scandinavian and modern homes where the tree does the talking. Spend your money on one good-quality strand rather than three thin ones; realism lives in the branch tips.

Look for “real touch” or mixed-tip garlands with varied branch lengths — uniform plastic needles are what give faux greenery away. Fluff each tip outward and slightly upward before hanging; a flattened strand from the storage box is the main reason simple garlands disappoint. With nothing on it to date it, this is also the easiest garland to store: coil it loosely and it needs no untangling next year.
19. Greenery Only on the Newel Posts
Short railing? Skip the railing entirely and wrap just the top and bottom newel posts. You get the festive signal with a fraction of the garland — a genuine budget saver. Add one bow each and call it done.

20. Paper Star and Wooden Bead Garland
Layer a wooden bead garland and a few folded paper stars over a slim green strand. It’s light, modern, and very renter-friendly because nothing heavy pulls on the railing. Kids love helping fold the stars, too.

Use beads in the 3/4-inch range — smaller disappears, larger starts to look like a toy necklace. Five to seven paper stars per railing is plenty; hang them at swag bottoms where the greenery is fullest behind them. Everything here weighs almost nothing, so simple ribbon ties hold it all, and the whole arrangement packs into a shoebox in January.

🎄 STAIRCASE GARLAND IN 5 STEPS — THE ORDER THAT WORKS
- Measure and mark. Measure the railing, do the math from the box at the top, and tie small ribbon markers where each swag will anchor.
- Attach the plain garland first. Hang it empty and adjust until every swag dips evenly — this is much harder to fix once it’s decorated.
- Add lights second. Wind them through while the garland is bare, plug in, and check for dark patches at dusk.
- Weave ribbon and layers third. Ribbon, a second greenery, or bead garlands all go on before anything fragile.
- Finish with the delicate pieces. Ornament clusters, bows, stockings and scented bits go on last — and come off first in January.
How to Attach It (Without Wrecking Your Railing)
🛡️ NO-DAMAGE ATTACHING — RENTER-SAFE CHECKLIST
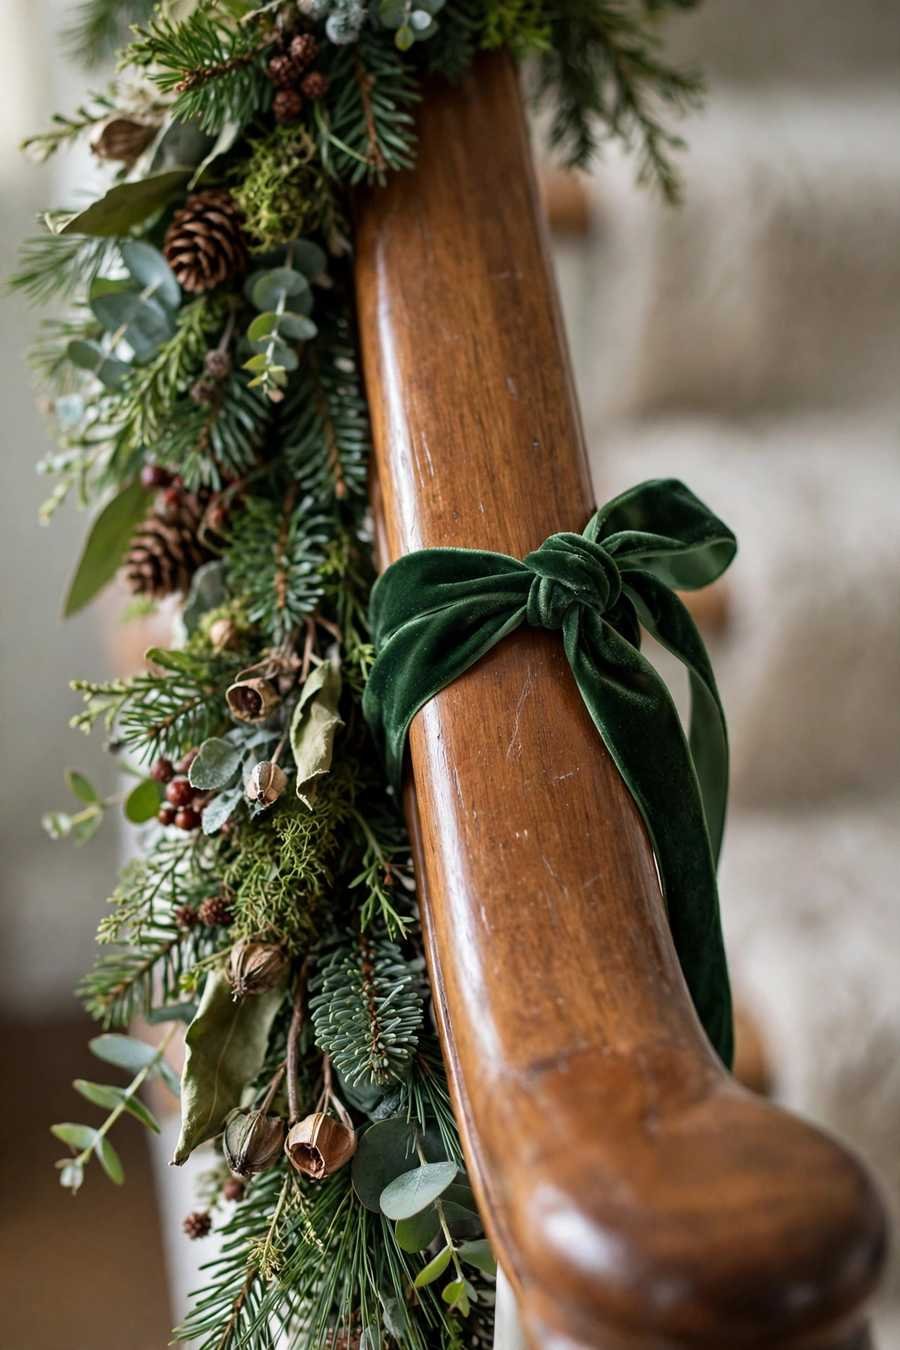
- ✓ Velvet ribbon ties — soft on wood, no scratches, doubles as decoration
- ✓ Clear zip ties — strong and nearly invisible; snip off in January
- ✓ Garland ties / twist ties — reusable year after year
- ✓ Removable adhesive hooks — for the wall side or newel post, rated for the weight
- ✗ Skip nails, screws and staples — they split wood and cost you your deposit
→ Garland on a Staircase, Step by Step
- Measure and mark. Measure the railing, then multiply: ×1.5 for draped swags, ×2 for wrapping it round. Tie small ribbon markers where each swag will anchor.
- Fluff it, then hang it plain. Separate every branch tip, hang the bare garland, and adjust until each swag drops an even 8–12 inches at its center.
- Attach without damage. Fasten with velvet ribbon ties or clear zip ties every 2–3 balusters — and keep the handrail itself clear where hands need to grip.
- Add the lights. Wind them through the bare garland, plug in, and check for dark patches at dusk, when guests will actually see it.
- Weave ribbon and layers. Work wide wired ribbon in and out so it surfaces every 12–18 inches; a second greenery or a bead garland goes on before anything fragile.
- Finish with the delicate pieces. Bauble clusters every 2–3 feet, bows at the anchor points, and stockings hung on the wall side of the railing.
- Dress the newel post, then photo-test. Spiral a 3-foot offcut around the post, top it with your biggest bow, and take one test photo from the front door.
21. The Staircase-Plus-Entry Combo
Repeat one element from your staircase on your front door and entry table — the same ribbon, the same berries. That echo makes the whole entry feel planned. Our front porch Christmas decor ideas will help you carry the look right out to the doorstep.
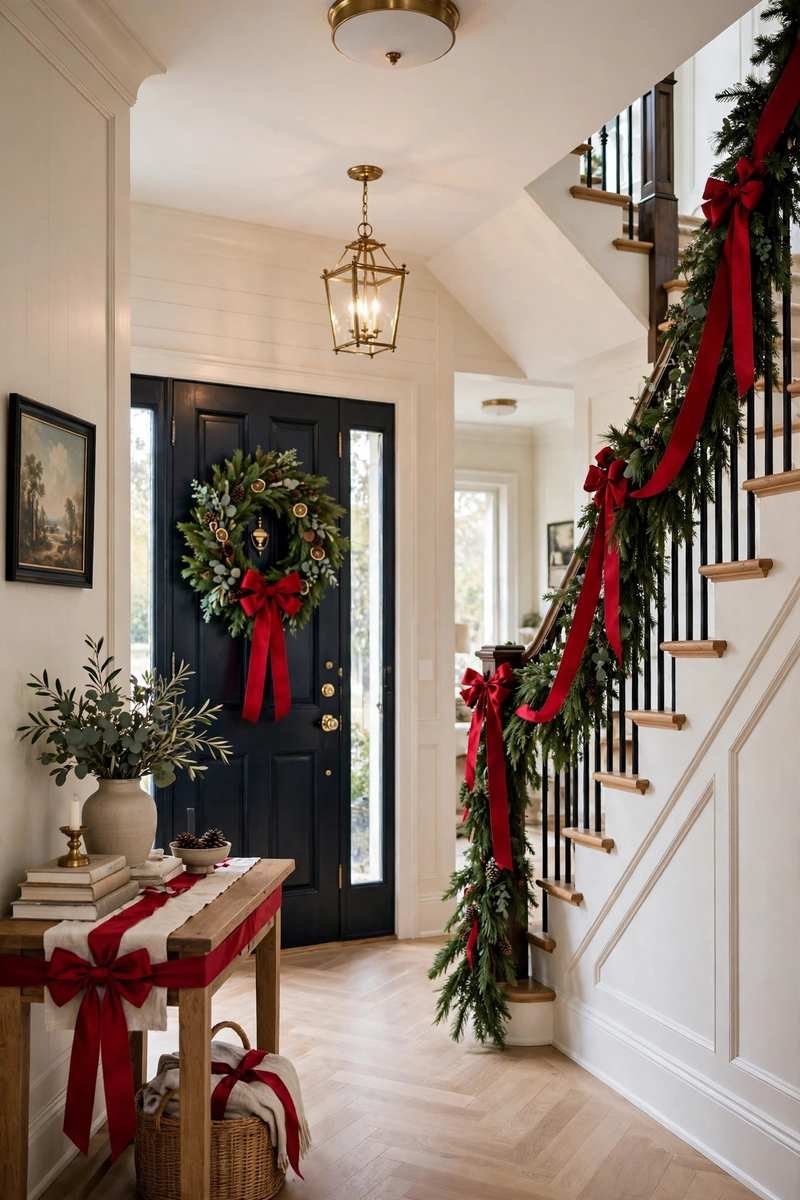
One repeated element is enough — two starts to feel matched on purpose. The cheapest echo is ribbon: the same roll that wove through your garland can tie the door wreath and wrap the stair basket’s handle. Stand in the open doorway and look both ways; if your eye catches the same color or texture in both directions, the combo is working.
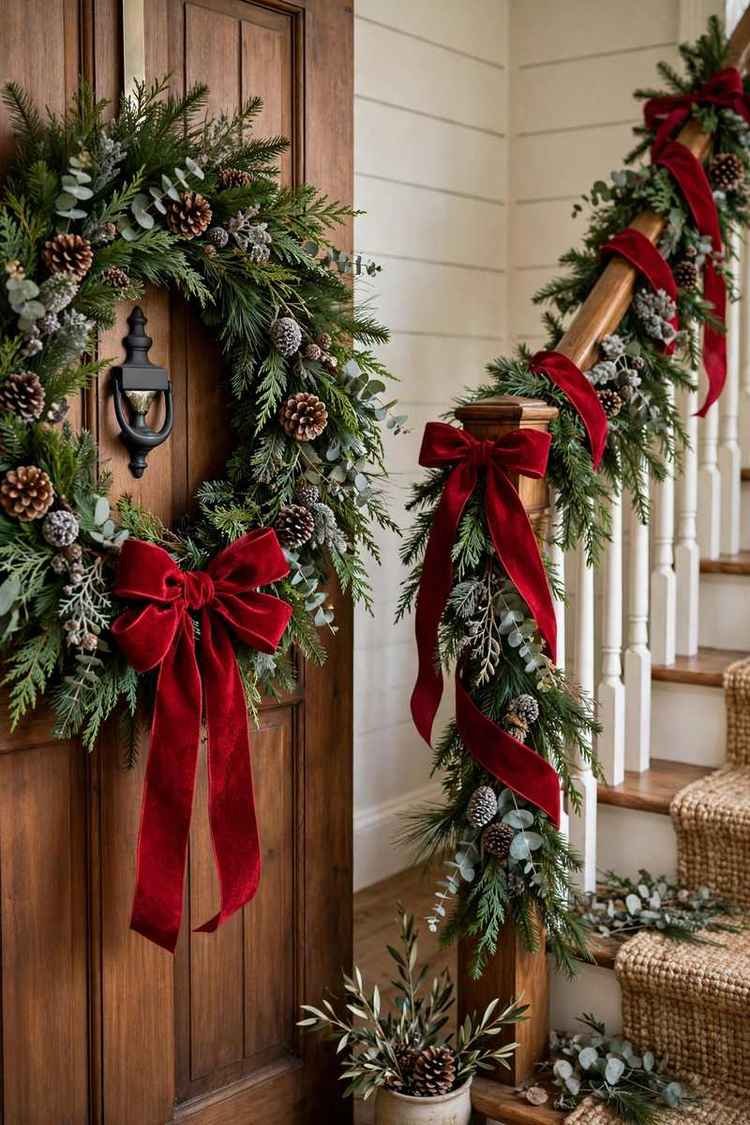
22. Match the Wreath to the Garland
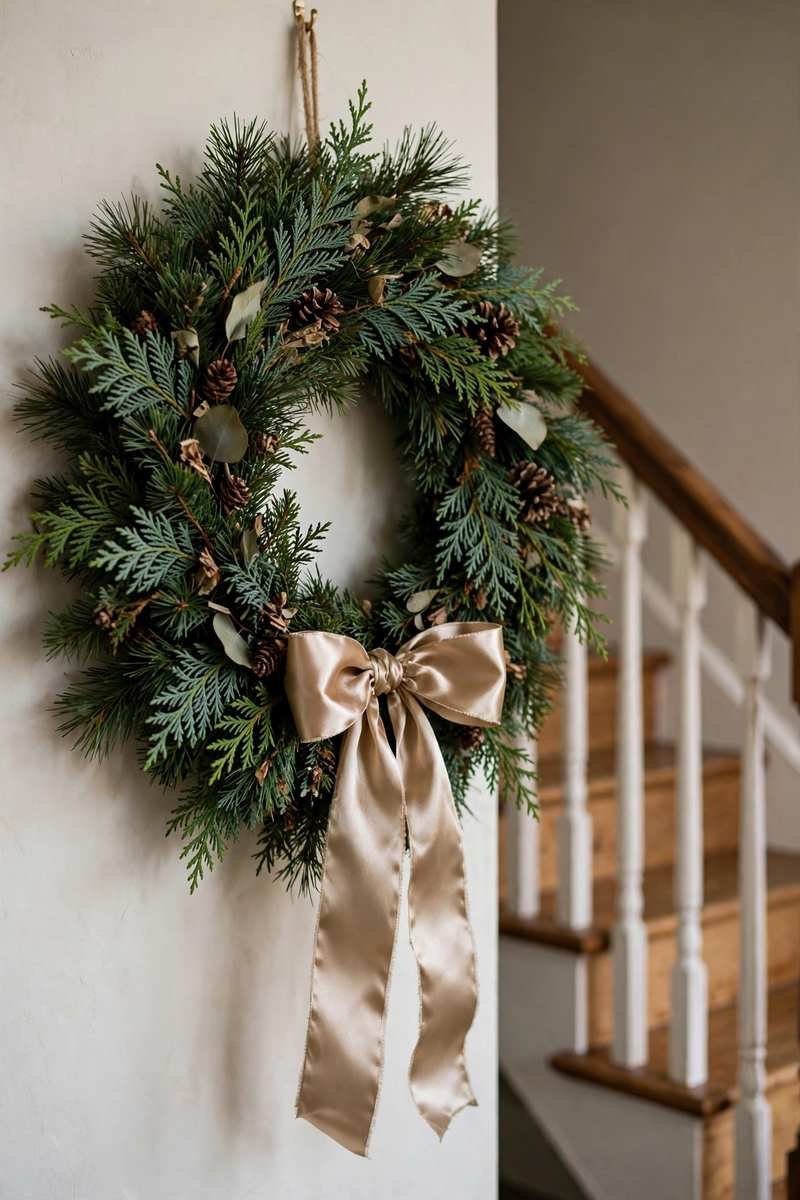
If your entry has a door or mirror wreath, build it from the same greenery family as your garland and repeat one accent. Browse these Christmas wreath ideas and pick the style closest to your garland — matching one detail is enough to tie the room together.

The simplest way to guarantee a match: buy the wreath and garland from the same product line, or make the wreath from a cut length of the garland itself bent into a circle and wired. Hang the wreath so its center is at eye level from the doorway — that is the sightline your guests get, and it is where the pairing registers.
23. The Photo-Ready Finishing Touches
Step back and look at your staircase the way a camera does: fluff flat spots, turn ornament hooks inward, and check the bottom step — that’s what lands in every family photo. A lantern or a small basket of greenery at the base finishes the scene and hides the plug or battery pack.

Take one actual test photo from the front door with the lights on — the camera finds flat spots and gaps your eyes excuse. Check head height, too: nothing should hang where a tall guest’s shoulder or a carried laundry basket will snag it. Tuck cords fully behind the garland at the base so the photo shows greenery, not hardware.

💡 PRO TIP
Hang your garland in the late afternoon and check it at dusk. That’s when your guests will see it — and when gaps, dark patches and a lopsided swag show up. Five minutes of adjusting in evening light beats an hour of decorating at noon.
Quick Style Picker
| Your home style | Best garland match |
|---|---|
| Traditional | Pine + cedar with plaid ribbon (#1–2) |
| Farmhouse | Buffalo check, burlap and bells (#12) |
| Modern / minimal | Single plain strand or eucalyptus mix (#5, #18) |
| Glam | Bauble clusters or silver-and-white (#13, #17) |
| ✓ DO | ✗ DON’T |
|---|---|
| Measure the railing first — ×1.5 for swags, ×2 for a wrapped rail | Don’t guess the garland length — guessing is how you end up 3 feet short |
| Hang the garland plain and even out the swags before you decorate it | Don’t use nails, screws or staples — they split wood and cost you your deposit |
| Attach with velvet ribbon ties or clear zip ties, every 2–3 balusters | Don’t wrap the handrail where hands need to grip — keep the grip completely clear |
| Check the finished staircase at dusk, when your guests will see it | Don’t put real candles on the steps — flameless only, always |
Conclusion
A garland on the staircase is the hardest-working decoration in your home: it greets every guest, glows in every photo, and costs less than almost any other big-impact piece. Pick the style that matches your home — classic greenery, soft lights, bold bows or barely-there minimal — measure honestly, attach it gently, and your entry will feel like Christmas from the very first step. Decorating the rest of the house too? Our kids’ room Christmas decor ideas will make the little ones’ spaces just as magical.
FAQ
How much garland do I need for my staircase?
Measure your railing, then multiply: ×1.5 for draped swags, ×2 for wrapping around the railing. A standard 12–14 foot railing usually needs 18–25 feet of garland, which is typically two store-bought strands.
How do I attach garland without damaging the railing?
Use velvet ribbon ties, clear zip ties, or reusable garland ties every 2–3 balusters. They hold firmly, come off cleanly in January, and won’t scratch wood or cost you a rental deposit.
Is real or faux garland better for stairs?
Faux is the practical winner for most homes — no dropped needles on the steps, no watering, and pre-lit options save time. If you love the scent of real greenery, use a faux base and tuck in fresh cedar or pine clippings weekly.

How do I keep garland safe on stairs kids and pets use?
Keep the handrail itself clear — attach garland on top of the rail or along the balusters, never wrapped where hands need to grip. Use flameless candles only, shatterproof ornaments within reach, and tie everything snugly so nothing dangles at face or paw height. A quick tug test on every tie takes two minutes and is worth it.
When should I put up and take down a staircase garland?
Most families hang it the weekend after Thanksgiving and take it down in the first week of January. Faux garland goes up in about 30–45 minutes once you’ve done it once. Frosty silver-and-white styles (idea #17) can honestly stay through January as winter decor — just remove the bows and anything overtly Christmas.
💬 Join Our Decor Community
Decor Fern | Home Decor Ideas & Inspiration — share your rooms, get ideas, and chat with fellow decor lovers.
Join the Facebook GroupFollow on Facebook

One Comment