How to Hang Christmas Lights on a Wall Damage Free Way
A wall of twinkle lights can turn an ordinary room into the coziest corner of the house — behind the sofa, around a window, draped over the bed. The only thing standing between you and that glow is the fear of what the wall will look like in January. For a full no-nails method, see how to hang Christmas lights without nails.
That fear is outdated. Clear adhesive clips, tiny hooks, and a little planning let you hang christmas lights on a wall with completely damage-free results. No nail holes to fill, no paint to touch up, no deposit to wave goodbye to — just lights that float exactly where you want them.
This guide takes you from sketch to final nighttime check: design first, clip smart, hang in the right order, and hide the cords so the magic looks effortless.
1. Sketch Your Design Before Touching the Wall
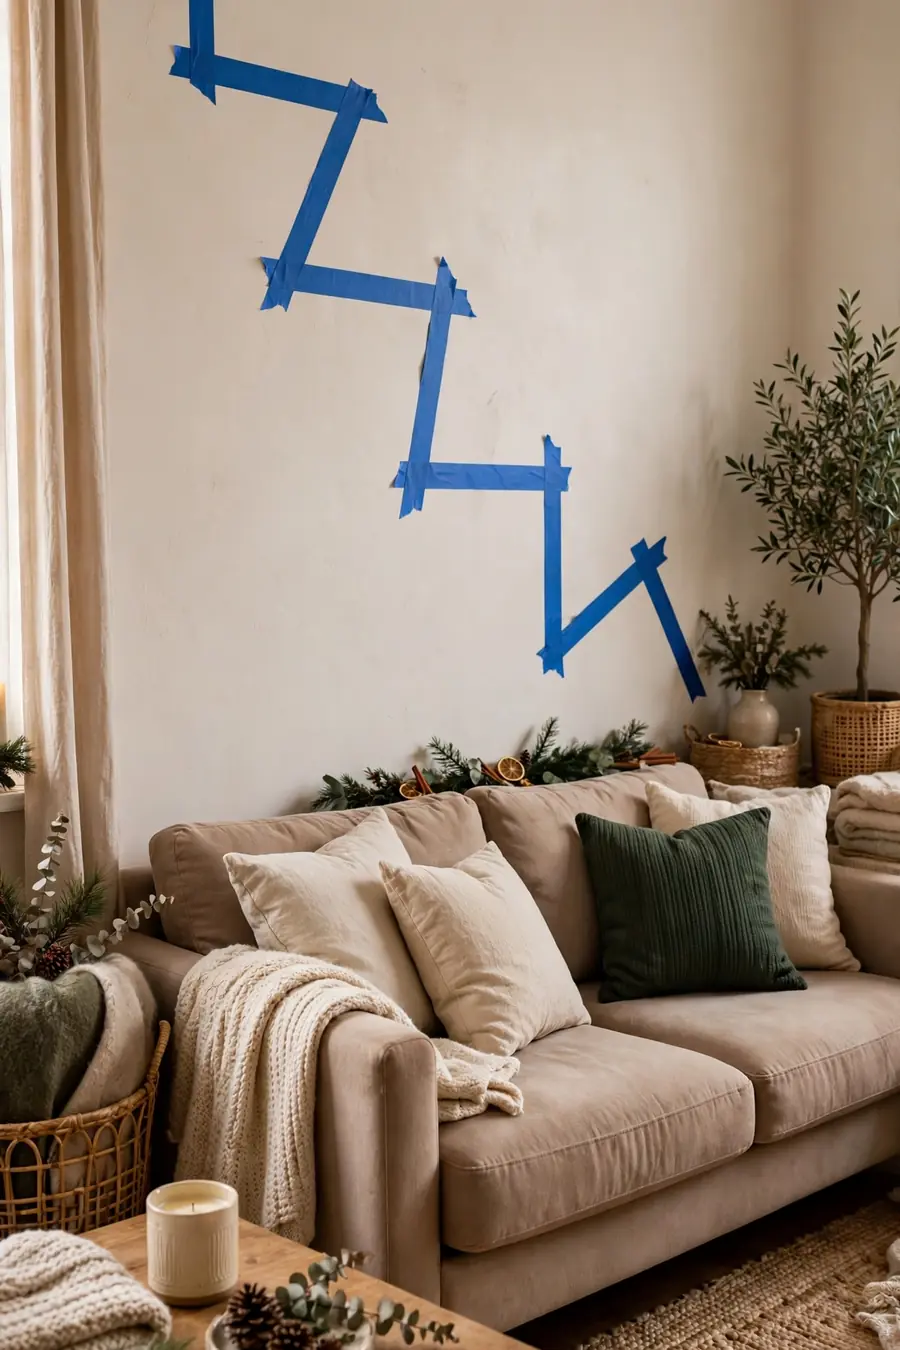
Every great light wall starts as a rough sketch on paper or in a phone note. Decide what you are making — soft swags across the top of a window, a zigzag over the sofa, a twinkling curtain behind the tree, or lights tracing a shelf or headboard. Thirty seconds of sketching saves an hour of peel-and-restick frustration later.
Measure the wall and each run with a tape measure, then match it against your strand lengths with a little slack to spare. Mark where the outlet sits, because every design has to flow back to power. The loveliest wall displays look intentional, and intention always starts with a plan rather than a staple gun.
Design note: Odd numbers read as elegant to the eye. Three swags or five vertical drops across a space look deliberate; even, military rows can feel stiff.
2. Choose Clear Mini Clips and Respect the Ratings
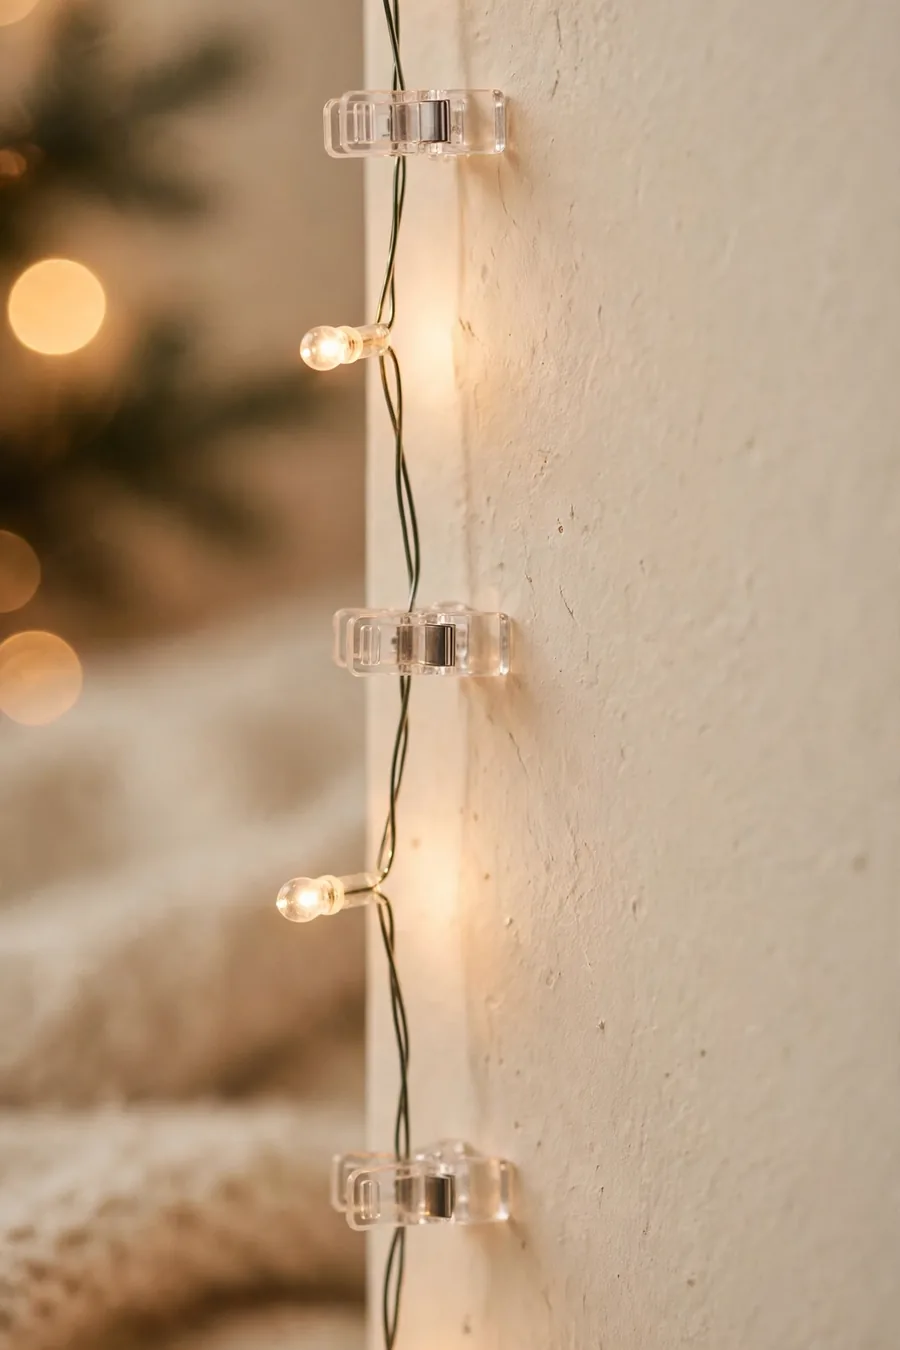
Clear adhesive mini clips are the hero product here. They are small, nearly invisible against most paint colors, and made to cradle a light cord without pinching it. For fairy lights on copper or silver wire, tiny clear hooks spaced wider apart do the same job with an even lighter touch.
Check the weight rating and stick to it honestly. Mini clips are designed for lightweight strands, not heavy outdoor C9 cords. If your strand feels substantial in the hand, step up to larger adhesive hooks spaced closer together. Choosing hardware that is stronger than the job is the core rule whenever you hang christmas lights on a wall without damage.
Surface note: Adhesive works on painted drywall, tile, glass, and finished wood. Fresh paint needs at least a week to cure before anything sticks to it, or removal can lift it.
You May Also Like: 23 Christmas Decor Ideas for Living Room: Cozy & Chic
3. Map Anchor Points with Painter’s Tape

Before peeling a single adhesive backing, map your whole design on the wall with small pieces of painter’s tape. Mark the top of each swag, the bottom of each dip, and the points where drops change direction. Step back and judge the spacing with the design still in tape, when fixing it costs nothing.
Even spacing is what separates a charming display from a spidery one. For swags, anchor every 18 to 24 inches with dips of 8 to 12 inches between them. For straight lines, a clip every 12 to 16 inches keeps the cord honest. Wipe each anchor spot with rubbing alcohol, let it dry, and only then press your clips on — firmly, for a full 30 seconds each.
Patience note: Give adhesive clips their full hour of cure time before the cord goes in. The wait feels eternal and is exactly why some displays hold all season and others fall by Friday.
4. Hang the Top Line First, Then Build Down
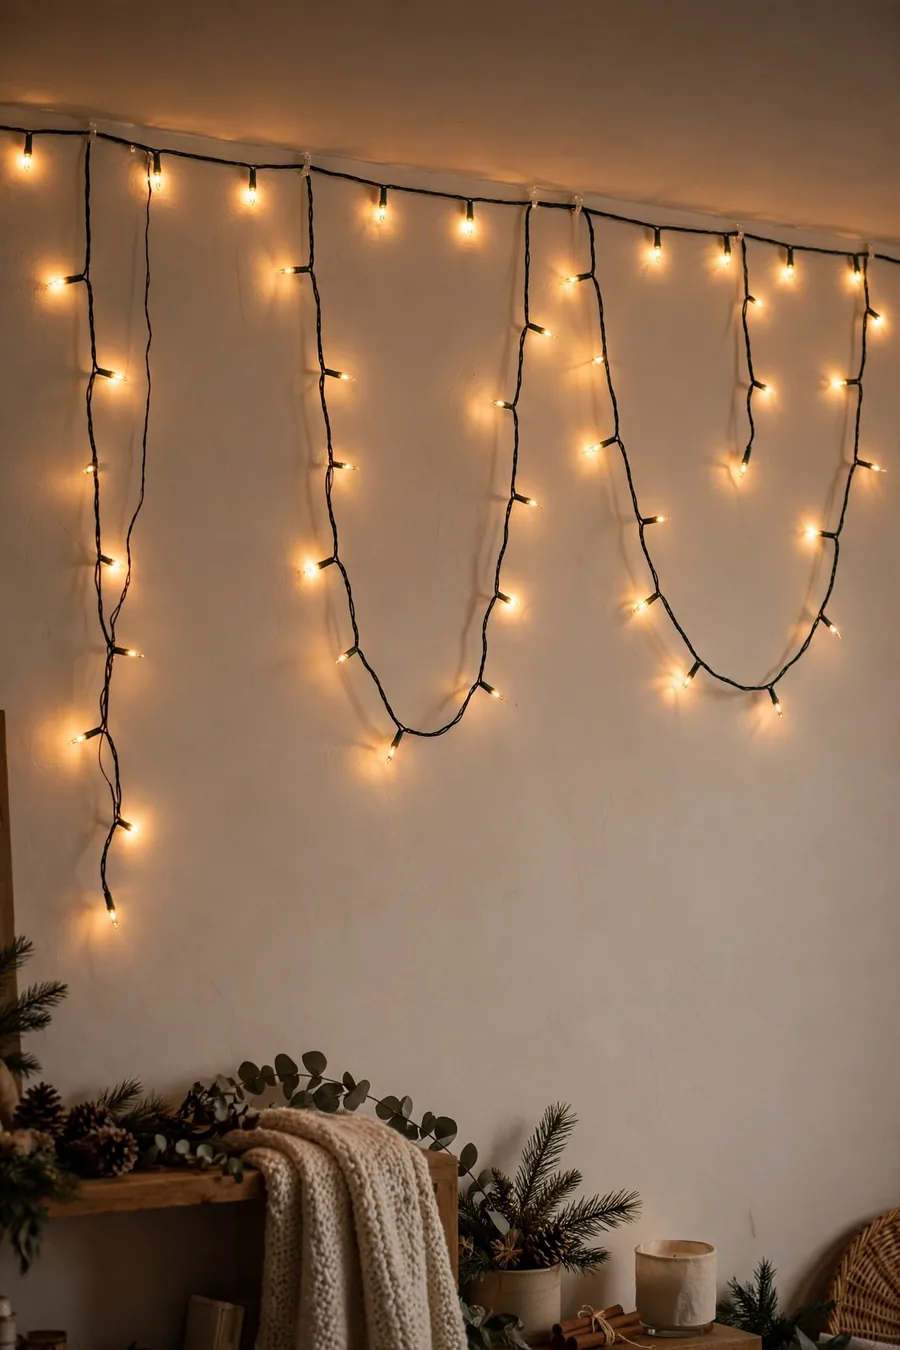
Work from the highest part of your design downward, and from the outlet outward only after the top line is set. Clip the cord in gently — most mini clips close with a soft press, and the cord should sit in the cradle rather than being pinched tight. Let the strand find its natural drape between anchors instead of pulling it taut.
If you are layering, put longer strands and swags up first, then fill underneath with shorter drops or a second color. Building down means gravity helps you: each layer settles over the last, cords stay off the floor, and you never have to reach through a finished curtain of lights to fix the top row.
Plug-first note: Thread the plug end to its outlet before you hang the final sections. More than one beautiful display has ended with the plug trapped three feet from the nearest socket.
You May Also Like: 25 Christmas Mantel Ideas to Make Your Home Glow
5. Create Shapes: Swags, Curtains, and Photo Walls

Photo credit: @thechristmasdecorators on Instagram
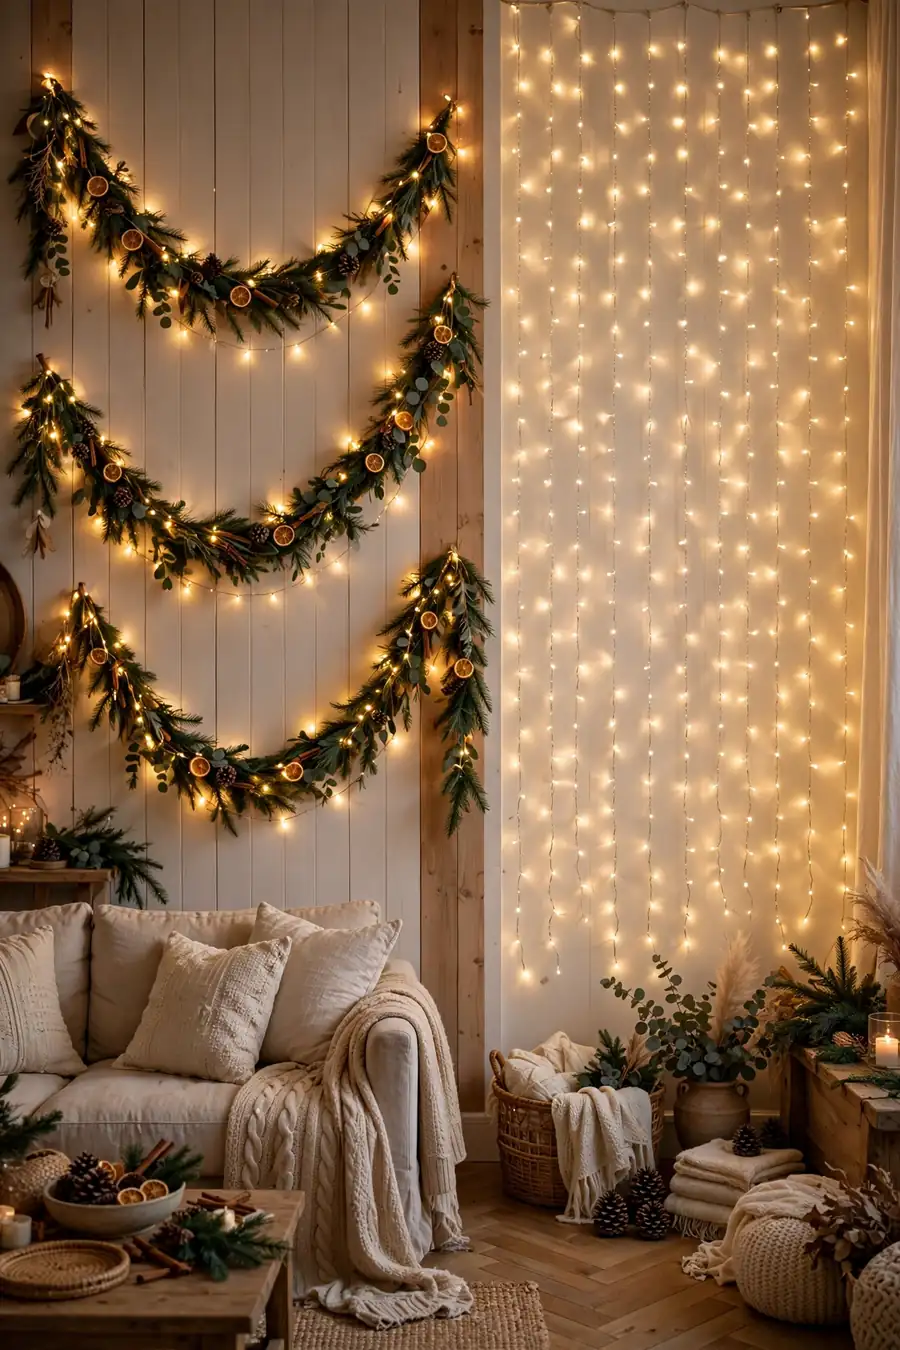
Now the fun layer. Classic scalloped swags work across windows, mantels, and long empty walls. A light curtain — strands pinned along one top line and falling straight down — turns a blank wall behind a tree or bed into pure atmosphere. Zigzagging a strand corner to corner makes small rooms feel taller and uses one strand surprisingly far.
For a personal touch, turn a light strand into a photo wall: weave it in a zigzag and clip printed photos or Christmas cards along the wire with mini wooden pegs, letting them hang between the bulbs. However you hang christmas lights on a wall, giving them one clear shape reads as design; random tacking reads as leftovers.
Style note: Keep one consistent bulb temperature across the whole wall. Mixing warm white and icy blue strands side by side is the fastest way to make an otherwise pretty display look accidental.
6. Hide Cords Along Baseboards and Corners

The difference between “wow” and “fine” is usually the visible cord. Run cords down wall corners, along the top of the baseboard, or behind furniture edges so the eye never follows a dangling wire to the outlet. Clear clips placed in the corner crease itself nearly disappear once the lights are on.
Where a cord must drop through open space, let it fall straight down one side rather than slicing diagonally across the wall. White or clear cords vanish against pale walls; dark green cords work best along dark wood and bookcases. A small cord cover in your wall color is the final polish for a cord that must cross a visible stretch.
Safety note: Never pinch a cord in a closing door, run it under a rug where feet will crush it, or let clips grip the cord so tightly the insulation bends at a hard angle.
You May Also Like: Vintage Christmas Decor Ideas
7. Set a Timer and Do the Nighttime Check
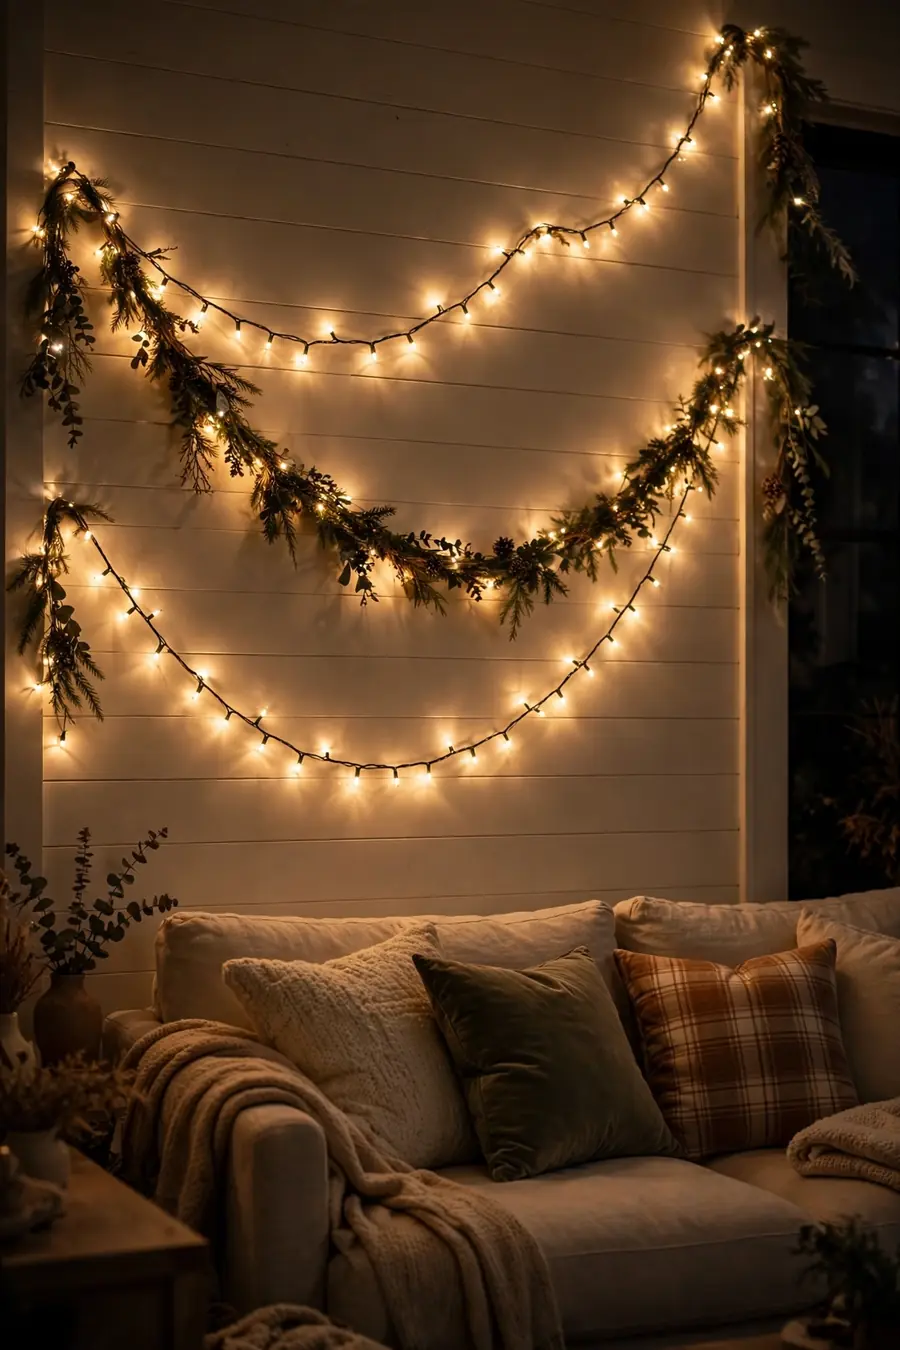
Finish after dark, because that is when your wall tells the truth. Switch everything on, sit where you would normally sit, and look for the things daylight hides: one swag dipping lower than its neighbors, a bulb cluster glaring in a gap, a cord shadow you did not expect.
Adjust from the anchor clips — one clip moved an inch fixes more than fussing with the loose cord. Then set your lights on a timer from dusk to bedtime. Timers save electricity, rest the adhesive, and turn your carefully built display into pure, zero-effort ambiance every evening through the season. When January comes, each clip pulls off slowly, straight down, and the wall underneath is exactly as you left it.
Photo note: Take one picture of the finished wall for your December file. Next year you will hang the same beloved design in a quarter of the time.
Wall Light Patterns at a Glance
| Pattern | Look it gives | Best spot | Clip spacing |
|---|---|---|---|
| Classic swags | Gentle scallops of light | Windows, mantels, long walls | Every 18–24 in |
| Light curtain | Waterfall of vertical drops | Behind the tree, bed, or sofa | Top line every 6–10 in |
| Zigzag | Playful, height-adding lines | Small rooms, reading corners | At each turn, 16–20 in apart |
| Photo wall | Lights woven with cards and photos | Hallways, living rooms | At each turn plus mid-run |
| Frame tracing | Crisp outline glow | Doorways, mirrors, artwork | Every 10–12 in at corners |
| Shelf and headboard weave | Soft, layered twinkle | Bedrooms, bookcases | Loose threading, few clips |
Frequently Asked Questions
How do I hang lights on a wall without the clips falling down?
Use clips rated for your strand’s weight, apply them to clean, dry, fully cured paint, press each for 30 seconds, and wait the full hour before loading them. Dust, moisture, and impatience cause nearly every failure.
How far apart should wall clips be spaced?
For swags, place anchors every 18 to 24 inches with 8-to-12-inch dips. For straight runs, every 12 to 16 inches keeps the cord neat. Feather-light fairy strands can stretch a little wider between clips.
Can I hang Christmas lights on textured or brick interior walls?
Yes — use adhesive hooks rated for rough surfaces, or mortar-grip brick clips on real brick. On heavy texture, slightly larger hooks with bigger pads grip better than mini clips.
Will adhesive clips damage paint when I remove them?
Not when removed slowly, pulling the tab straight down along the wall so the strip stretches and releases. Fresh paint under a week old is the exception — give new paint time to cure before decorating.
What can I do about the cord showing between the wall and outlet?
Guide it down a corner or along the baseboard with clear clips, keep it falling straight rather than diagonal, and match cord color to the wall where you can. A paintable cord cover handles any stretch that must stay visible.
You Would Also Love
💬 Join Our Decor Community
Decor Fern | Home Decor Ideas & Inspiration — share your rooms, get ideas, and chat with fellow decor lovers.
Join the Facebook GroupFollow on Facebook