How to Hang Christmas Lights Without Nails: Damage Free Tips
There is nothing like the glow of Christmas lights to make a house feel instantly festive — but drilling holes, hammering staples, and chipping paint to get them up is nobody's idea of holiday cheer. The good news is you can skip the toolbox almost entirely.
Learning how to hang christmas lights without nails is really about choosing the right clip, hook, or tie for each surface. Once you know which products hold gutters, siding, brick, and drywall safely, you can light up the whole house and take everything down in January without a single mark left behind.
This guide walks you through it in order: gather your supplies, plan your path, hang methodically, and then secure the loose spots. Follow the sequence and your lights will look straight, intentional, and professionally done.
1. Gather Your Damage-Free Toolkit

Photo credit: @farmhouse165 on Instagram
Before you climb anything, lay everything out on the ground. To hang christmas lights without nails you will need a handful of inexpensive helpers: adhesive outdoor clips and hooks, gutter and shingle clips, clear mini clips for indoor walls, cable ties, and a roll of floral wire. Most of these cost a few dollars a pack and can be reused for years.
Add the supporting players too: a sturdy ladder, a tape measure, painter's tape for marking anchor points, and an outdoor-rated extension cord with a timer. Sorting it all beforehand means one trip up the ladder instead of five, and it keeps you off the top rung in a rush.
Safety note: Never mix indoor-only adhesive products with outdoor lights. Outdoor clips and hooks are rated for moisture and temperature swings, and that rating matters once the weather turns.
Budget note: One mixed starter kit of clips usually costs less than a single can of touch-up paint for nail damage — and you will use it every December.
2. Match the Hanger to the Surface

Photo credit: @thechristmasdecorators on Instagram
Every surface has a damage-free option, and picking the right one is 90% of the job. Gutters and shingles take plastic clips that slide or snap on — no holes, no tools. Brick needs special brick clips that grip the mortar joint, or adhesive hooks made for rough masonry. Vinyl siding tucks into the seams with siding hooks that simply roll into place.
Smooth surfaces like painted wood, glass, and indoor drywall are adhesive territory. Clear adhesive strips hold string lights beautifully as long as you follow the weight rating on the pack. The one rule that never changes: the hanger must be made for the surface, or it will either fall down or take paint with it when it goes.
Surface note: Always clean the spot with a quick wipe of rubbing alcohol and let it dry before sticking adhesive clips — dust and moisture are the top reasons they let go early.
You May Also Like: 23 Front Porch Christmas Decor Ideas for a Festive Welcome
3. Plan Your Light Path Before You Hang
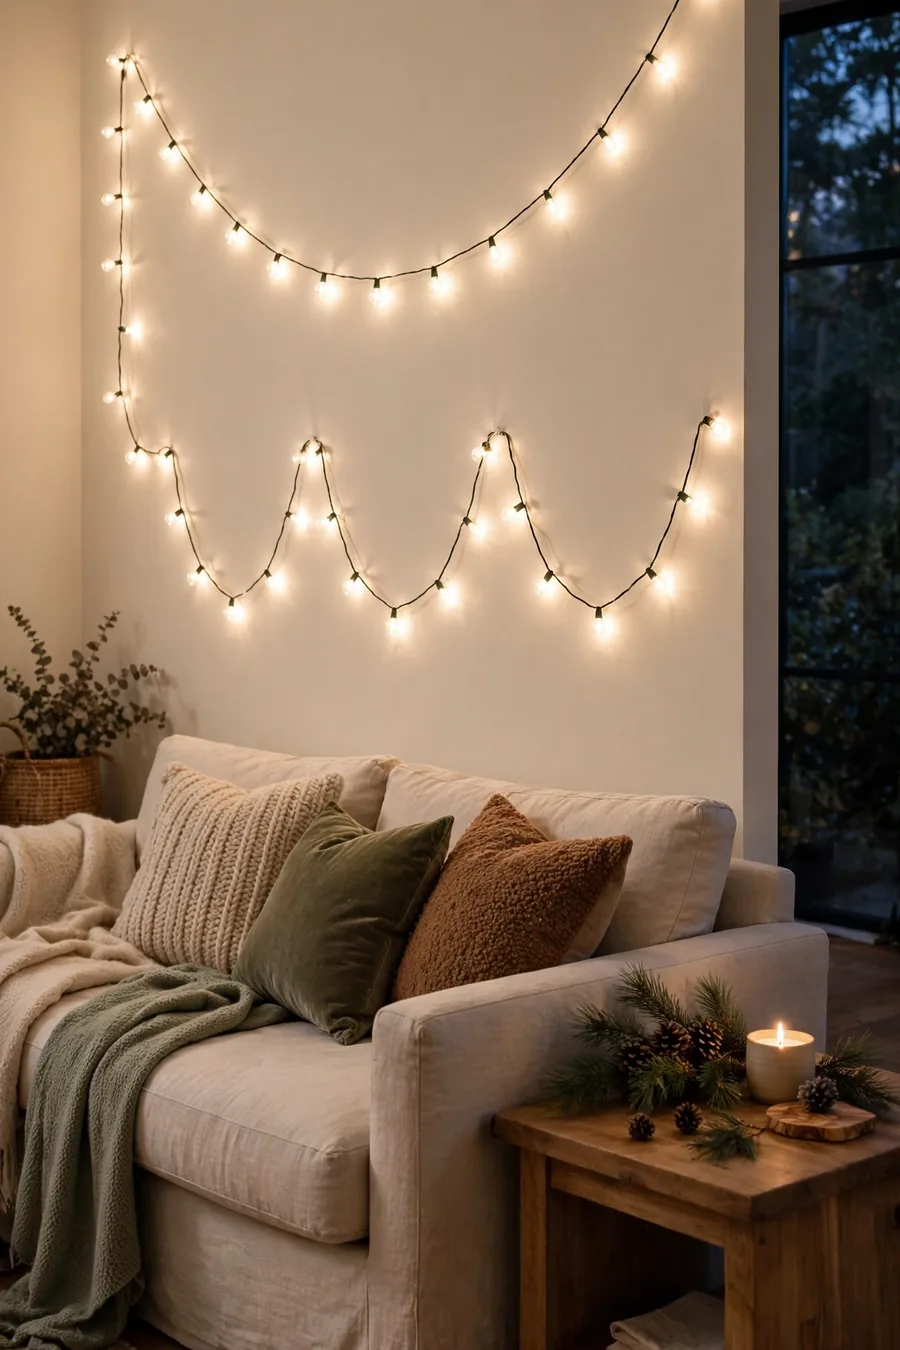
The secret to a tidy display is deciding the whole route on the ground first. Stand across the street or at the end of the driveway and look at your house with fresh eyes. Decide where the lights will start, where the plug will live, and how the line will flow around windows, doors, and the roof edge.
Measure each run with a tape measure and count how many strands you actually need. Plug every strand in on the lawn and test it before a single clip goes up — discovering a dead section after it is hung is the most avoidable chore of the season. Marking anchor points with tiny pieces of painter's tape keeps spacing even and saves guesswork.
Planning note: Work toward the outlet, not away from it. Ending at the plug means no awkward extra cord dangling at the far corner of the house.
4. Clip Lights Along Gutters, Shingles, and Railings

Photo credit: @blesserhouse on Instagram
For the roofline, all-in-one gutter and shingle clips do the heavy lifting. They grip the gutter edge or slide under a shingle tab, and most styles let you point the bulb straight up or straight down for that crisp, uniform line. Space them about every 12 to 18 inches so the wire never sags between bulbs.
Porch railings, fences, and deck rails are even easier. Small cable ties, twist ties, or lengths of floral wire wrapped every foot or so hold the strand snugly without scratching the finish. When you want to hang christmas lights without nails on a balcony, this tie method is the renter's best friend — everything cuts away in minutes at takedown.
Safety note: Keep the ladder on level ground, move it rather than reaching sideways, and hang roofline lights on a calm, dry day. Festive is not worth wobbly.
You May Also Like: 25 Christmas Mantel Ideas to Make Your Home Glow
5. Use Adhesive Hooks and Clips on Smooth Walls
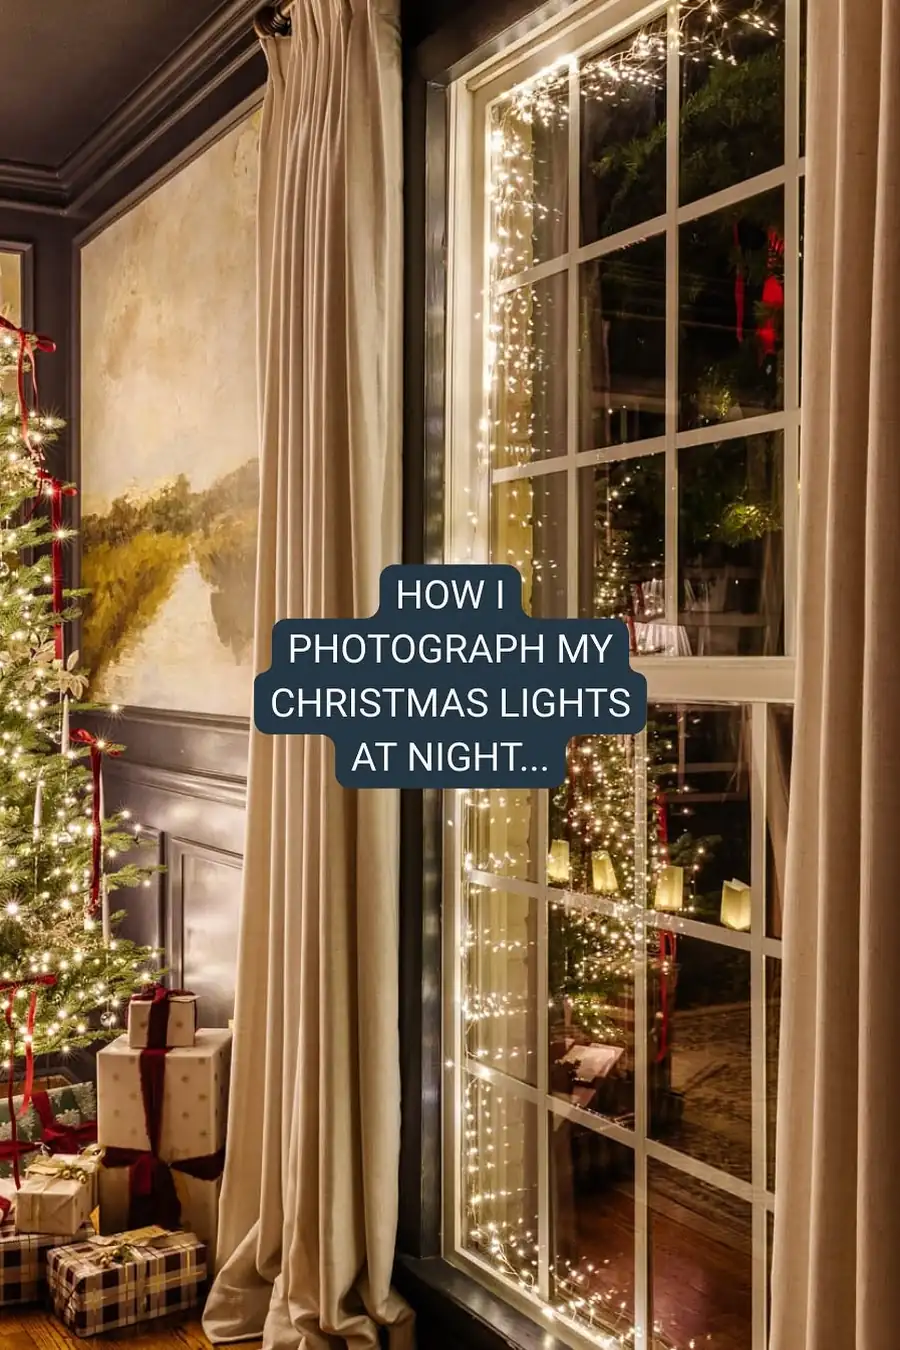
Photo credit: @blesserhouse on Instagram
Indoors — and on smooth, sheltered outdoor walls — adhesive hooks and clear mini clips are how you get lights to trace windows, door frames, mantels, and headboards with zero holes. Press each clip firmly for the full 30 seconds the instructions ask for, then wait an hour before hanging weight on it. That waiting step is the one everyone skips and the one that makes the difference.
For brick or stucco, choose hooks specifically rated for rough surfaces, or use the mortar-grip brick clips that hang without any adhesive at all. Keep strands light: fairy and mini string lights are perfect for adhesive, while heavy icicle strands belong on clips and gutters.
Removal note: Always pull adhesive strips straight down slowly, parallel to the wall — never yank them outward. Done right, they release clean and take nothing with them.
6. Thread Lights Through Greenery and Branches

The most natural way to hang christmas lights without nails is to let plants and greenery hold them for you. Weave strands loosely through porch garlands, wind them around wreath forms, spiral them up porch columns wrapped in garland, or nestle them through shrubs and small trees near the door. The foliage hides the wire completely and makes the glow look soft and magical.
This method also works beautifully indoors. Lights tucked through a mantel garland, a bookshelf arrangement, or the branches of a faux olive tree give you that designer look with literally nothing attached to a wall. Just keep bulbs off anything dry and flammable, and never bury hot incandescent bulbs deep in paper or fabric.
Style note: Warm white lights disappear best into real and faux greenery. If your strand has a green cord, even better — it vanishes against branches during the day.
You May Also Like: 25 Christmas Wreaths Ideas for a Beautiful Holiday Welcome
7. Test at Dusk and Secure the Loose Spots

Photo credit: @thechristmasdecorators on Instagram
Your final step happens at dusk, when the display actually shows itself. Plug everything in, walk to the street, and look at the whole picture. You will spot the sags, the uneven gaps, and the one corner where the strand droops — all invisible from the ladder in daylight.
Fix each loose spot with one extra clip or tie rather than redoing a whole section. Check that no cord is pinched in a door, stretched tight across a walkway, or pooling where feet and paws travel. Then set your timer so the lights run themselves from dusk to bedtime and you never think about them again until January.
Takedown note: Remove clips and strands in reverse order and store the clips right in the box with the lights. Next year's hanging takes half the time.
Damage-Free Hanging Methods at a Glance

Photo credit: @thechristmasdecorators on Instagram
| Method | Best for | Holds | Removes by |
|---|---|---|---|
| Gutter/shingle clips | Rooflines, gutters, shingle edges | Icicle and C9 strands | Unsnaps by hand |
| Adhesive hooks & clips | Drywall, painted wood, glass, tile | Fairy and mini lights | Pull strip straight down |
| Brick clips | Brick walls and fireplaces | Medium string lights | Squeeze and lift off |
| Siding hooks | Vinyl siding seams | String lights, light garland | Rolls out of the seam |
| Cable ties & floral wire | Railings, fences, banisters | Any strand | Snip with scissors |
| Greenery threading | Garlands, wreaths, shrubs, columns | Fairy and mini lights | Simply lifts away |
Frequently Asked Questions
Do adhesive clips really hold Christmas lights outdoors?
Yes, as long as you buy clips rated for outdoor use and follow the pack instructions — clean the surface, press firmly, and wait the full cure time before hanging. Outdoor-rated adhesives handle rain and cold far better than indoor strips, which can let go in damp weather.
What is the best way to hang lights on brick without drilling?
Use brick clips that grip the mortar joint between bricks; they hang lights and even wreaths without any hole at all. On smooth-faced brick, heavy-duty adhesive hooks rated for rough surfaces are the next best option.
Will command-style strips damage paint when removed?
Not when removed correctly. Pull the tab slowly straight down along the wall so the strip stretches and releases. Yanking outward or rushing is what tears paint, so patience at takedown keeps walls perfect.
How far apart should I space my clips?
Every 12 to 18 inches keeps most strands from sagging. Heavy icicle or C9 bulbs do better closer to 12 inches apart, while feather-light fairy strands can stretch to 24 inches between supports.
Can renters hang Christmas lights without losing a deposit?
Absolutely — that is exactly what these methods are for. Clips, ties, adhesive hooks, and greenery threading all come down without a trace, so you can decorate fully and still leave the walls, gutters, and railings exactly as you found them.
You Would Also Love
💬 Join Our Decor Community
Decor Fern | Home Decor Ideas & Inspiration — share your rooms, get ideas, and chat with fellow decor lovers.
Join the Facebook GroupFollow on Facebook

2 Comments