How to Fluff an Artificial Christmas Tree: Fuller Look Guide
Every artificial tree looks a little sad straight out of the box — flat, squashed branches with gaps you can see through. The good news is that the tree is fine; it simply needs fluffing. Learning how to fluff an artificial christmas tree properly is the ten-to-thirty minutes that decides whether your finished tree looks sparse or looks like it came from a styled showroom.
Fluffing is not hard, but it does have an order. Work from the inside out and the bottom up, give each branch its own shape, and your tree will look twice as full before a single ornament goes on.
Think of it as the foundation of every other decorating step. Ribbon hangs better on shaped branches, ornaments sit at natural depths instead of dangling from the first available tip, and lights glow evenly instead of pooling in the hollow middle. Decorators who style trees for photos always fluff first and fluff thoroughly — it is the least glamorous step and the one that makes all the glamorous ones work. Give it your favourite music, a warm drink, and unhurried hands.
1. Set the Tree Up in Its Final Spot
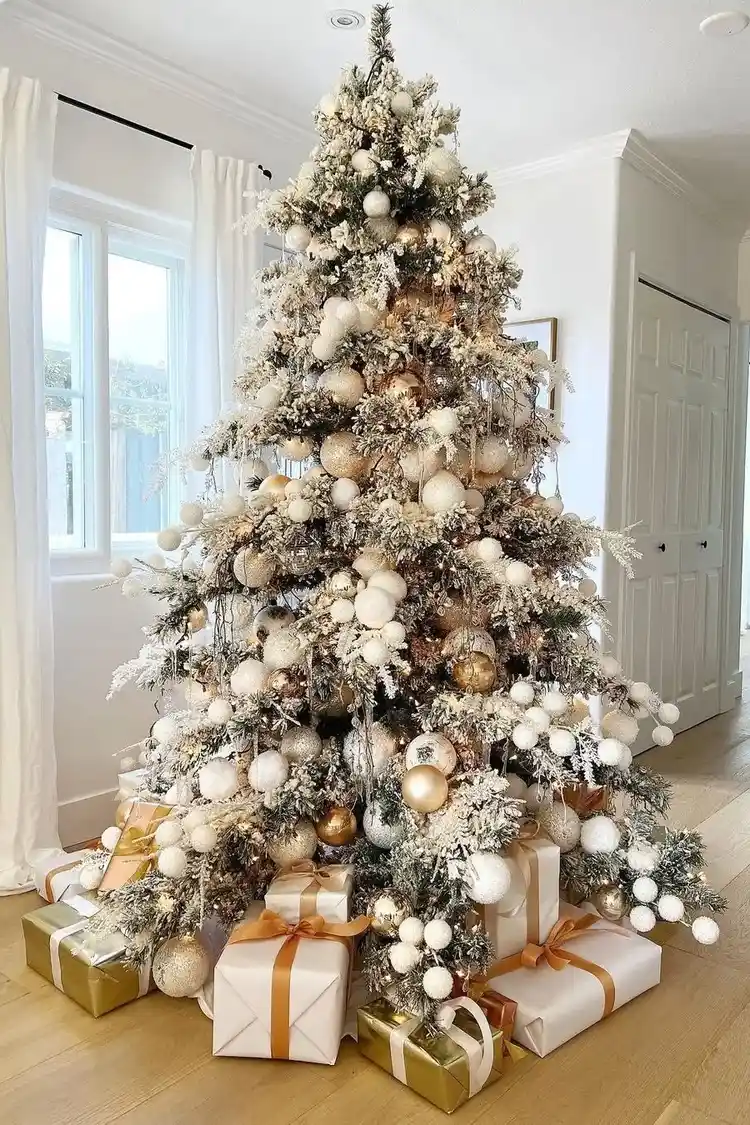
Photo credit: @christmastreeideas on Instagram
Fluff where the tree will live, because a fully fluffed tree is nearly impossible to carry through doorways without crushing your work. Assemble the stand and sections, connect the lights if it is pre-lit, and turn the lights on before you start — lit branches show gaps far more honestly than unlit ones.
Pull the tree slightly away from the wall so you can walk around it. A tree pushed flat against a wall gets a flat back, and you will see that flatness from the front more than you expect.
Budget note: Fluffing costs nothing and adds more fullness than any ornament trick — always do it before buying gap-fillers.
Texture note: Wear thin garden gloves; new artificial branches can be scratchy, and gloves let you work faster without sore hands.
2. Work Bottom-Up, Section by Section
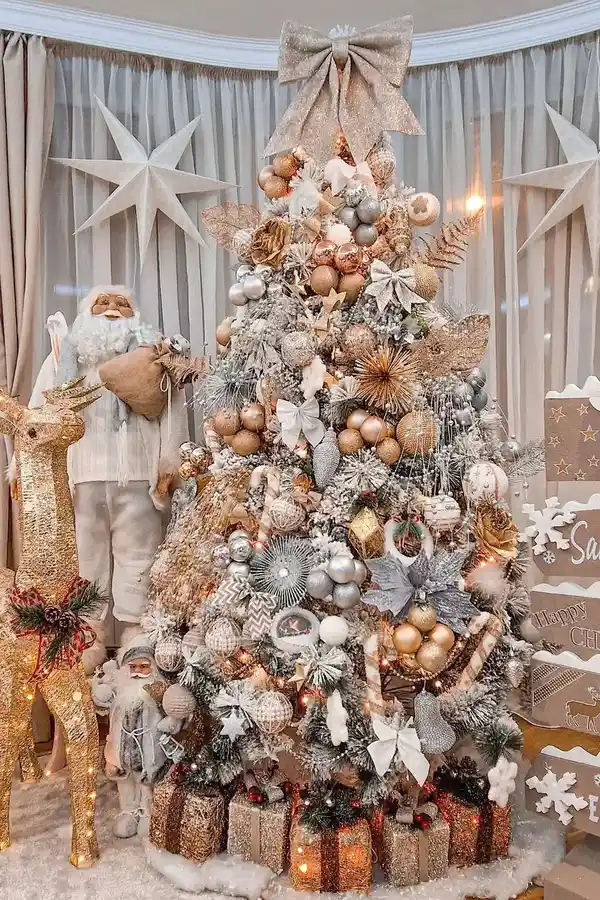
Photo credit: @christmastreeideas on Instagram
Start with the lowest branch layer and finish one full circle before moving up. If you fluff the top first, your arms and sleeves will crush it while you reach the bottom, and you will end up doing the job twice. Hinged trees make this easy: drop one row of branches down, shape them all, then move to the next row.
For section trees that slot together, you can shape the bottom section completely, add the middle, shape that, then add the top. Either way, the rule is the same — never decorate or fluff a higher layer until the one beneath it is finished.
Lighting note: Keep the lights plugged in as you work; stepping back with lights on shows the true silhouette.
Texture note: If you are storing the tree in sections after Christmas, a quick photo of your fluffed tree helps you recreate the shape next year.
You May Also Like: 25 Christmas Tree Ideas for 2026
3. Fan Every Branch Like a Hand
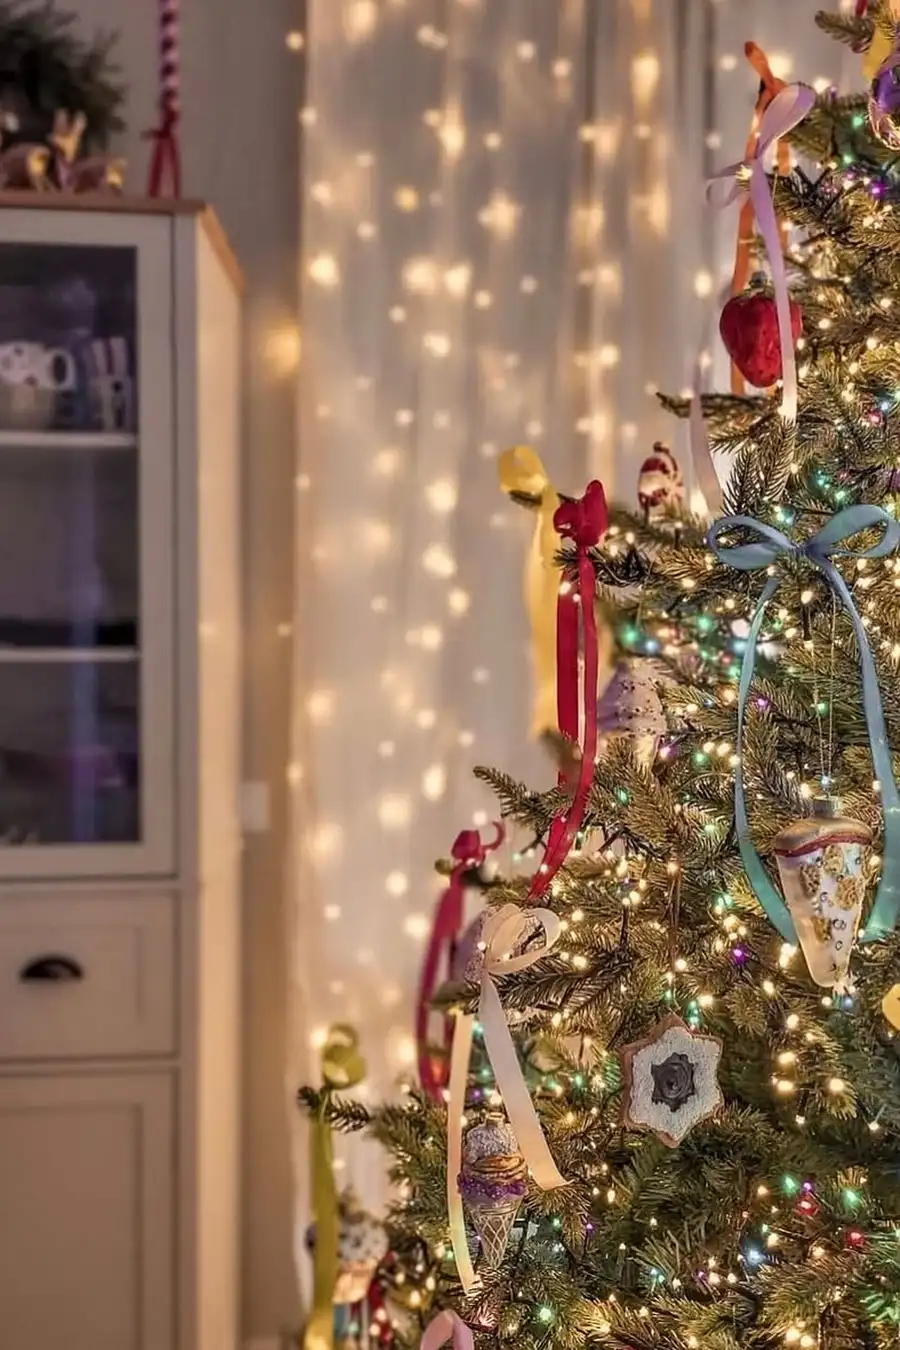
Photo credit: @christmas_interior on Instagram
This is the step most people rush, and it is the whole secret. Each branch has a main stem with smaller tips along it. Spread those tips apart like the fingers of an open hand — some pointing left, some right, some up, some gently down — so the branch becomes a wide fan instead of a flat paddle.
Then bend the branch itself: angle it slightly upward from the trunk, then curve the last few centimetres down a touch, the way real pine softens at the ends. A row of wide, gently curved fans around the trunk is what creates that lush, layered silhouette.
Texture note: No two fans should point exactly the same way; slight variety is what makes artificial branches read as real.
Budget note: A sparse-looking old tree usually just needs re-fanning — try a full re-fluff before replacing it.
4. Fluff the Inner Branches, Not Just the Tips
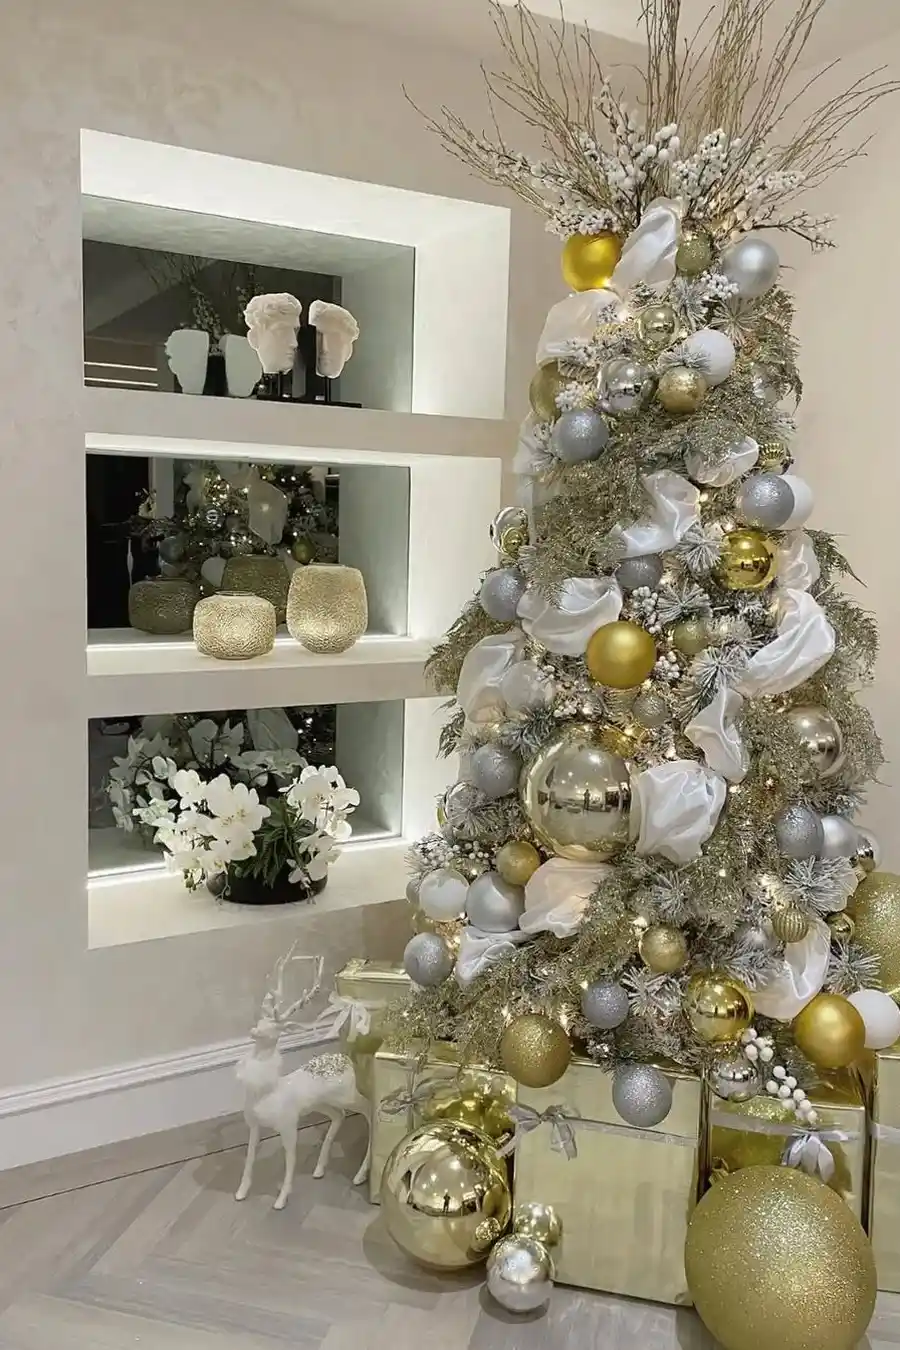
Photo credit: @christmastreeideas on Instagram
Most people shape only the outer branch ends, which leaves the inside hollow — and that hollow is exactly what your eye reads as "fake". Reach in toward the trunk and separate the inner tips too, pulling some inner branches slightly forward to fill the dark gaps between layers.
Inner fullness also gives ornaments something to rest against at different depths, which is how decorated trees get that rich, layered look. If you can see the centre pole from any normal viewing angle, the inside needs more work.
Texture note: Pull a few inner tips forward at angles, not straight out — crossed inner branches fill space twice as well.
Lighting note: Inner gaps glow in the evening; check the tree once with room lights low before you decorate.
You May Also Like: 20 Ralph Lauren Christmas Tree Ideas
5. Fill the Waist and Other Thin Spots
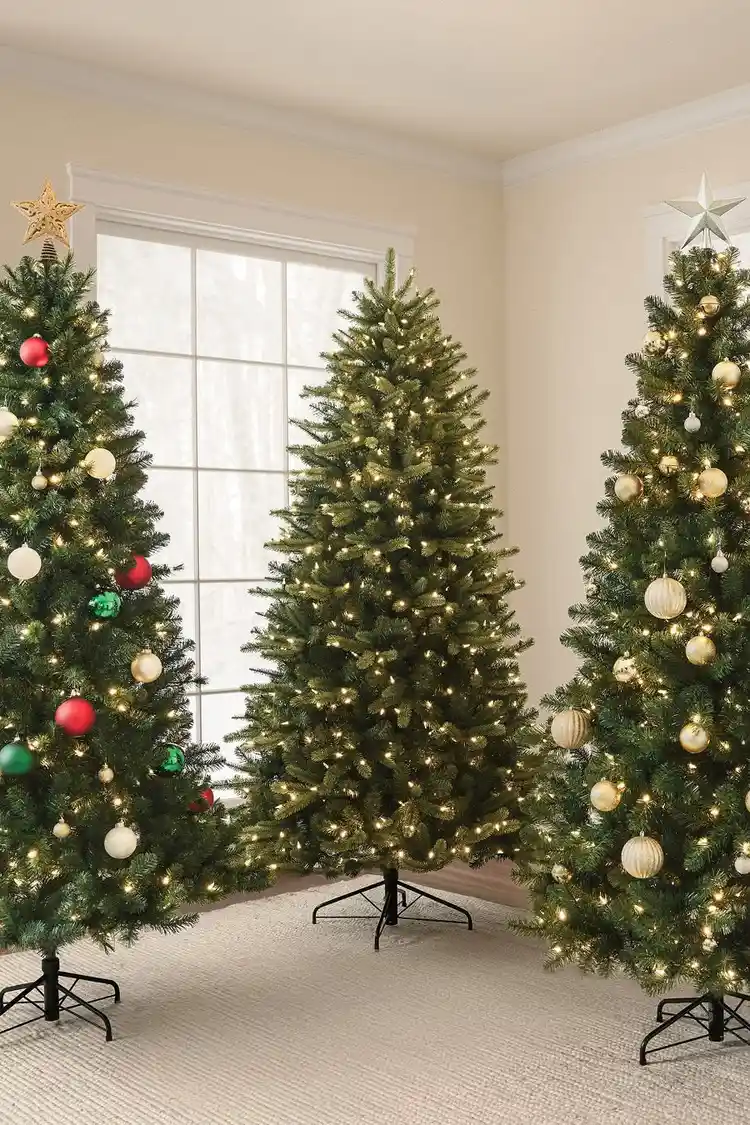
Photo credit: @treetopia on Instagram
Almost every artificial tree has a thin "waist" where sections join, plus a slightly bare patch where the tree stood compressed in its box. Stand back, squint, and find yours. Bend nearby branches diagonally into the gap from above and below rather than leaving every branch in its own row — diagonal branches are the fastest gap repair there is.
For stubborn holes, add a green garland: weave a plain pine garland in a loose spiral inside the branches where the tree is thin. It disappears completely and can double the apparent density. Picks and pine sprays tucked into the waist work the same way.
Budget note: One inexpensive pine garland inside the tree fills more gaps than a box of extra ornaments outside it.
Colour note: Match garland green to your tree as closely as you can; a slightly darker garland reads as shadow and still works.
6. Shape the Top and Final Silhouette
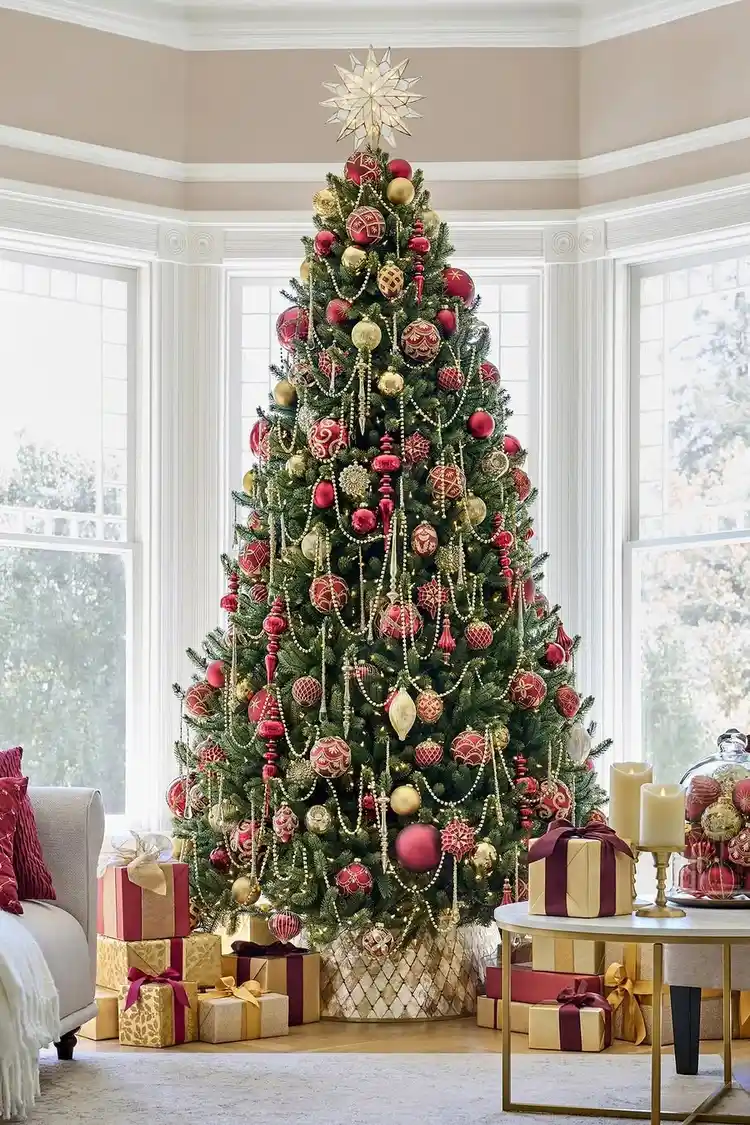
Photo credit: @balsamhill on Instagram
The top section shapes the whole outline, so give it extra minutes. Straighten the leader branch that will hold your topper, fan the upper branches a little more upwards than the lower ones, and check the tree from every side of the room, turning it if one angle looks thin.
Walk to your doorway and look at the tree the way guests will see it. This is the moment to adjust two or three branches, not after the ornaments are on. A good test: the silhouette should look like a full triangle with soft edges, with no daylight holes at eye level.
Texture note: Soften any branch that sticks straight out like an antenna; real trees never grow in ruler lines.
Lighting note: Do your final check at dusk with tree lights on — that is how the tree will be seen most of December.
You May Also Like: 15 Brown Christmas Tree Ideas
If the Tree Still Feels Off: Quick Fixes
- If you can see the centre pole: pull inner tips forward and weave in a pine garland inside the branches.
- If the tree looks flat from the front: turn it a quarter turn; the fullest side may be facing the wall.
- If there is a thin waist between sections: bend branches diagonally across the join and add two or three pine picks.
- If one side is crushed from storage: steam helps, but gentle re-fanning with warm hands usually restores the shape.
- If the top looks spindly: fan the top branches upward and choose a lighter topper, or a bow instead of a heavy star.
Frequently Asked Questions
How long does it take to fluff an artificial tree?
A standard 6-7ft tree takes about 20-30 minutes the first year and 10-15 minutes in later years once the branches remember their shape. Small tabletop trees take five minutes. It is the best half-hour you can spend on your decorating.
Should I fluff before or after putting the lights on?
Fluff first if your tree is unlit, then add lights into the shaped branches. If your tree is pre-lit, turn the lights on and fluff with them lit — the glow reveals gaps you would otherwise miss, and you can shape around the wires as you go.
How do I store the tree so it stays fluffy?
Compress each section gently with a storage bag or strap, tips pointing up, and store it upright if you can. Trees stored under heavy boxes come out flatter. A quick re-fan next year restores the shape either way.
Can fluffing fix a really cheap, sparse tree?
Mostly, yes. Fan every tip, add an inner garland, and choose larger ornaments that cover more branch per piece. A sparse tree decorated with depth — some ornaments pushed inside — can look genuinely full.
Why does my tree still look flat after fluffing?
Usually because only the outer tips were shaped. Go back and fan the inner branches near the trunk, pull some tips forward at angles, and view it with the lights on from your doorway. Inner fullness is almost always the missing layer.
You Would Also Love
💬 Join Our Decor Community
Decor Fern | Home Decor Ideas & Inspiration — share your rooms, get ideas, and chat with fellow decor lovers.
Join the Facebook GroupFollow on Facebook



One Comment