How to Make a Christmas Garland: Easy DIY Step by Step Guide
A decorated garland from a shop can cost as much as a small tree, yet the difference between that garland and a plain, inexpensive base is about twenty minutes of layering: fluff it, weave in ribbon, tuck in ornaments, and add light. Once you know the order, you can make a christmas garland that looks professionally styled for a mantel, staircase, doorway, or table.
This step-by-step guide walks through the full build, from choosing your base and working out length, to hanging the finished piece securely so it stays swagged and graceful all season instead of sliding into a heap.
Build the whole thing on the floor or a long table first — a garland shaped flat and lifted into place always beats one wrestled into shape mid-air.
1. Choose Your Garland Base and How Much to Make
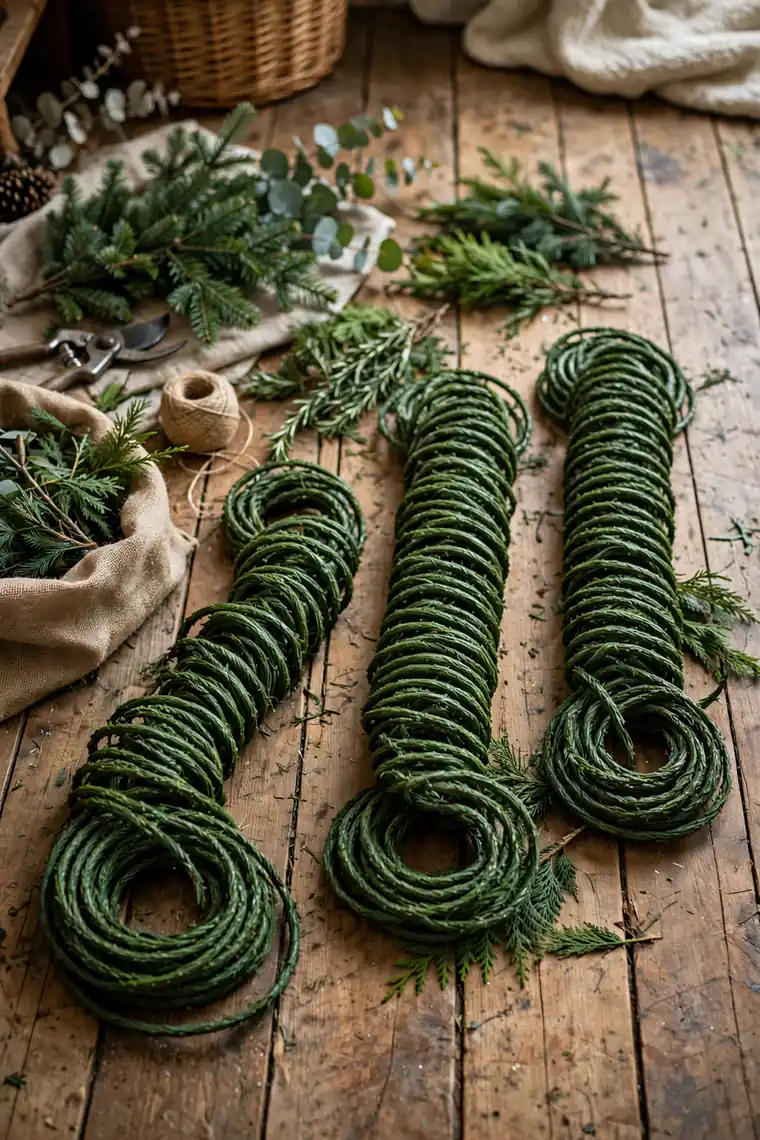
Start with the base: a plain faux pine garland is the versatile favorite, while cedar-look garlands give a softer, drapier finish. Fresh garland smells incredible but dries and sheds, so faux wins for a piece that must last the season and come back next year. Buy one longer than you think — swags and styling eat length quickly.
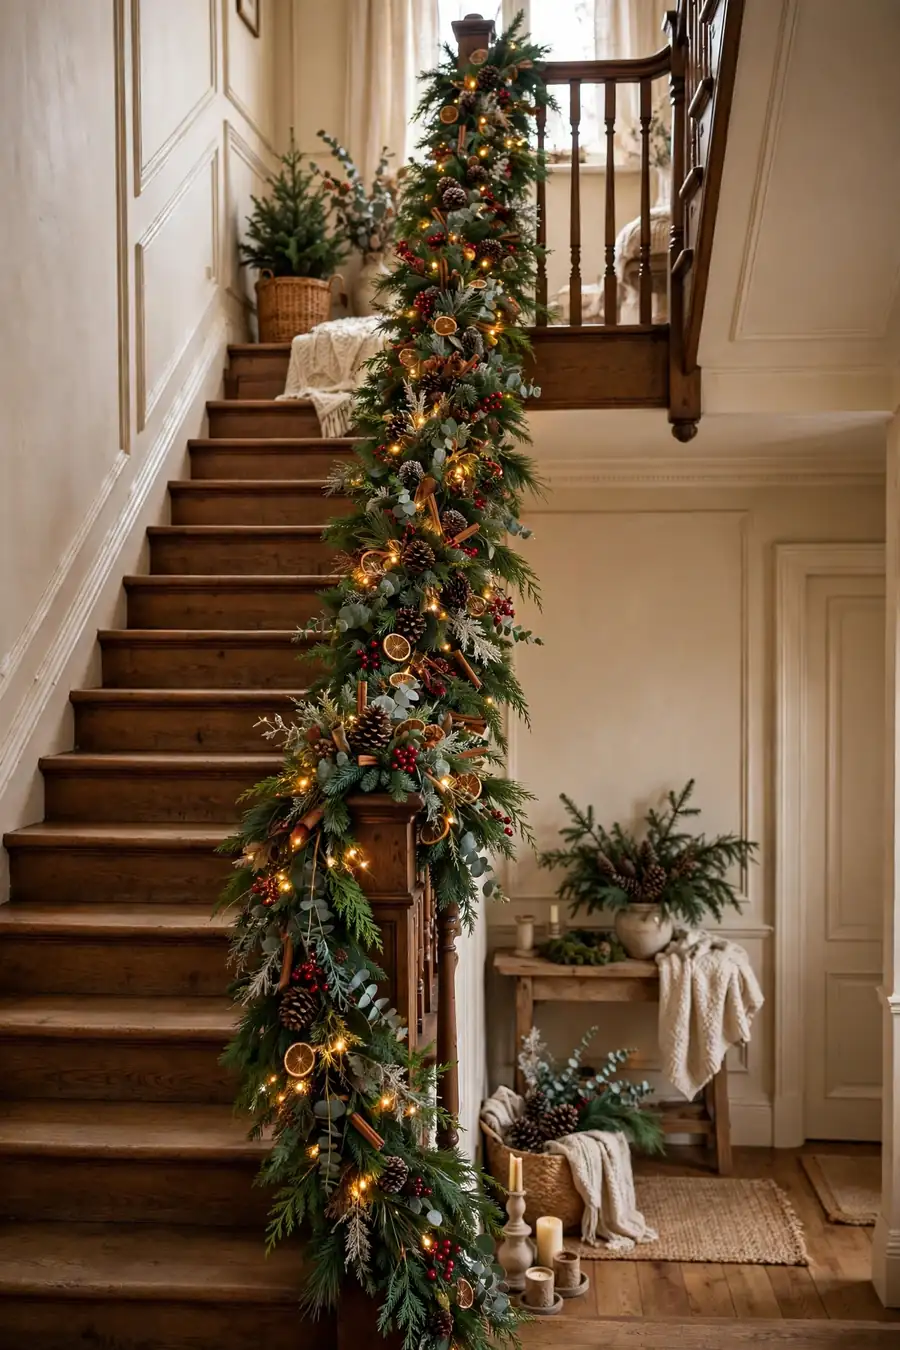
Measure where the garland will hang, then add generously. A mantel garland should run the full width and drape down both sides; a staircase strand needs to be noticeably longer than the railing itself because swags consume material. Planning with the table in step eight below keeps the guesswork out of it.
Budget note: A plain base garland plus your own decorations costs a third of a pre-decorated one, and the decorations are the same ones already in your Christmas boxes.
2. Stretch It Out and Fluff Every Branch
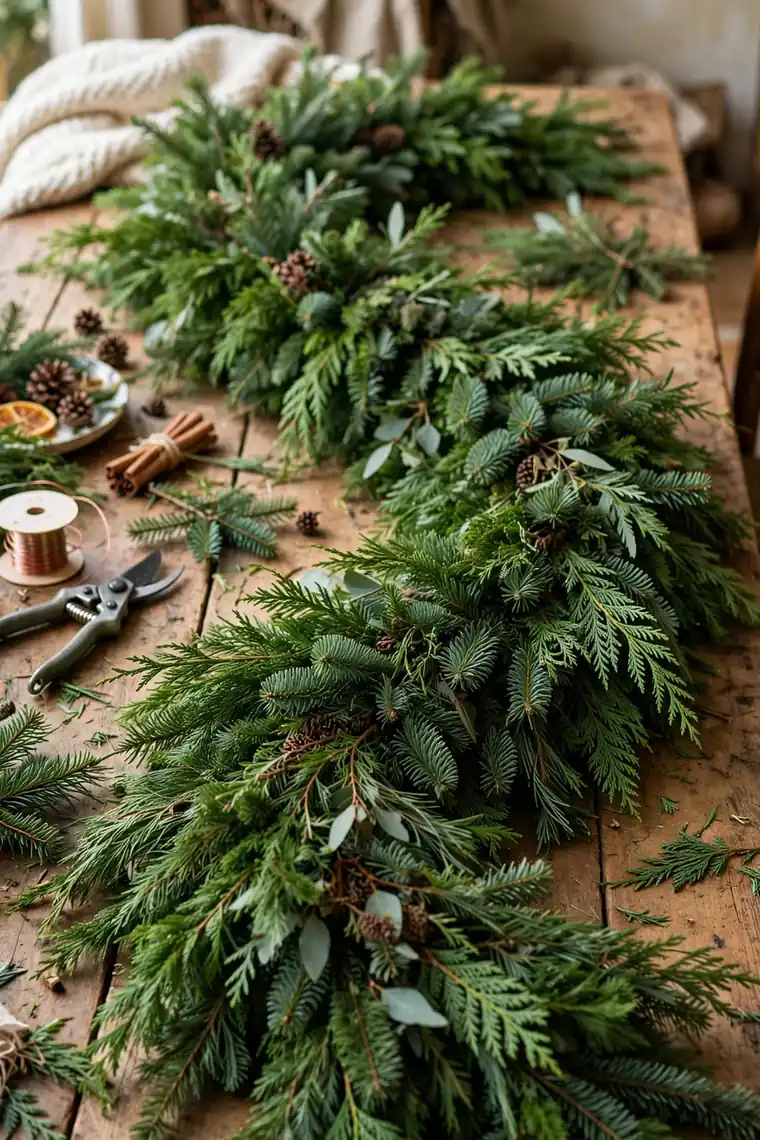
Lay the garland full-length on the floor and untangle it patiently. Fresh out of storage, every branch is pressed flat in one direction, and decorating an unfluffed garland guarantees the thin, sad result everyone blames on cheap materials.
Pull each branch tip outward and fan them in slightly different directions — some up, some forward, some down — until the strand looks like a soft rope of greenery instead of a flat ribbon. Work the full length in sections, then step back and look for thin spots; slide branches along the core wire to even them out before a single decoration goes on.
Fixing note: If the garland has a permanent bald patch, do not hide it with one big ornament. Wire a short leftover branch or a cut sprig into the core at that spot — borrowed thickness looks natural from every angle.
You May Also Like: 25 Christmas Mantel Ideas to Make Your Home Glow
3. Add Extra Greenery in Small Bundles

A second texture is what separates homemade-looking garland from the lush kind. Wire in small bundles of a different greenery — cedar sprigs into pine, eucalyptus into cedar — spaced along the strand, all pointing the same direction the garland will flow. Each bundle needs just two wraps of floral wire around the core.
Keep the bundles loose and a little irregular. Perfectly even spacing reads as machine-made, while a relaxed rhythm reads as styled. If your base garland is already full, skip this step entirely — fullness you do not need is just weight your hooks must hold.
Texture note: One matte greenery plus one with a slight sheen — or a touch of frosted tips — gives a garland depth. Under lights, that small contrast is what makes faux greenery read as real.
4. Weave In Ribbon Before the Small Details
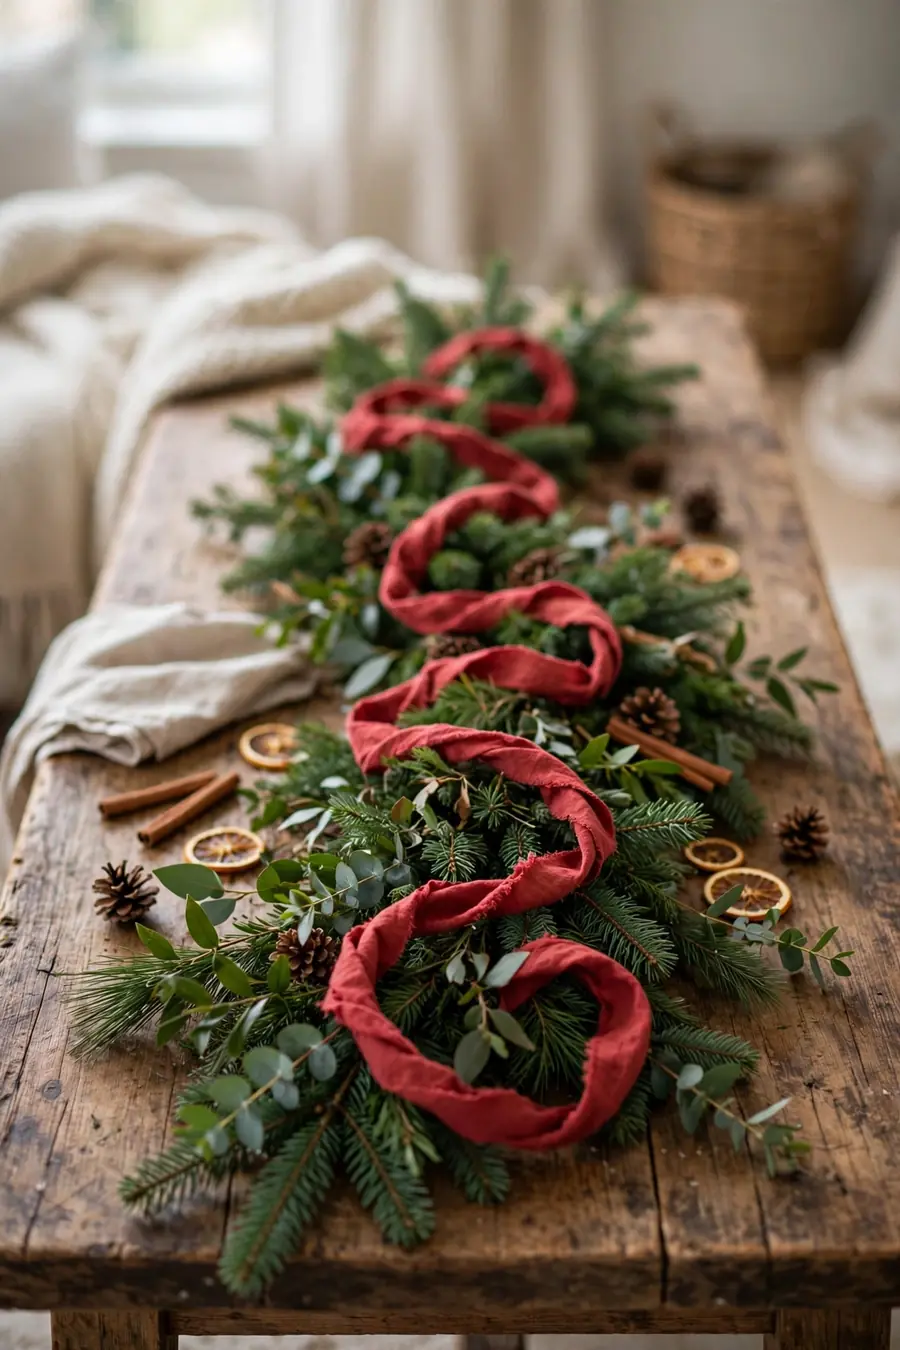
Ribbon goes on next, before any ornaments, because it is far easier to weave through clear greenery than around pinecones. Start at one end and work the ribbon in loose billows down the strand — in, out, and around — letting it pouf outward between each tuck instead of lying flat against the core.
Wired-edge ribbon holds every billow you shape; unwired ribbon relaxes flat within days. Keep the billows roughly even, a gentle S-rhythm down the full length, and secure the very ends with a hidden wire so nothing slowly creeps loose as the garland hangs.
Style note: One wide ribbon in a deep palette color looks calm and expensive. If you want two ribbons, layer a narrow one over a wide one in the same family — never two busy patterns competing.
You May Also Like: 20 Front Porch Christmas Decor Ideas for a Warm Welcome
5. Tuck In Ornaments, Berries, and Pinecones

Now scatter your decorations in a loose, repeated rhythm: ornament clusters, berry sprigs, pinecones, small bells. Work down the garland placing one type at a time so everything distributes evenly, then repeat with the next type. Odd groupings — three ornaments together, one big cone beside them — look natural; evenly spaced singles look like a production line.
Wire larger pieces to the core so they cannot roll out, and tuck everything slightly down into the greenery so it appears to grow there. Stick strictly to your palette — two colors plus one metal — so a miscellaneous ornament collection reads as a designed set.
Budget note: Cut apart craft-store floral picks for this layer. One pick usually becomes three to five individual stems, which stretches across a whole garland for a couple of dollars.
6. Add String Lights and Check the Glow

Lights weave in last so they sit on top of everything and shine unobstructed. Work a warm-white strand down the garland loosely, pushing some bulbs deep into the greenery and letting others sit forward — that mix of depths is what creates the glow-from-within look rather than a row of dots.
Plug in and check from across the room before hanging. Dark patches mean the strand bunched; redistribute a loop or two rather than adding a second strand. Battery-powered micro-lights on a wire strand are ideal for staircases and doorways far from outlets, and they hide almost invisibly among the branches.
Safety note: Keep light connections off the floor and away from water, use only strands in good condition, and let no ribbon or fabric rest directly on hot bulbs. LED strands run cool and are the safest everyday choice.
You May Also Like: Classic Christmas Decor Ideas That Never Go Out of Style
7. Hang It Securely and Shape the Swags
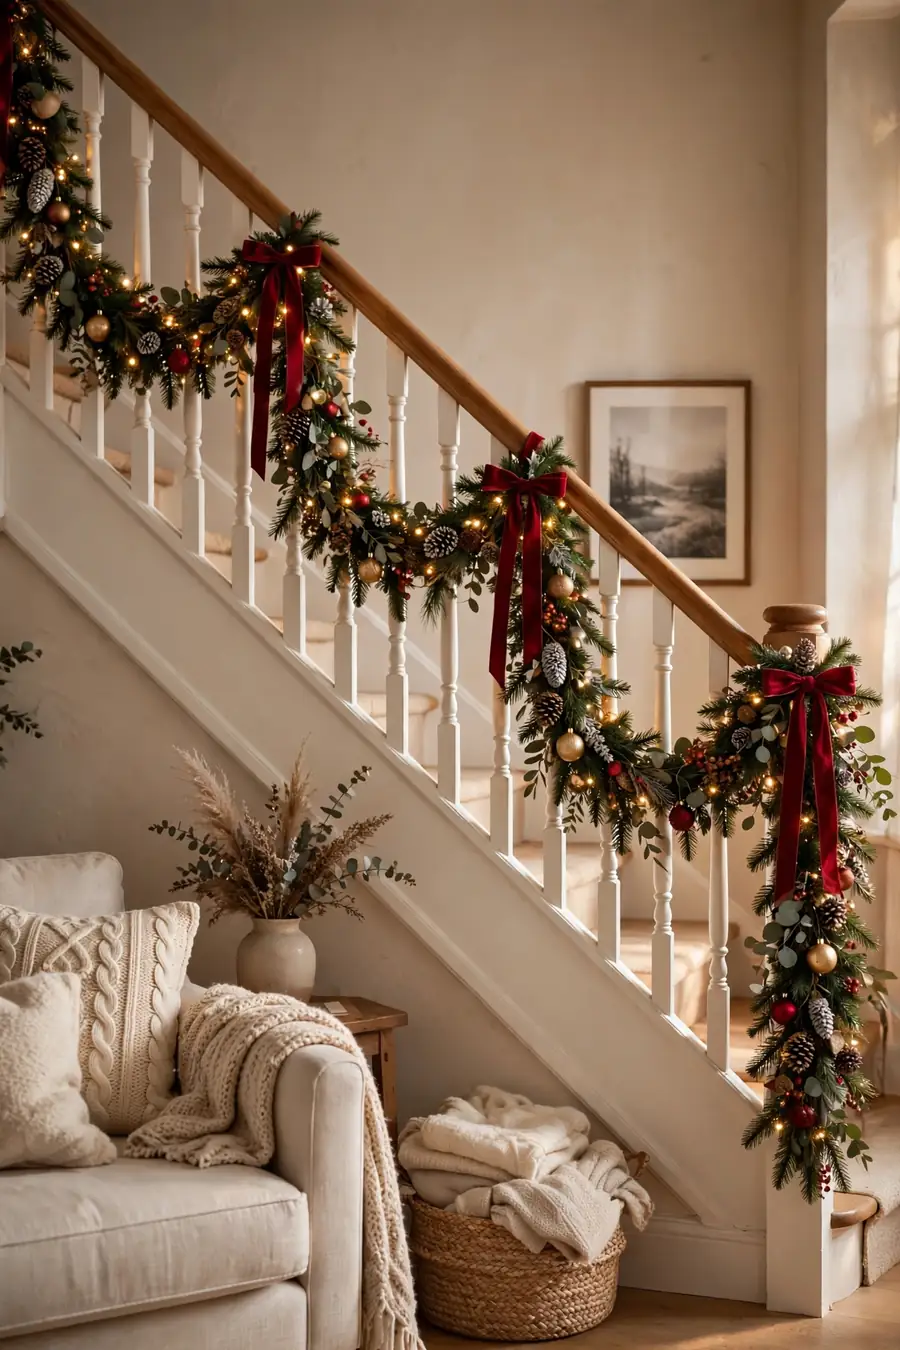
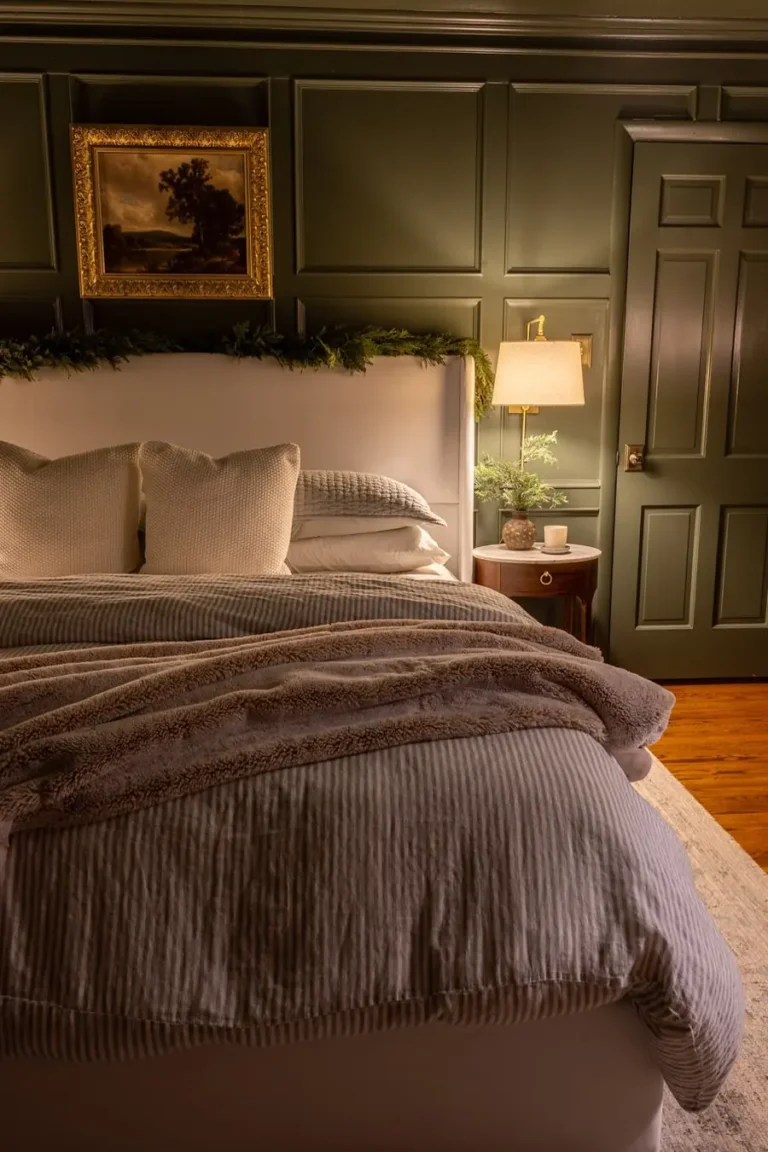
Hanging is where good garlands go to droop, so anchor more than you think you need. On a mantel, rest the garland with weight on the shelf itself and one or two discreet hooks or stocking holders; on a staircase, tie it to the railing with ribbon, floral wire, or garland ties at every swag point rather than just the ends.
Shape each swag by hand once the weight is supported: a gentle, even curve, slightly deeper at the bottom of a staircase run. Step back after every two swags and adjust the depth so they match. Leave the last few inches at each end to trail or curl naturally for a soft finish.
Fixing note: If a swag keeps slipping, the anchor points are too far apart, not too weak. Add one tie in the middle of the swag and the whole run usually settles peacefully.
How Long Should Your Garland Be?
| Spot | Length to make | Why |
|---|---|---|
| 6-foot mantel | 9 to 12 feet | Full width plus swags and drops down both sides |
| Staircase railing | 1.5 times the railing length | Swags between balusters consume the extra length |
| Standard doorway | 16 to 18 feet | Up, across, and down the frame with soft corners |
| Dining table runner | Table length plus 12 inches | A gentle pool or lift at each end |
| Banister landing turn | Add 3 feet per turn | Corners eat length faster than straight runs |
Frequently Asked Questions
How much does it cost to make a christmas garland versus buying a decorated one?
A plain faux base is often $8 to $20, and if your ornaments, ribbon, and picks come from your existing boxes, the whole garland can land under $30. Comparable pre-decorated garlands commonly sell for $60 to $150, so the DIY version pays for itself the first season.
How do I make a garland look full instead of thin?
Fluff every branch outward in different directions first, then wire in bundles of a second greenery texture pointing the same way. Fullness is mostly this fluffing step plus depth — pieces tucked at different heights — rather than adding more decorations.
Do the lights go on a garland before or after the decorations?
After. Weaving lights in last lets the bulbs sit forward and glow through the greenery and ribbon without being buried. Push some bulbs deep and leave others near the surface so the light has depth.
How do I hang a garland without nails or damage?
Tie it on: ribbon, floral wire, or garland ties around railings, stocking holders and removable adhesive hooks on mantels and walls. Support every swag at its two ends, and the garland stays put all season with nothing to patch in January.
You Would Also Love
💬 Join Our Decor Community
Decor Fern | Home Decor Ideas & Inspiration — share your rooms, get ideas, and chat with fellow decor lovers.
Join the Facebook GroupFollow on Facebook
5 Comments