How to Make a Christmas Wreath: Easy DIY Step by Step Guide
A wreath you make yourself costs a fraction of the shop version, matches your home’s colors exactly, and carries the quiet pride of “yes, I actually made that.” The process is simpler than it looks — most beautiful wreaths are just greenery wired onto a base in one direction, with the biggest decorations placed first and the small ones tucked into the gaps.
This step-by-step guide shows you how to make a christmas wreath in about an hour with simple tools and mostly inexpensive supplies. We will choose the base, lay out the design before touching any wire, build the greenery, place the star pieces, fill the gaps, and finish with a bow that pulls it all together.
Work slowly on the greenery layer and the rest falls into place almost on its own.
1. Gather Your Base, Greenery, and Simple Tools
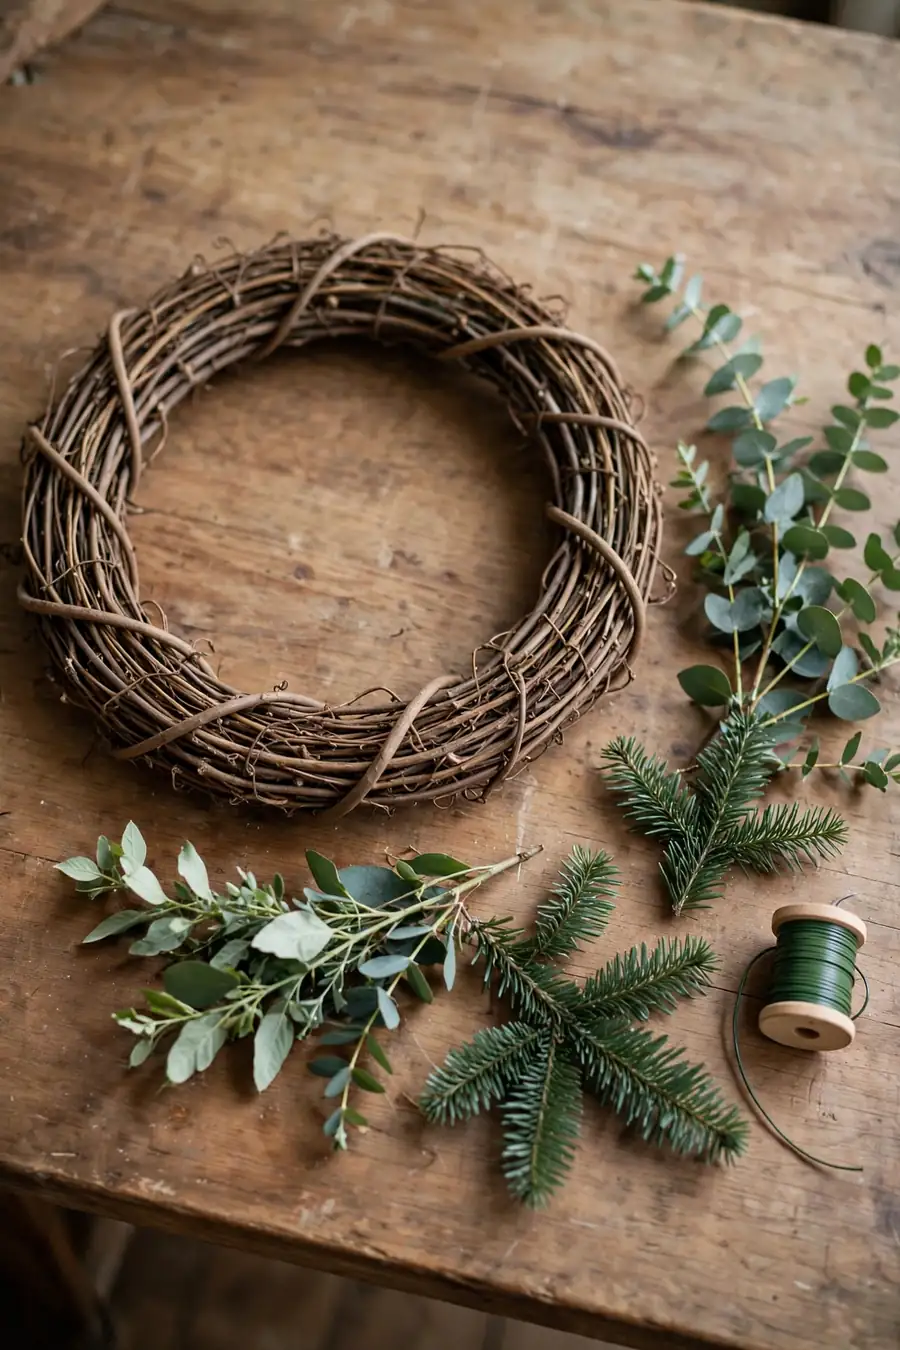
Every wreath starts with a base: a grapevine wreath for a rustic look, a wire frame for full traditional styles, a foam ring for lightweight faux pieces, or a plain faux greenery wreath if you want to skip straight to decorating. For a standard front door, a base that finishes at 22 to 24 inches across looks generous without overwhelming the door.
For greenery, choose faux pine and cedar stems for a wreath that lasts all season and stores for next year, or fresh cuttings for a real one that smells wonderful at the door. Your tools are short and simple: floral wire or a hot glue gun, wire cutters, scissors, and a paddle of thin green wire if you are wiring pieces on.
Budget note: A plain faux greenery wreath from a craft store is the cheapest shortcut of all — it skips the greenery-building step entirely and puts your whole budget into the decorations that show.
2. Prep the Base and Lay Out Your Design

Before attaching anything, fluff and shape the base. Grapevine bases benefit from pulling out stray sticks and trimming any one wild loop; foam and wire bases just need a quick check that the ring is round. Lay the base flat on your table or floor — always build wreaths flat, never while hanging, so gravity is not lying to you about how pieces sit.
Now audition the whole design on top of the base without attaching: place your bow where you think it belongs, arrange the biggest pieces, and scatter the smaller ones. Photograph the layout with your phone. This dry run lets you rearrange freely, and the photo becomes your map once wiring begins.
Style note: Choose where the bow goes first — bottom center is classic, lower-left is modern, and top center suits a wreath that hangs high. Every other piece arranges itself around that decision.
You May Also Like: 25 Christmas Wreaths Ideas for a Beautiful Holiday Welcome
3. Wire In Greenery Moving in One Direction
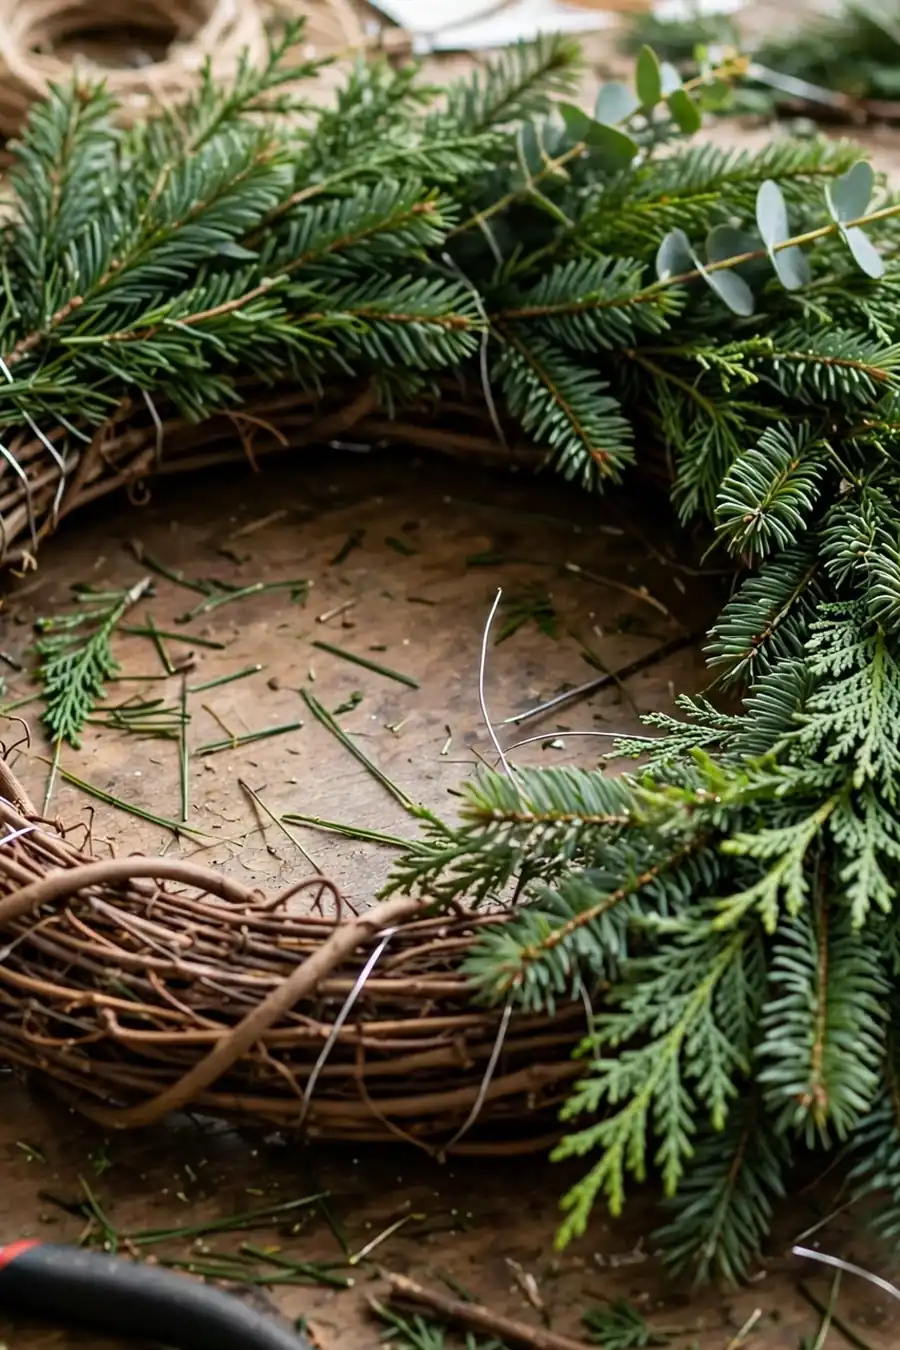
If your base needs greenery built onto it, work in bundles. Cut stems into pieces about six to eight inches long, gather two or three into a small fan, lay it on the ring, and wrap floral wire around the stems and base twice before moving on. Overlap each new bundle over the stems of the last, like roof shingles.
The golden rule is direction: every bundle points the same way around the ring. Greenery working in two directions fights visually and is the main reason homemade wreaths look homemade. Wrap snugly but not so tight that you crush the fluff out of the stems. On a pre-made greenery wreath base, spend this step fluffing instead — pull every branch outward and upward until the wreath looks full from arm's length.
Fixing note: If the wreath looks flat even when full, the branches are all pointing sideways. Gently bend the tips of a third of the branches upward toward you — depth, not quantity, is what reads as lush.
4. Place Your Biggest Pieces First
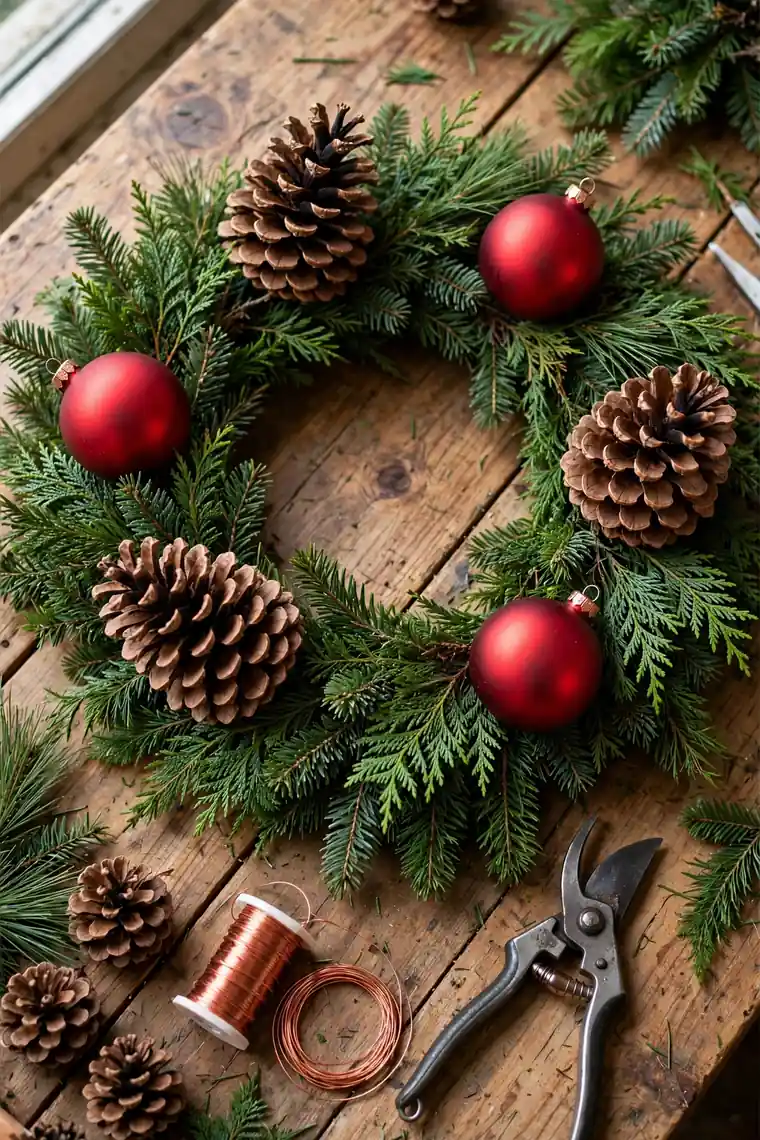
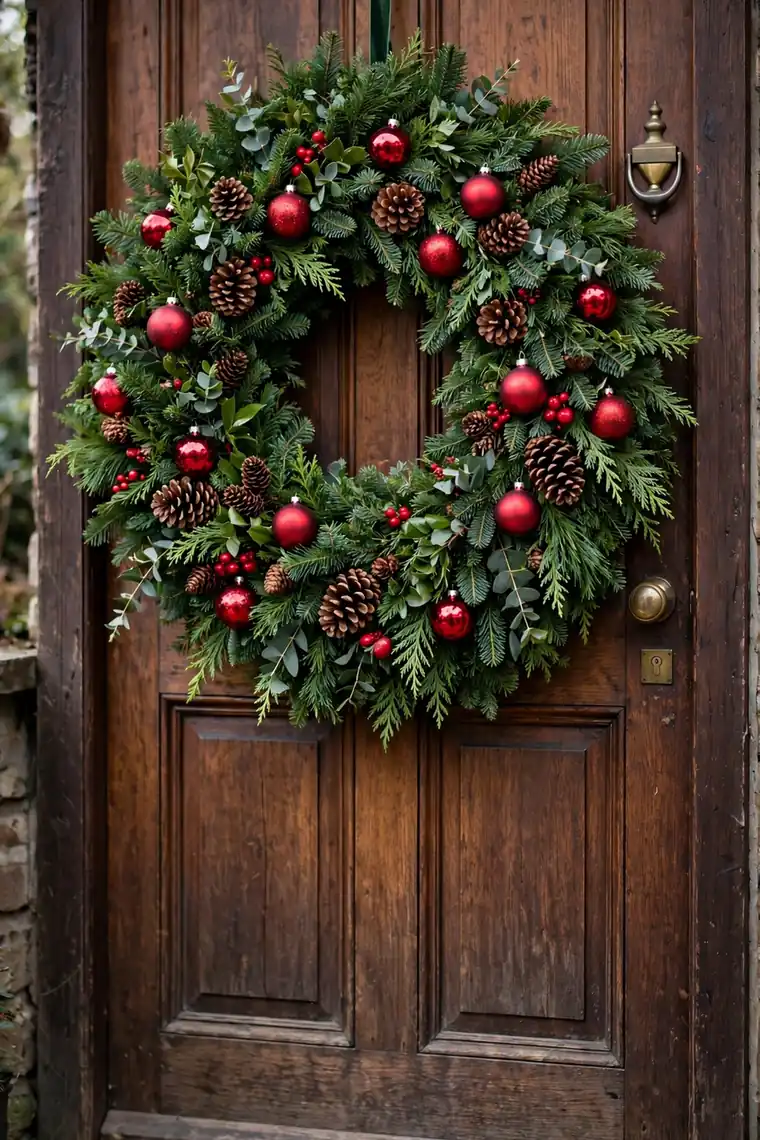
With the greenery ready, attach your largest decorations first: big ornaments, pinecone clusters, berry picks, small lanterns, or wooden shapes. Wire or glue them at the points of a loose triangle around the ring, which spreads visual weight evenly instead of clumping everything near the bow.
Push each piece slightly down into the greenery rather than perching it on top — pieces that nestle in look grown into the wreath, and they stay put when the door slams. Three large pieces is usually plenty; stop and look before adding more, because the smaller details still have to come.
Scale note: Big pieces at the outer edge and smaller ones drifting toward the inner edge gives the wreath depth. All one size all over is the flat, "stickered" look you are avoiding.
You May Also Like: 20 Front Porch Christmas Decor Ideas for a Warm Welcome
5. Fill the Gaps With Smaller Details

Now weave in the supporting cast: small ornaments, single pinecones, berries, eucalyptus sprigs, cinnamon sticks, or dried orange slices. Tuck them into any spot where you can see base or shadow gaps, stepping back every few pieces to check the whole circle rather than finishing one section to perfection.
Keep your palette strict — two main colors plus one metal makes even simple craft-store pieces look like a designed set. Angle small items slightly differently as you go; a rhythm of repeated colors around the ring looks intentional, while perfectly even spacing looks like a factory line.
Texture note: Include at least one matte natural texture (pinecones, wood, dried fruit) and one shiny texture (glass, glitter, metal bells). The contrast is what makes the wreath catch light and hold the eye.
Budget note: This fill layer is where cheap materials shine. Craft-store picks cut apart into singles give you three to five tuck-in pieces for the price of one decorated pick.
6. Add a Bow and One Clear Focal Point

Every wreath needs one moment your eye lands on. Attach a generous bow in your deepest palette color at the spot you chose in step two, wiring it through the base so it can hold its shape all season. Wired-edge ribbon makes loops and tails that stay perky instead of drooping by week two.
If you prefer no bow, group your three finest pieces together into one cluster as the focal point instead. One strong moment plus quiet supporting pieces reads as expensive; five competing moments read as clutter. Fluff the bow loops, cut the tails at an angle, and curl them gently with your fingers.
Style note: Ribbon in velvet or a satin look finishes a wreath instantly. Choose the ribbon after your palette, not before — it should be the deepest or richest note in the whole design.
You May Also Like: 23 Front Porch Christmas Decor Ideas for a Festive Welcome
7. Hang It, Step Back, and Adjust
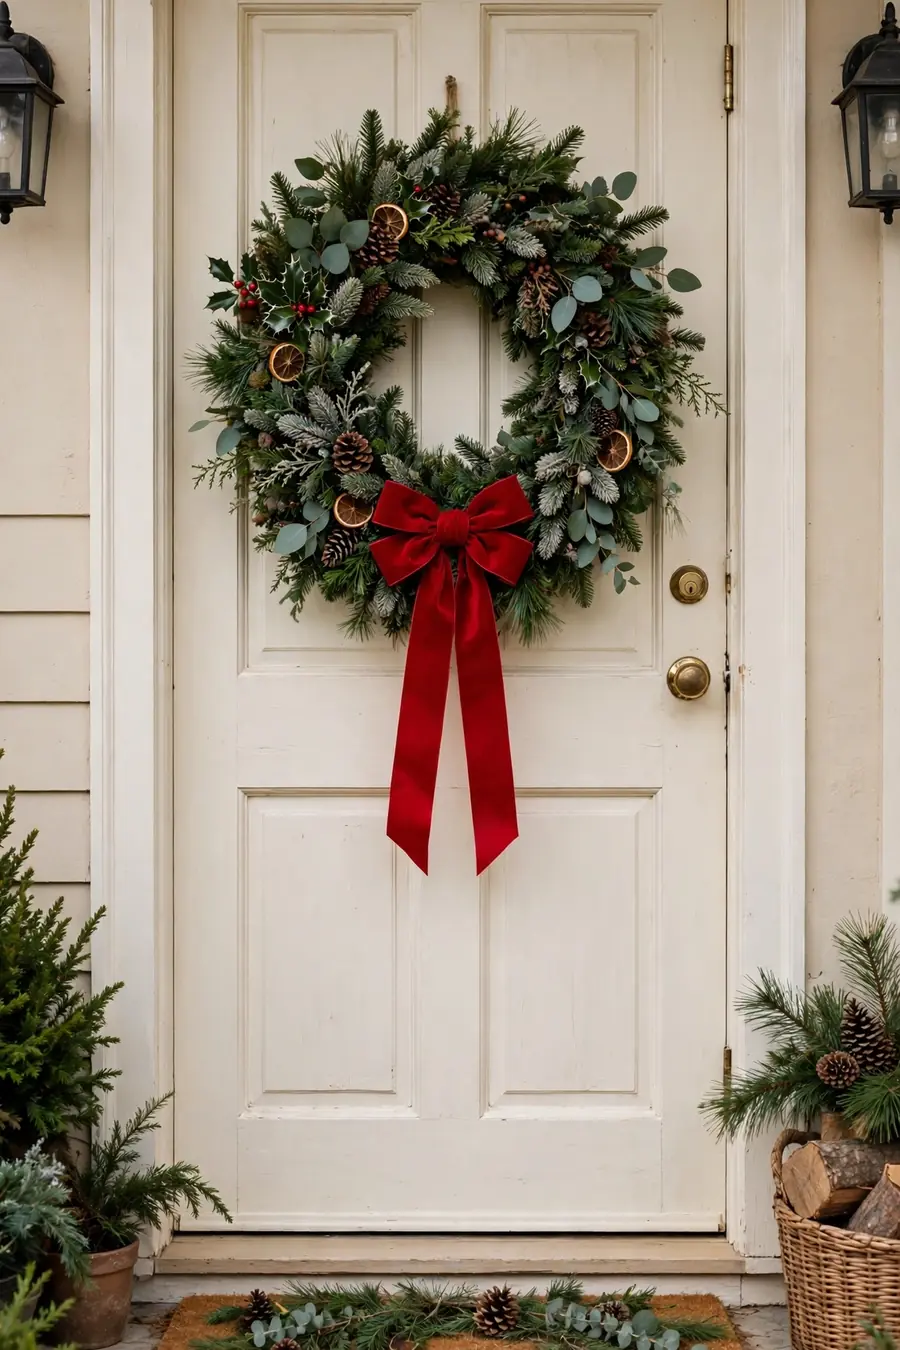
Loop a piece of wire or a wreath hanger through the back of the base — never hang a wreath by its greenery. Hang it at eye level on the door, then walk to the street or the end of the hall and look properly. Almost every wreath needs one small turn, one fluffed branch, or one missing berry once it is vertical.
Check from the side too: the profile should look full but lie fairly flat to the door. If pieces have slipped during hanging, that is the weak wiring showing itself now rather than during a storm — re-secure those two pieces and you are done until January.
Storage note: Store the wreath hanging on a garage or closet hook, or flat in a wreath box with the bow protected. A wreath stored under heavy boxes arrives next December pre-flattened.
Quick Fixes for Common Wreath Problems
- Bare spot showing the base: Tuck a short greenery sprig into the gap and add one small ornament on top — depth plus sparkle hides any thin patch.
- Pieces falling out: They were glued on top instead of nestled in. Re-attach pushed down into the greenery, and wire larger pieces rather than trusting glue alone.
- Bow drooping sadly: The ribbon is not wired-edge, or the bow is too small for the wreath. Rebuild slightly larger with wired ribbon and fluff each loop outward.
- Wreath looks flat like a sticker: Bend a third of the branch tips upward and add one layer of items at the inner edge — depth comes from layers at different heights.
- Everything looks scattered: Your palette has too many colors. Remove the one color that appears least and redistribute the rest evenly around the ring.
- Wreath spins on the door: The hanging loop is off-center or too loose. Re-loop wire at the true top of the base and add a second soft pad or hook to hold it steady.
Frequently Asked Questions
How much does it cost to make a christmas wreath instead of buying one?
A DIY wreath typically runs $15 to $35 in craft-store supplies — a plain base, a few picks, ribbon, and ornaments — while a similar finished wreath often sells for $50 to $90. The gap grows if you reuse the base and decorations year after year, which faux materials easily allow.
What size wreath should I make for a standard front door?
A finished size of 22 to 24 inches suits most standard 36-inch doors. Go to 26 inches only for tall or double doors, and down to 18 or 20 inches for narrow apartment doors, interior doors, or windows.
Can I make a wreath without a hot glue gun?
Yes. Floral wire alone can build an entire wreath — wire bundles of greenery to the base, wire ornaments by their caps, and wire the bow through the frame. Wiring is slower than gluing but stronger, and it lets you rearrange pieces later without damage.
How long does a homemade wreath last?
A faux wreath lasts many seasons with gentle storage. A fresh greenery wreath lasts about three to five weeks outdoors in cool weather — mist it occasionally and expect it to fade sooner in sun or indoor heat.
You Would Also Love
💬 Join Our Decor Community
Decor Fern | Home Decor Ideas & Inspiration — share your rooms, get ideas, and chat with fellow decor lovers.
Join the Facebook GroupFollow on Facebook


One Comment