How to Make a Christmas Centerpiece: Easy DIY Ideas
A homemade Christmas centerpiece looks like the work of someone who hires help, yet most of the beautiful ones are just five layers arranged in the right order on a tray: base, greenery, height, details, and one finishing sparkle. If you can make a sandwich, you can make a christmas centerpiece that has guests asking where you bought it.
This step-by-step guide walks you through building one from mostly household items in about half an hour. We will pick the base, size it to your table, lay the greenery, add height with candles or trees, tuck in ornaments and natural pieces, and finish with the detail that makes it yours.
Keep your palette tight and your layers in order, and even a first attempt comes out looking deliberate.
1. Pick Your Base First: Tray, Bowl, or Cake Stand
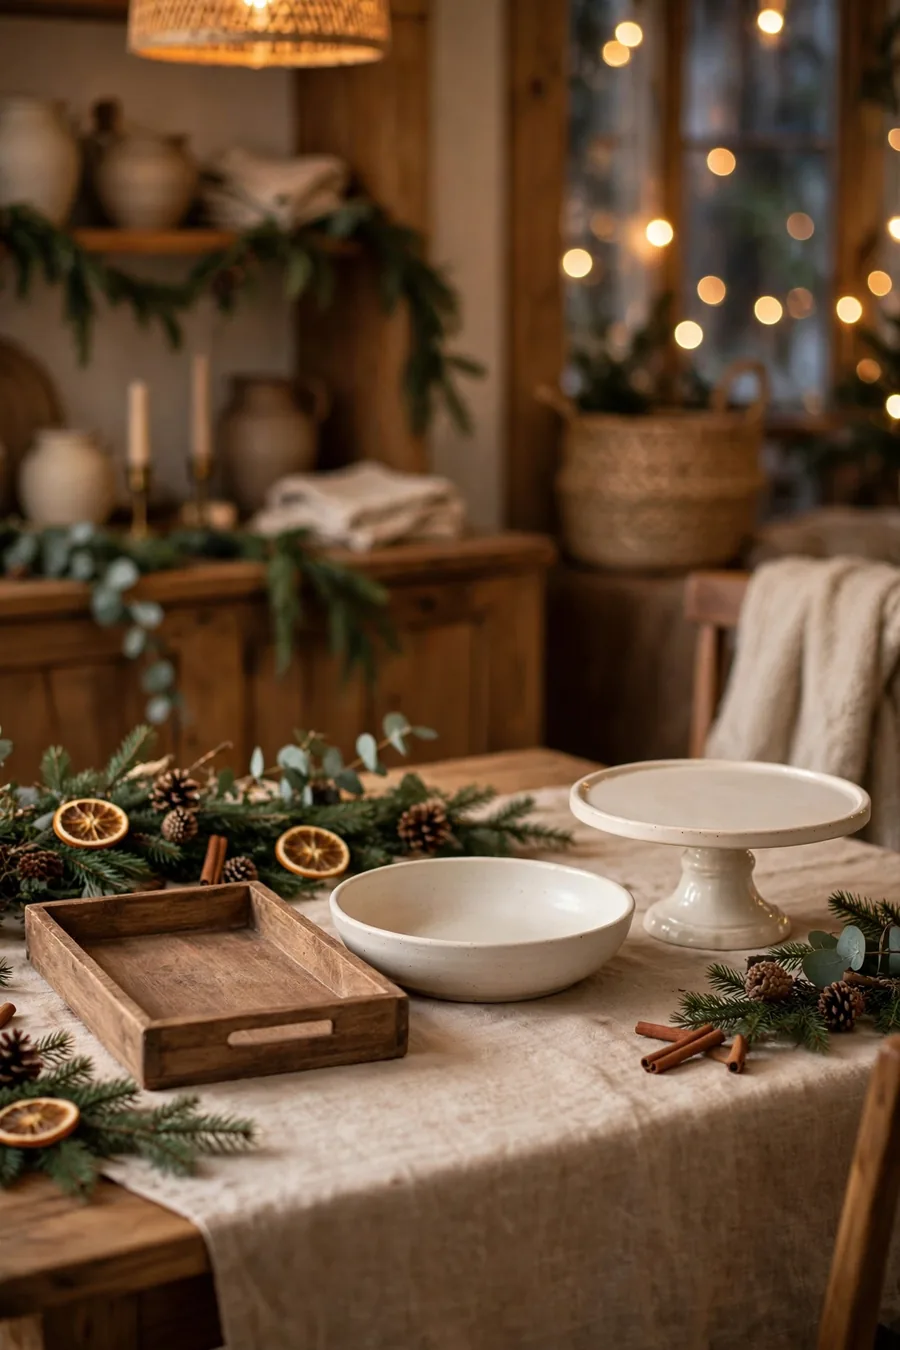
Every good centerpiece starts with a container, because a base corrals all the loose pieces into one composed arrangement — and lets you lift the whole thing off the table in one move when dinner arrives. Look around your kitchen before shopping: wooden trays, shallow bowls, bread boards, cake stands, and even a roasting pan lined with cloth all work.
Long tables suit a long tray or board; round tables suit a round tray, bowl, or stand. Raise a flat tray on a stack of two books hidden under a cloth if you want more presence. Choose the base in a neutral material — wood, galvanized metal, white ceramic — so it supports any color story you layer on top.
Budget note: The best base is usually already in your kitchen. A cake stand you use twice a year becomes a daily December centerpiece and earns its cupboard space.
2. Choose a Size and Shape That Fit Your Table
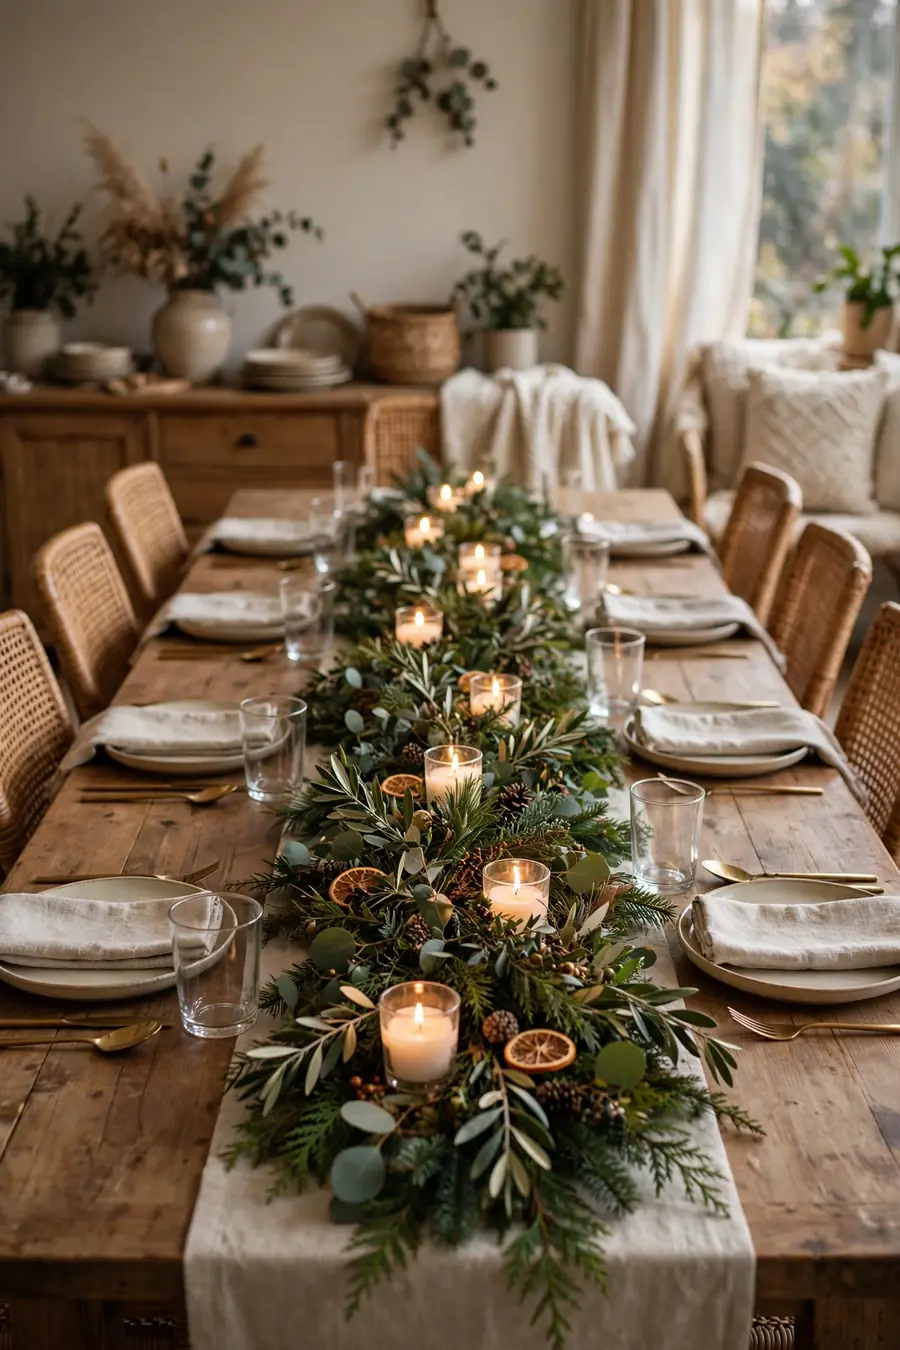
Size decides whether a centerpiece feels generous or lost. A good rule: your arrangement should cover roughly the middle third of the table's width, and no more than about a quarter to a third of its length, so place settings and serving dishes keep their territory on both sides.
For height, keep the main body under about twelve inches so seated guests can talk over it. Let taller items be narrow — candlesticks, branches, bottle-brush trees — since sightlines pass either side of them. Tape measure in hand, test your base on the table with plates set out before you build anything on it.
Scale note: A centerpiece that looks right in your hands usually looks small on a set table. Build slightly fuller than your instinct says, then edit once it is in place.
You May Also Like: 21 Natural Christmas Decor Ideas for a Cozy Rustic Home
3. Build the Greenery Layer
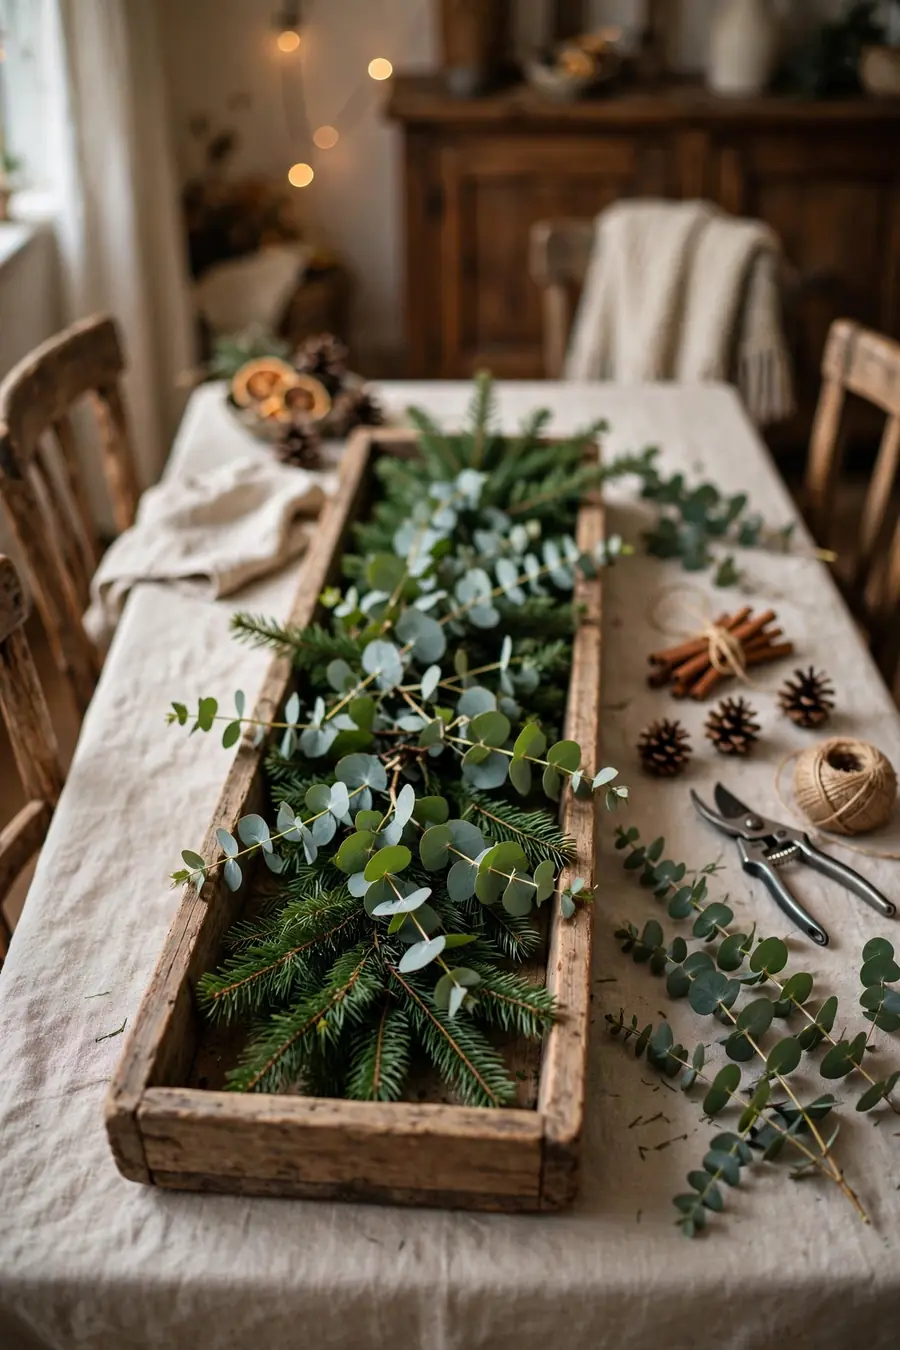
Greenery is the foundation everything else sits in. Lay faux pine sprigs, cedar pieces, or a cut-apart inexpensive garland over your base, pointing stems outward from the center so the arrangement fluffs past the edges. On a tray, let a few tips spill softly over the sides; in a bowl, mound the greenery so it domes slightly.
If using real greenery, tuck the stems into a small jar of water hidden in the middle or use floral foam in a lined container, and mist it every few days. Faux greenery is the practical favorite for a piece that must last a month — modern cedar and pine sprays look convincingly real once ornaments nestle among them.
Texture note: Mix two kinds of greenery — one fluffy like pine, one flatter like cedar or eucalyptus. The contrast is what makes faux arrangements read as real at candlelit distance.
4. Add Height With Candles or Mini Trees

Every centerpiece needs something tall, or it reads as a flat wreath lying down. Candles are the classic choice: three pillar candles of different heights in the middle, tall tapers in holders, or a row of votives in glass. Group tall items near the center and step them down toward the edges like a little skyline.
Bottle-brush trees, small wooden houses, and bare branches in a jar all give height without flame, and mini trees suit a centerpiece that also needs to survive a table of children. Work in odd numbers — one tall hero piece, or three — because odd groupings look natural where even ones look arranged for a photo.
Safety note: Set any real-flame candles in stable holders or glass hurricanes, and keep faux greenery and ribbon clear of flames. Flameless pillars give an identical silhouette with zero supervision.
You May Also Like: 21 Christmas Table Centerpieces for a Beautiful Holiday Table
5. Tuck In Ornaments, Pinecones, and Bells
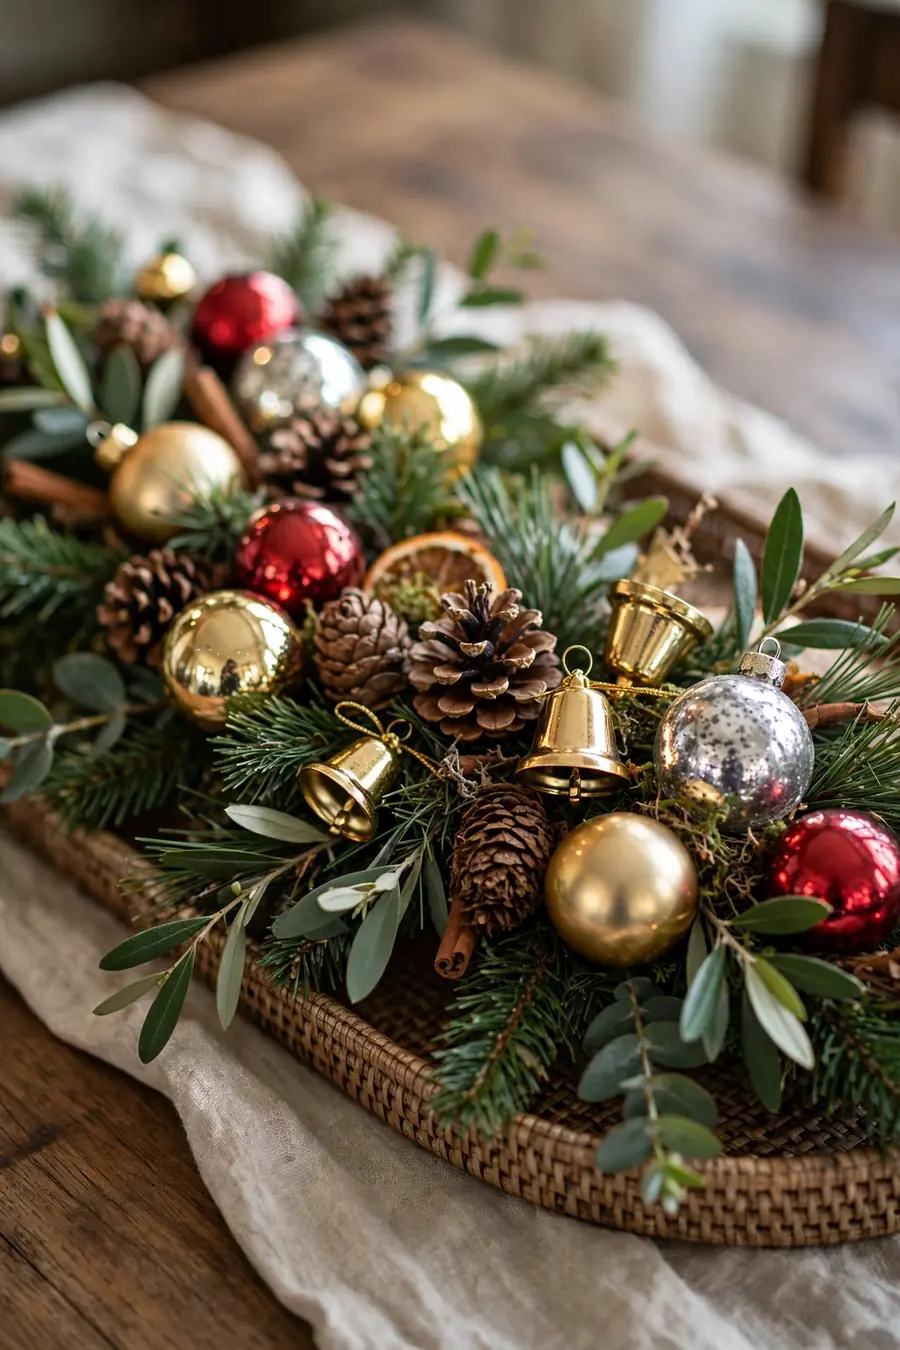
Now fill the gaps with the fun layer. Tuck small ornaments down into the greenery where holes show, sitting them at slight angles so they catch light. Add pinecones, walnuts, or cinnamon bundles for natural texture, and one or two jingle bells where they will glint.
Use your palette strictly here — all gold, all red and cream, or all frosted white — because a scatter of unrelated colors is the fastest way to make a homemade piece look homemade in the wrong way. Push items down into the greenery rather than resting them on top, so the arrangement looks grown rather than sprinkled.
Budget note: Ornaments too chipped or dated for the tree are perfect centerpiece material. Nestled in greenery, small flaws disappear and their color does all the work.
6. Finish With Ribbon and One Focal Point
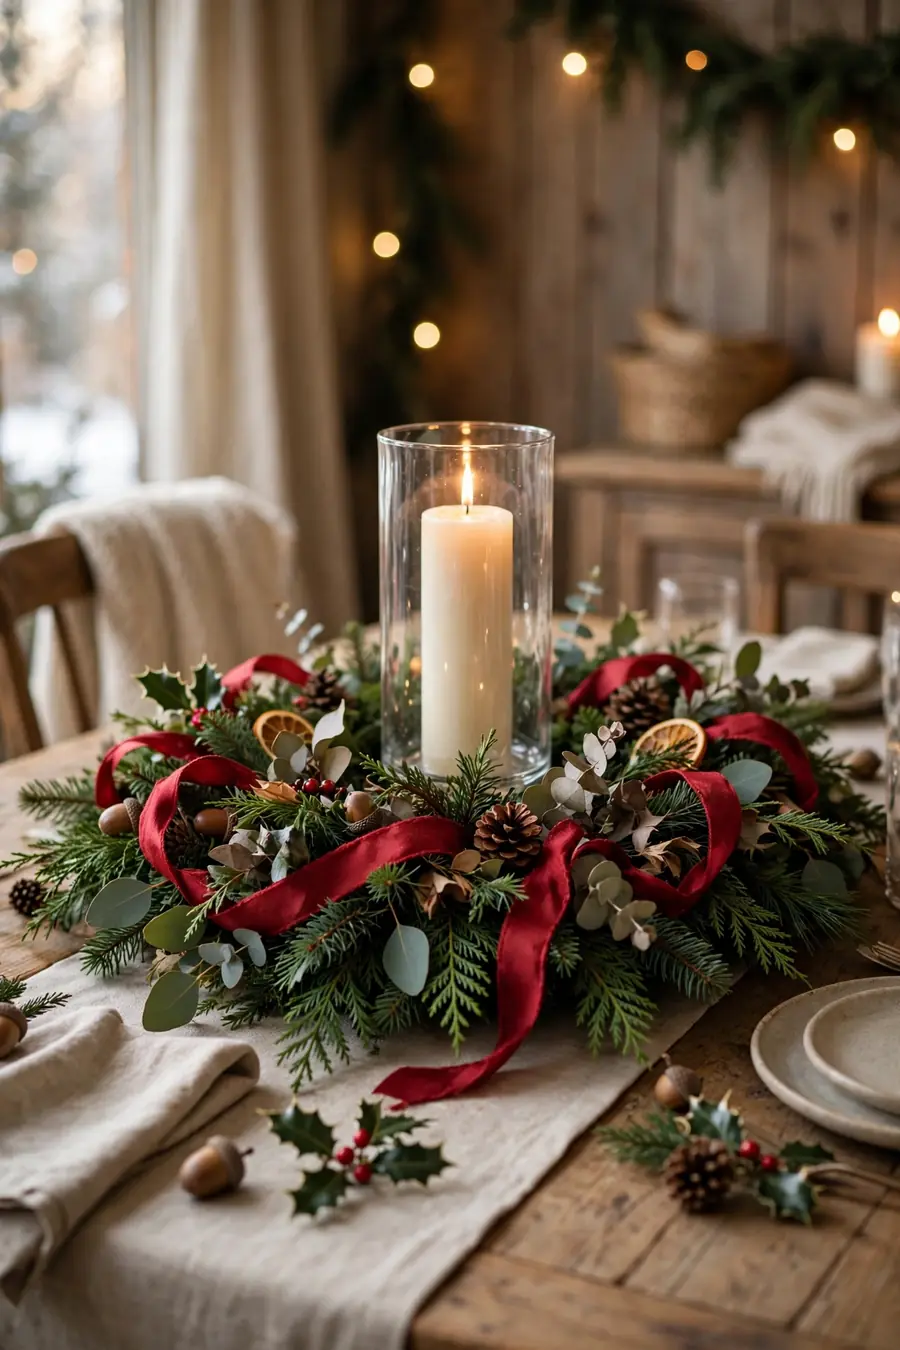
Choose one focal point — a cluster of three elegant ornaments, a small lantern, a star, or a ribbon bow standing at the center — and let it be the piece your eye lands on first. Weave a length of ribbon loosely through the greenery in two or three soft billows, tucking the ends underneath so it looks woven in, not laid on.
Step back and check the silhouette from across the room. You want a gentle mound with one peak, not a row of competing spikes. Remove any single item that shouts louder than your focal point; a calm base with one hero always looks more expensive than everything shouting at once.
Style note: Ribbon with wired edges holds its billows all season. Velvet or satin-look ribbon in your deepest palette color adds the "finished" touch professional pieces always have.
You May Also Like: 24 Christmas Table Settings for a Beautiful Holiday Table
7. Check It From Every Seat
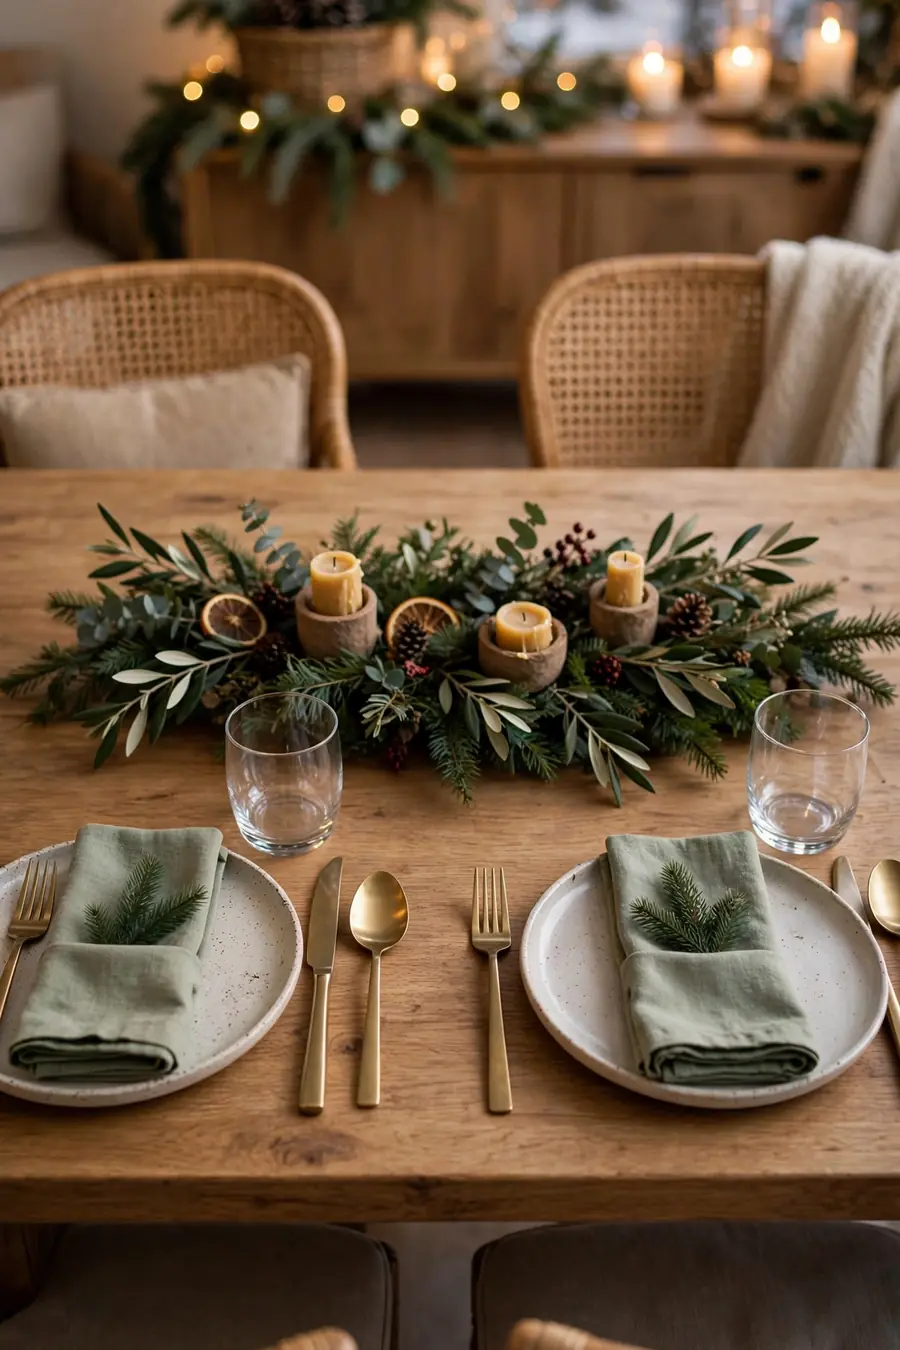
The last step happens sitting down. Place the centerpiece on the set table and sit in each chair, turning it a quarter at a time until every seat gets a good view. Fill any bare side you spot with one tucked ornament or cone — most DIY pieces have one shy side that only shows from one chair.
Check the height against real life: can you see the face across from you, can a serving spoon pass over it, can a child reach their glass? Trim, lower, or swap one tall piece if anything fails. A centerpiece that passes the every-seat test will be complimented all season and cursed by no one.
Fixing note: If the piece looks flat from the ends of the table, raise the whole base — slide a book or an upside-down cake pan under the tray and hide it with cloth or greenery.
Three Centerpiece Recipes to Copy
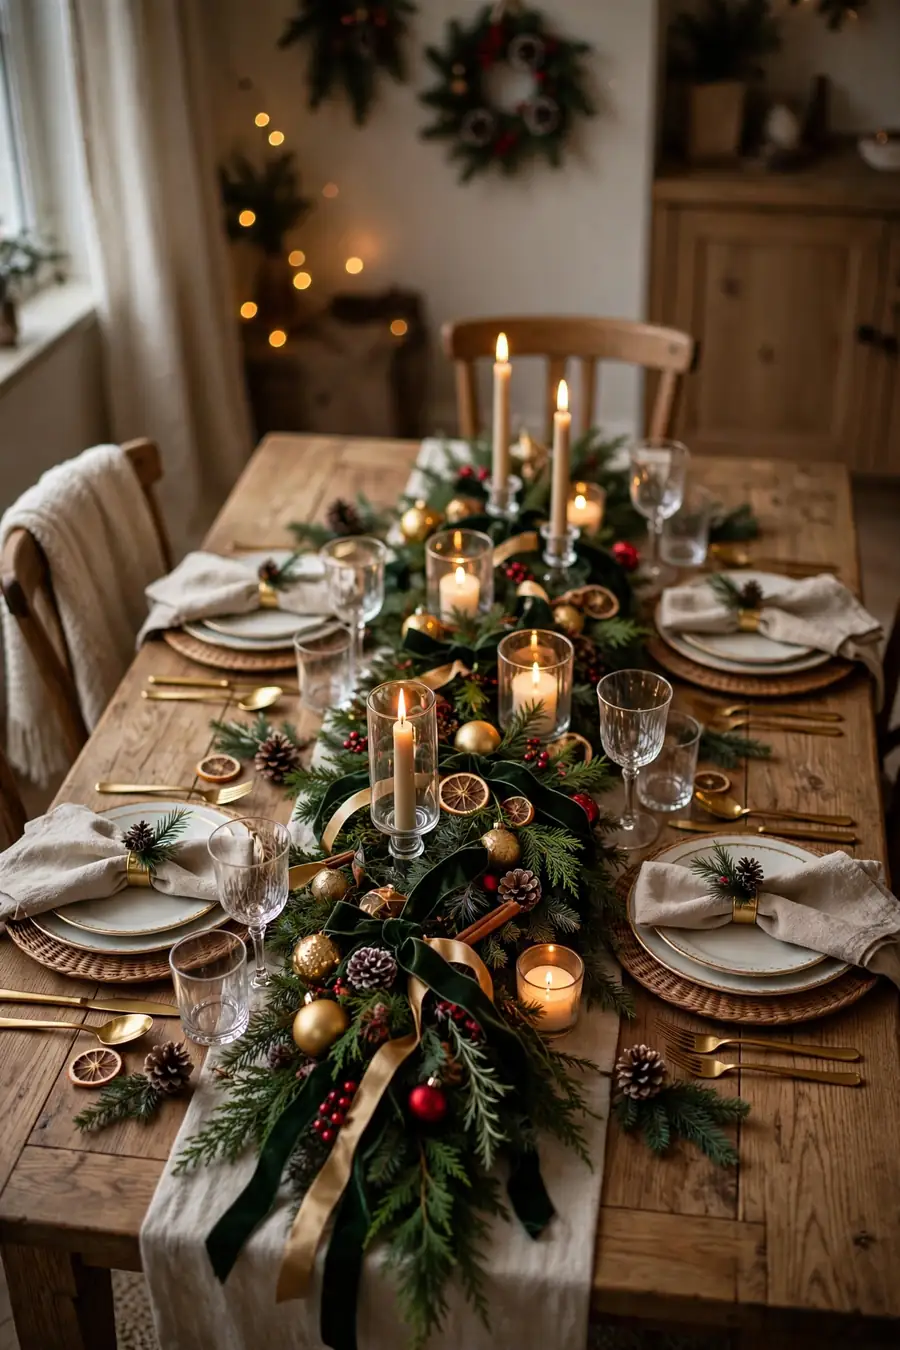
| Style | Base | You will need | Look |
|---|---|---|---|
| Rustic Woodland | Wooden tray or board | Pine greenery, pinecones, 3 pillar candles, burlap ribbon | Warm, natural, cabin cozy |
| Classic Red & Gold | Silver tray or cake stand | Cedar greenery, red and gold ornaments, taper candles, velvet bow | Traditional, rich, formal glow |
| Frosty White | White bowl or glass stand | Frosted greenery, white and silver ornaments, glass votives, white ribbon | Calm, snowy, winter light |
Frequently Asked Questions
What is the easiest way to make a christmas centerpiece?
Start with a tray, mound faux greenery over it, add three pillar candles in the middle, tuck in a handful of same-color ornaments and pinecones, and finish with a ribbon. Built in that order on the tray, it takes about thirty minutes and lifts off the table in one piece for serving.
How big should a centerpiece be for a dining table?
Aim for the middle third of the table's width and up to a third of its length, keeping the main body under about twelve inches tall so guests can see each other. Tall skinny pieces like candlesticks and mini trees can go higher without blocking sightlines.
Can I make a centerpiece without any fresh greenery?
Yes — good faux pine and cedar sprays look very convincing once ornaments and candles are tucked in, and they keep the piece looking fresh for the whole month with no watering or shedding. Mix two faux textures together so it reads as real at normal viewing distance.
How long does a DIY Christmas centerpiece last?
A faux centerpiece lasts the entire season and stores for years — dust it, box it in January, and rebuild in minutes next year. Real greenery arrangements last one to three weeks depending on the greens; keep stems in water where you can and mist them every few days.
You Would Also Love
💬 Join Our Decor Community
Decor Fern | Home Decor Ideas & Inspiration — share your rooms, get ideas, and chat with fellow decor lovers.
Join the Facebook GroupFollow on Facebook

One Comment