23 Christmas Village Display Ideas for a Magical Holiday Scene
A Christmas village is the only decoration that asks you to be a town planner, a lighting designer, and a storyteller all at once — and that is exactly why people love it. Done well, a village turns a sideboard or a mantel into a tiny world that guests lean into, point at, and remember long after the tree lights are off. Done badly, it becomes a crowded shelf of lit houses with no streets, no snow, and no reason to look twice. The difference is rarely money. It is planning: a base, a layout, and light, in that order. A village built on levels, with streets to walk and light in its windows, rewards the time spent planning it every single evening it glows, and that evening glow is the whole reason for building it.

Before you unpack a single house, decide where the village lives and how big it can honestly be. A village that fits its surface looks magical; one that overflows it looks like storage. The 23 ideas below build a village the way a real town grows: ground first, then buildings, then light and weather, and finally the little scenes that make it feel inhabited. For the room the village will glow in, our ultimate Christmas decorating guide will help you place it so the whole house benefits.

The Ground Beneath the Town — Base and Board

1. Choose the Surface Before You Choose a House
A village needs a surface it can own for the whole season: a sideboard top, a wide mantel, a console table, or a deep bay window. Measure it first, leave room for people to walk past without brushing a roof, and check that you can reach a socket without trailing a cable across the room. A surface with a wall behind it is a gift, because the wall hides cables and gives the back row something to lean against. Choose the surface, then let its depth and length decide how many houses you can honestly display.

2. Build Levels with Boxes and Books
Flat villages look flat. Raise the back of the village with sturdy boxes, stacked books, or wooden crates, highest at the wall and lowest at the front, so every roofline can be seen from across the room. Cover the risers completely with snow cloth or batting, tucking the edges underneath, so the village reads as a hillside rather than a pile of boxes. Levels do more than add height: they create streets that climb, views between houses, and a natural place to hide cables and power strips out of sight.
3. Lay Snow That Hides the Mechanics
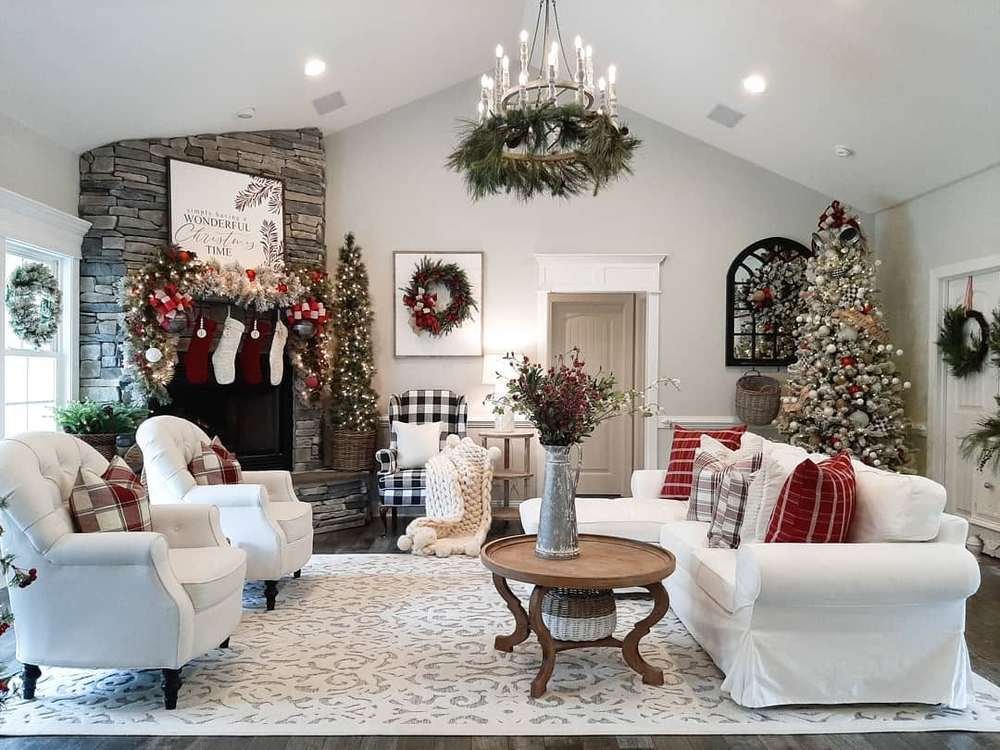
Snow is not just pretty — it is camouflage. A white cloth, a roll of batting, or a scattering of faux snow over the levels hides box edges, cable runs, and the bases of houses in one soft layer. Drape it loosely rather than stretching it tight, so it falls into gentle drifts and hollows where a path or pond can sit. Keep the snow thickest at the back, where the mechanics live, and thinner at the front, where the village meets the room, so the eye travels from clean snow into a believable little town.

4. Plan Streets Before You Place Houses
Real towns are organised by streets, and villages should be too. Lay thin ribbons of grey felt, or strips of card, as one main street and two smaller side paths before a single building goes down. Streets give houses an address, tell visitors where to look first, and stop the display from becoming a random row of roofs. Leave the streets clear of snow drifts and trees, and let them curve gently around the levels so the village feels walked through, not just looked at.
5. Leave Empty Space on Purpose
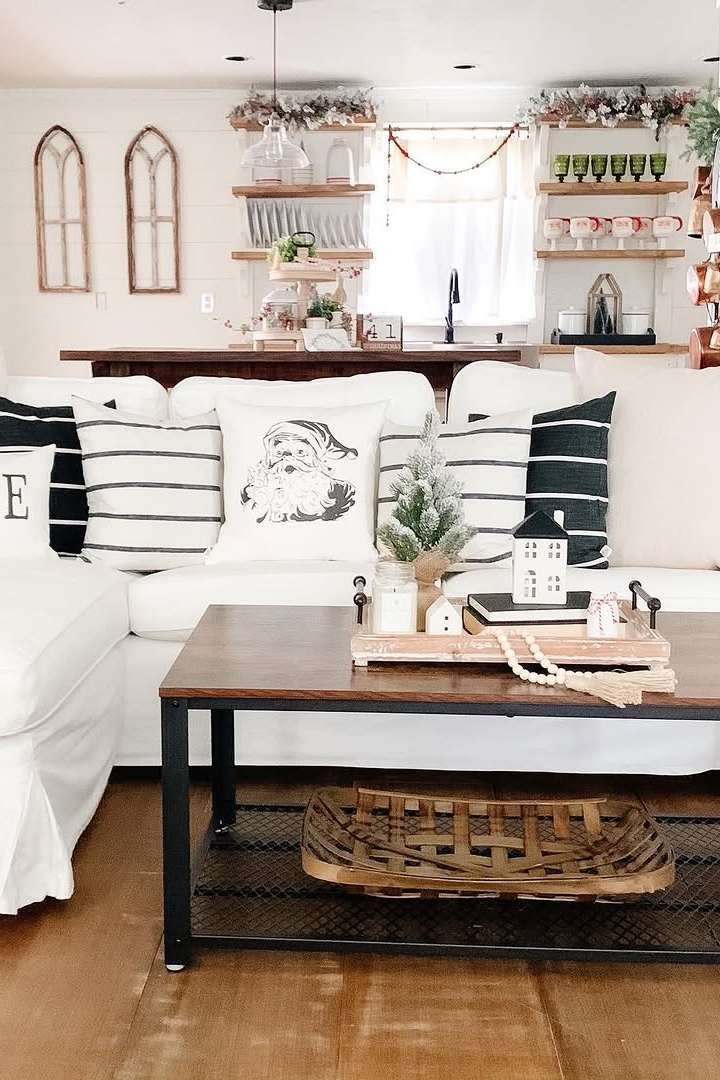
The hardest village skill is restraint. Leave one patch of open snow — a frozen pond, a town green, or simply a quiet square — and resist the urge to fill it. Empty space lets the eye rest, makes the lit houses beside it glow brighter, and gives the village the breathing room a real town has between its buildings. A crowded village reads as clutter; a village with one deliberate gap reads as a place, with room for snow to fall and for stories to happen.

Houses, Church and Shops — The Buildings

6. Start with the Tallest Building
Every village needs an anchor, and height decides it: the church, the town hall, or the tallest house goes in first, on the highest level and in the most visible spot. Once the anchor is set, every other building can be placed in relation to it, stepping down in height toward the front. This simple order stops the village from looking accidental and gives visitors a landmark to find, just as a real town has a spire or tower on its skyline.
7. Group Houses in Twos and Threes
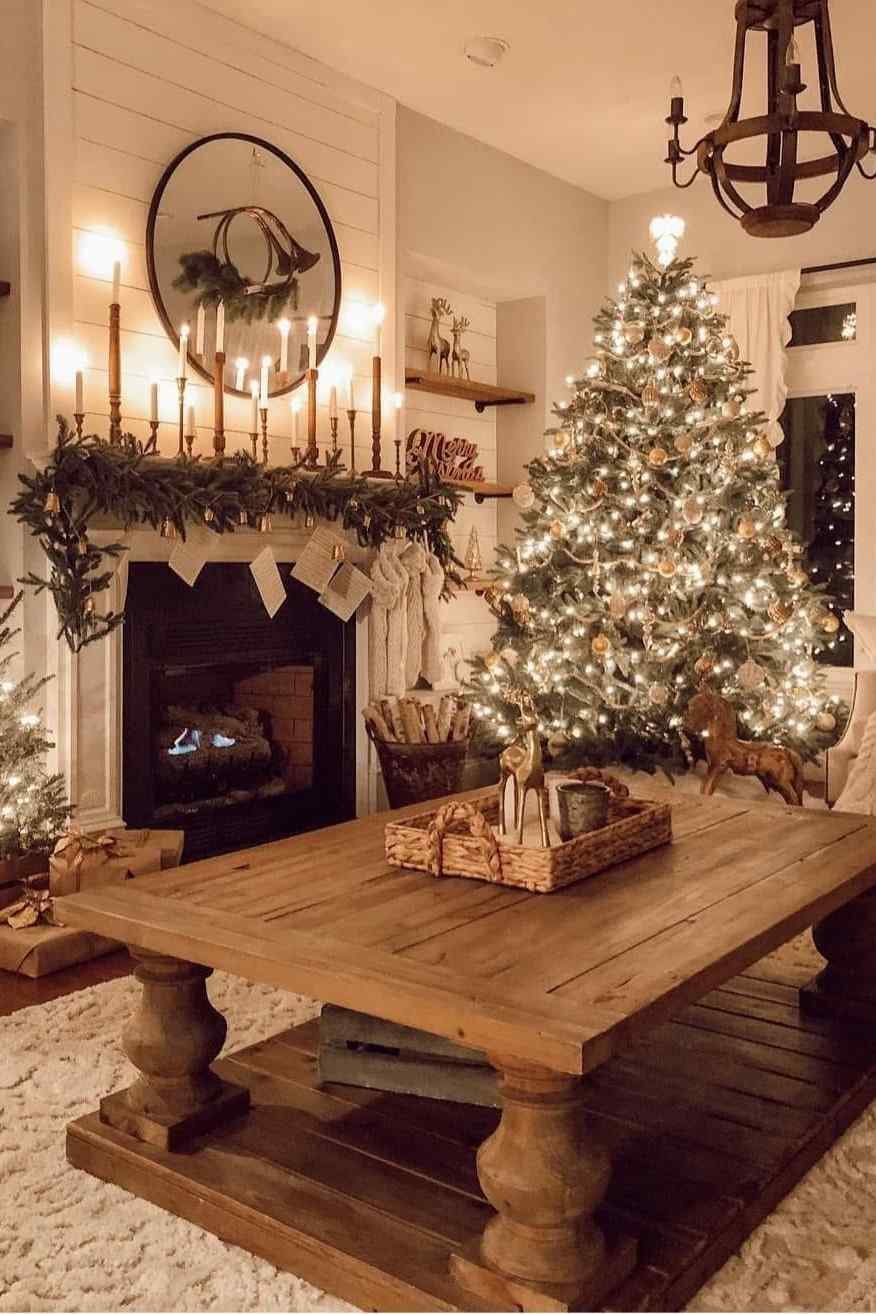
Houses placed one by one in a row look like a parade; houses grouped in twos and threes, with small gaps for a tree or a lamp between them, look like a neighbourhood. Group by similar scale and colour, keep a little breathing room inside each group, and let the groups step down in height as they move forward. The gaps matter as much as the houses: they are where paths run, where trees grow, and where the eye finds its way through the town.

8. Give the Church or Chapel Pride of Place
A church with a steeple is the village’s exclamation mark, so give it space to breathe: a little green around it, a clear path to its door, and no taller neighbour crowding its roof. Place it slightly back from the front edge, where its height can be seen above the houses, and light it warmly so it becomes the focal point at dusk. A church squeezed into a corner loses its magic; a church given room becomes the heart of the whole display.

9. Add Shops with Signs You Can Read
Shops are where a village tells its story: a bakery, a toy shop, a post office, a market stall. Turn their fronts toward the room, not toward the wall, and choose signs that can actually be read from a few steps away. A tiny crate of bread, a window full of toys, or a post box by the door does more storytelling than a dozen anonymous houses. Keep shop details small and specific, and the village stops being a collection and starts being a place where things happen.

10. Let One House Stay Dark
Not every window should glow. Leave one house unlit, or light it only faintly, and the lit houses beside it will look warmer, deeper, and far more realistic. In a real town, not every home is awake at the same time, and that contrast is what makes a lit village look believable rather than blazing. Choose a house at the edge of a group for the dark one, so the darkness reads as a quiet corner, not as a fault in the display.
11. Mix Old and New Pieces Slowly
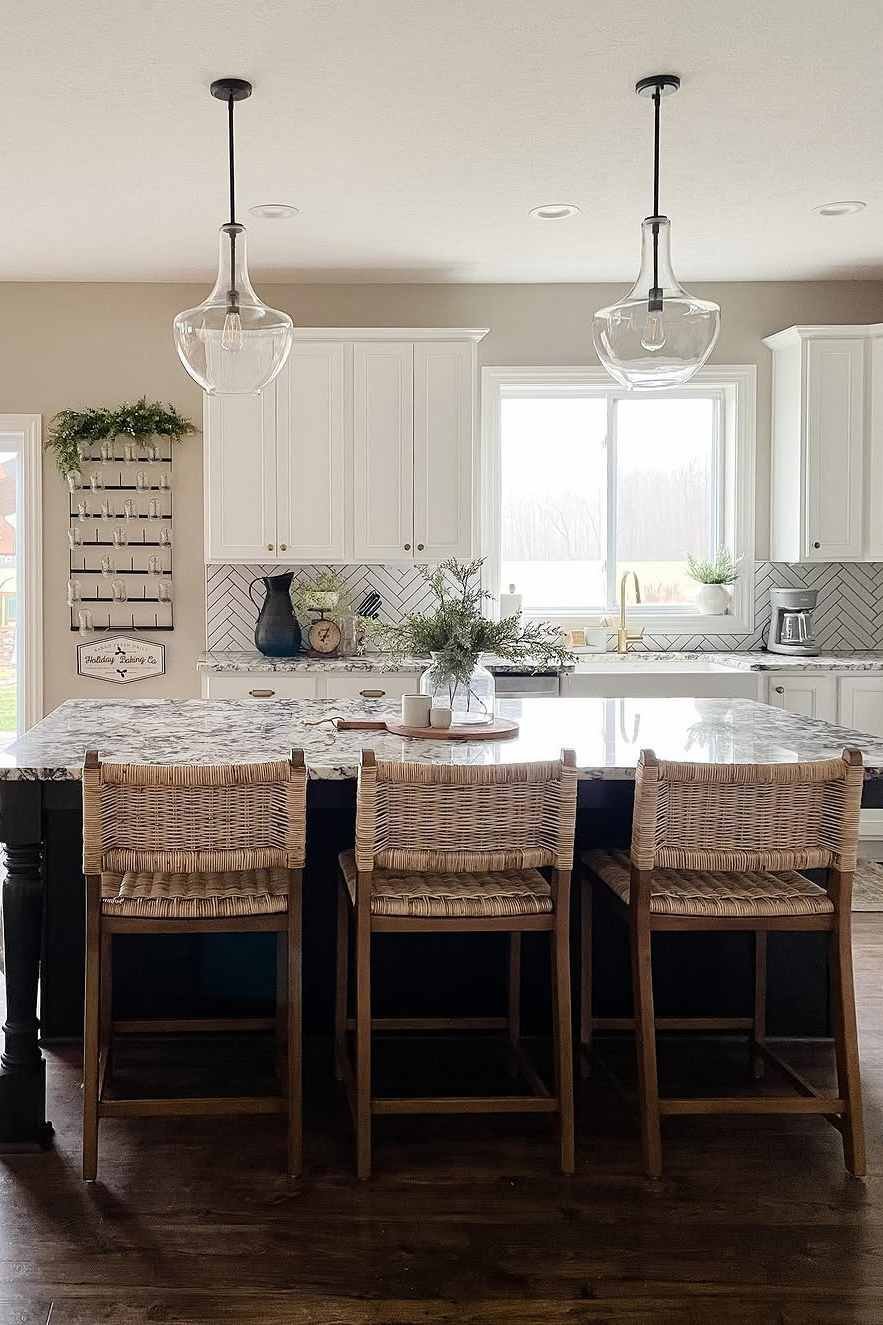
Most villages grow over years, and pieces from different years rarely match perfectly. What matters is not matching brands, but matching scale, warmth of light, and overall feeling. Add new pieces one at a time, place them beside similar houses first, and let the village absorb them over a season. A slow mix keeps the display feeling collected and loved, rather than bought all at once, and it gives each new house a story of its own.
Snow, Light and Movement — Weather and Magic

12. Light from Inside, Not from Above
Village magic comes from light inside the buildings, not from a lamp above them. Switch off the room lights, light every house from within, and let warm windows do the work of a streetlamp. Test the glow at dusk, when the room is dim enough for the village to take over, and adjust any house that looks too harsh or too dim. When the light comes from inside, the village stops being a display on a shelf and becomes a town after dark.

13. Add Trees in Odd Numbers
Trees are the village’s punctuation, and odd numbers look natural: groups of three or five, never a neat pair standing to attention. Mix heights within each group, tuck the smallest tree beside a doorway or at a street corner, and keep one or two trees standing alone as landmarks. Odd groups feel grown rather than placed, and they break up long rooflines so the village reads as a landscape, not a shelf of houses.

14. Make Snow Fall, Gently, with Glitter Paths
Real snow does not fall indoors, but a village can suggest it. A light dusting of faux snow on rooftops, a glitter path that catches the light, and a few sparkling branches are enough to imply a snowfall without burying the buildings. Keep the effect light and local: one glitter path, a few dusted roofs, and the rest of the snow left clean. Gentle suggestion beats a blizzard, because the houses and their warm windows should still be the stars.

15. Add Movement with a Train or Skaters
Movement is what turns a display into a world. A small train circling the village, a skating rink with tiny figures, or a horse-drawn sleigh on the main street gives visitors something to follow with their eyes. Keep the moving element to one per village, place it where it can be seen from the front, and make sure its track or rink does not cut across a street or block a doorway. One moving scene is enchanting; two competing ones are a fairground.

16. Hide Every Cable Like It Matters
Nothing breaks village magic faster than a black cable snaking across the snow. Run cables behind levels, under the snow cloth, and down the back of the furniture, gathering them into one hidden power strip behind the display. Test the lights before the snow goes on, then again after, so you are not lifting houses to reach a loose plug. Hidden cables are invisible work, but they are what lets the village look like a town rather than an electrical display.

17. Create a Frozen Pond with Glass or Mirror
A small piece of glass, mirror, or glossy blue card laid flat becomes a frozen pond that reflects the lit houses and doubles the glow. Set it in the open patch of snow you left on purpose, edge it with a few trees or a tiny bench, and keep it clear of buildings so the reflection can be seen. A pond gives the village a centre, a place for skaters in a story, and a still, shining surface that makes the whole display feel colder, calmer, and more magical.

Scenes and Storage — The Details That Last
18. Stage One Small Story
Choose one tiny story and stage it properly: carollers outside the church, a market stall with crates of apples, a family skating on the pond, or a postman on the main street. One story, told with three or four figures and a clear setting, gives visitors a moment to discover. Trying to tell five stories at once only creates clutter, so pick the story that fits your village best and let the rest of the town be its quiet background.

19. Let Children Place One Piece Each
If children live in or visit the house, let each one choose and place a single piece — a tree, a skater, a lamp, or a tiny house — and leave it exactly where they put it. A village built together becomes a family tradition, and the slightly imperfect placement is part of its charm. Photograph their choices before you tidy anything, so next year you can remember who placed what, and the village can grow with the children who helped build it.

20. Frame the Village Like a Table Centrepiece
A village on a dining sideboard is part of the table’s world, so frame it the way you would a centrepiece: one hero view, calm surroundings, and nothing competing for attention at the same height. Christmas table centrepieces use the same rule — one hero, calm surroundings — and a village benefits from it too. If the village sits near a mantel, choose Christmas mantel ideas for garlands that complement rather than compete.

21. Keep the Village Safe from Little Hands and Paws
Tiny pieces and curious hands are a risky combination. Place the smallest, most fragile figures toward the back of the display, keep anything sharp or breakable out of reach, and choose battery lights with timers rather than trailing mains cables where children or pets pass. A village that is safe to live with will stay up all season; one that needs constant guarding will be packed away early, and nobody wants that.

22. Store Houses Like the Investment They Are
Pack each house in its own tissue wrap, upright, with its bulb removed or protected, and label the box by section — back row, front row, church, shops — so next year unpacking follows the same order as building. Keep trees, figures, and cables in separate labelled bags, and slip the dusk photograph of the finished village into the top of the box. Good storage is what turns a one-season display into a village that grows, year after year, without breakages or lost pieces.

23. Start Next Year’s Village with One New Piece
The loveliest village tradition is also the simplest: add exactly one new piece each year. A new shop, a new tree, or a new figure gives the village a reason to be rebuilt and a story to tell, without overwhelming the surface or the budget. dollar store Christmas decor ideas show how small, cheap finds can fill a display beautifully. And for the shelf the village grows from, how to decorate a Christmas shelf keeps the whole display calm between seasons.

Final Village Checklist
- ✓ Surface measured, with room to spare around the village
- ✓ Back levels built and cables hidden before houses are placed
- ✓ One main street marked, with one open patch of snow left empty
- ✓ Tallest building placed first, houses grouped in twos and threes
- ✓ Lights tested at dusk, with one house left dark for contrast
- ✓ Layout photographed and stored with the boxes for next year
Conclusion
A magical Christmas village is not the biggest collection or the most expensive one — it is a town built in the right order, on levels, with streets, snow, and warm light inside its windows. Build the ground first, place the tallest building with care, leave space for a story, and test everything at dusk. Christmas decor ideas for the living room will help the whole space live up to it. When guests lean in to find the carollers, the bakery window, and the one dark house, you will know the village has done its work: it has become a tiny world, glowing in the corner of your home.

FAQ
How many pieces do I need to start a Christmas village?
Five to seven pieces make a convincing start: three houses, a church or shop, two or three trees, and a few figures. Start with that core, build your levels and streets around it, and add one or two pieces a year rather than buying a whole town at once. A small, well-lit village always looks better than a large, crowded one.

Where is the best place to display a Christmas village?
A sideboard or console against a wall is ideal, because the wall hides cables and supports back levels. Mantels, bay windows, and wide console tables also work well, as long as the surface can be left undisturbed for the season and there is a socket nearby. Avoid busy walkways, where the village will be brushed, and damp windowsills, where snow cloth can stay damp.
How do I hide village power cables?
Run cables behind the back levels and under the snow cloth, gathering them into one power strip behind the display. Tape or clip the strip to the back of the furniture, keep the main lead flat against the wall, and test every light before the snow goes on. If a cable must cross open space, cover it with a strip of snow cloth or a low hedge of faux greenery.

Can a Christmas village stay up after Christmas?
A winter village — snow, warm lights, no Santa figures — can stay up through January as winter décor, and many families keep it glowing until the end of the month. Remove specifically Christmas figures and any red-and-green extras, keep the snow and lights, and the village becomes a quiet winter scene rather than a leftover decoration. Pack it away once the days lengthen, ready for next year’s one new piece.

💬 Join Our Decor Community
Decor Fern | Home Decor Ideas & Inspiration — share your rooms, get ideas, and chat with fellow decor lovers.
Join the Facebook GroupFollow on Facebook



One Comment