How to Decorate a Kitchen Island for Christmas Easily
The kitchen island is where December actually happens. It is where cookies cool, cocoa gets poured, homework spreads out between baking sessions, and guests somehow always end up standing with a drink in hand. It deserves Christmas decorating just as much as the mantel — it just needs decorating that respects how hard this surface works.
The trick is zoning. When you decorate a kitchen island for christmas with one defined decor zone, a tray-based centrepiece, and clear working space left untouched, the island can look like a holiday magazine cover at 9 a.m. and still roll out gingerbread dough at noon.
This practical guide walks you through the layout in order, so your island ends up festive, functional, and very easy to keep that way all season.
1. Pick One Centrepiece Zone
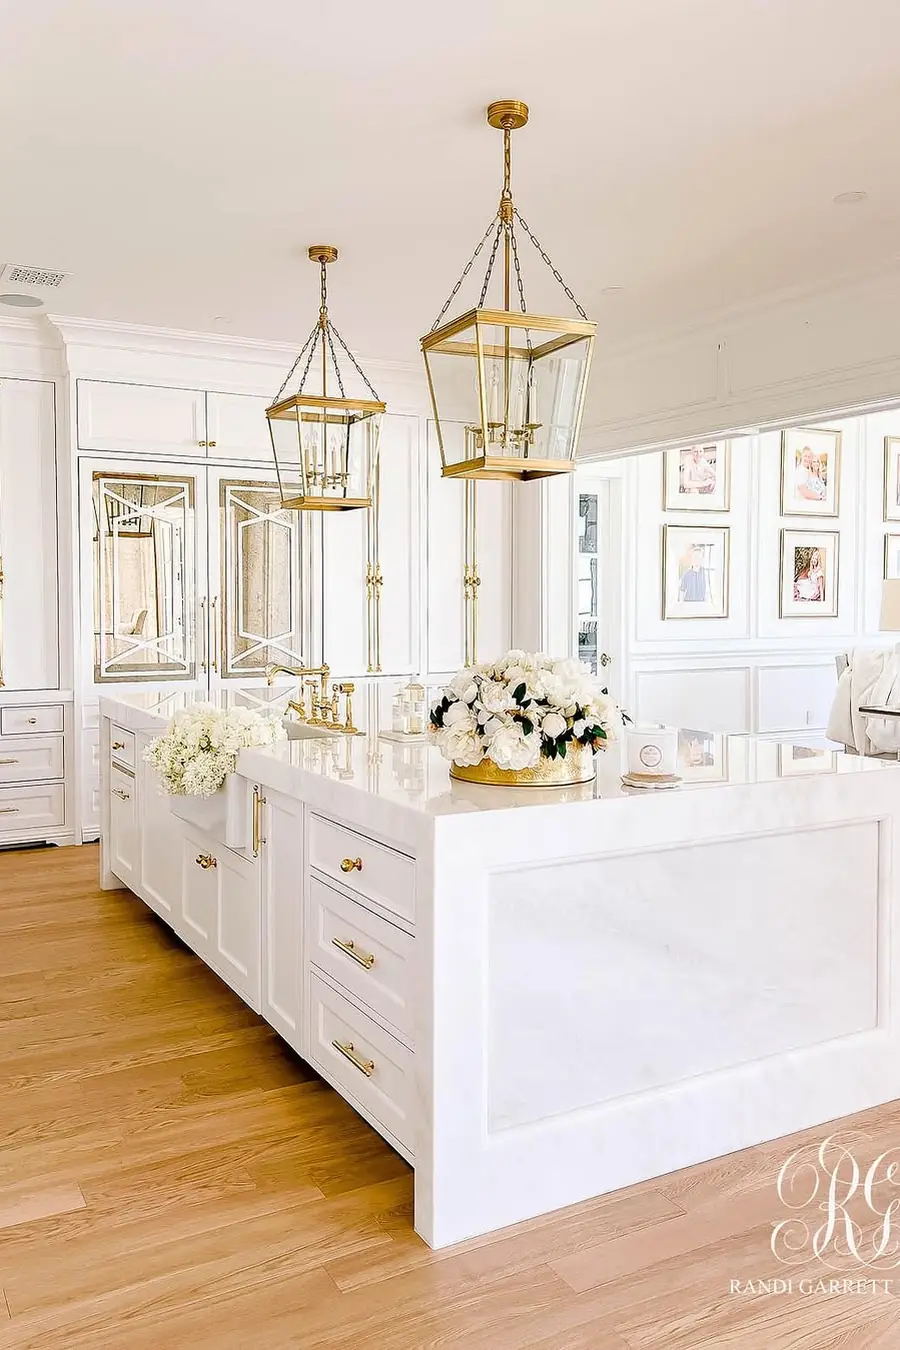
Photo credit: @randigarrettdesign on Instagram
Before buying or placing a single thing, decide where the decorations are allowed to live. On most islands, the best decor zone is one end of the counter — the end away from the sink and stove workflow — or the exact centre of an island that is used mainly for seating.
Mark the zone mentally: roughly a third of the island's length, and never the whole surface. Everything festive must fit inside that zone, and everything outside it stays clear for cooking, serving, and everyday life. This single decision is what separates islands that look styled from islands that look like a craft fair exploded.
Scale note: On a small island, shrink the zone to one corner or even one large tray. The rule is proportion, not size — the decor should never claim more than a third of your workspace.
Style note: Look at your island from the doorway you enter most. The decor zone should sit where it is seen on entry, not hidden behind the fruit bowl from your usual view.
2. Build a Tray Base First
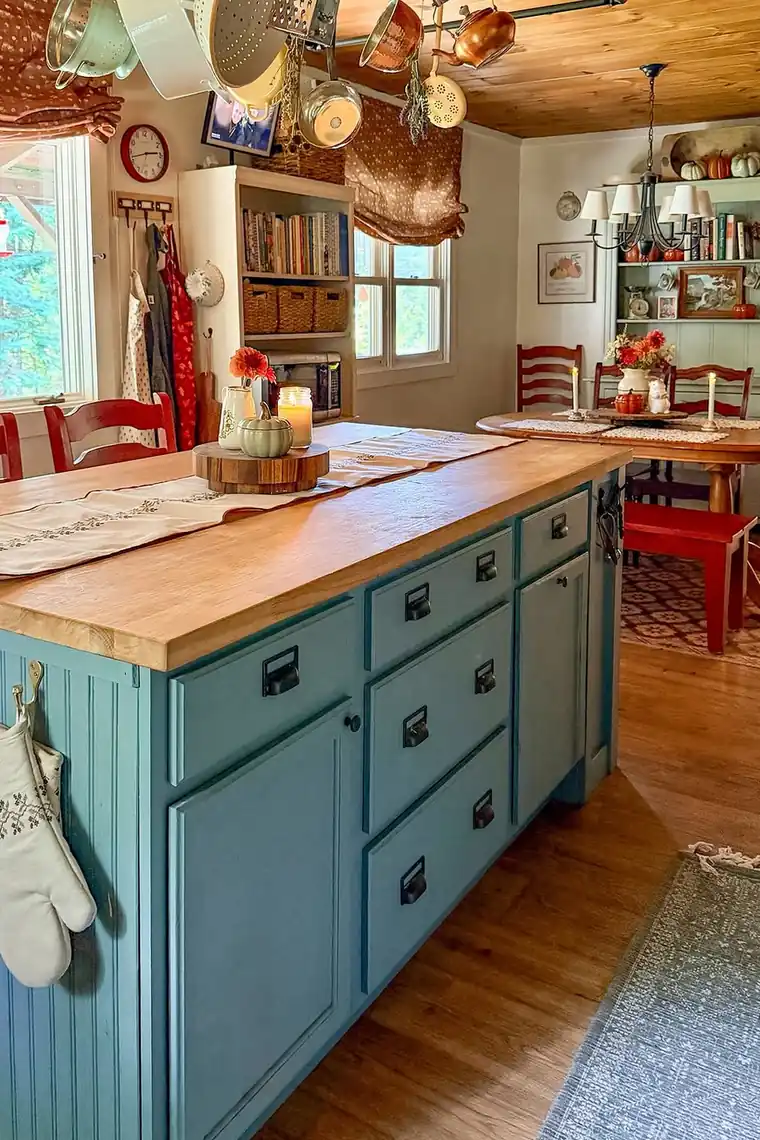
Photo credit: @goldenboysandme on Instagram
Every piece of island decor should stand on one base: a large tray, a wooden board, a low crate, or a flat basket. The tray defines your zone physically, holds the arrangement together visually, and — most importantly — lets you lift the entire display off the counter in one move when you need the space.
Choose a base with a little warmth and texture: natural wood, woven seagrass, or a metal tray with raised edges. Size it to your zone with an inch or two of counter showing around it, so it reads as intentional furniture, not a storage bin.
Budget note: A wooden cutting board you already own makes a perfect small-island base for free. Check your cupboards before buying a single tray.
Fixing note: If your arrangement keeps drifting out of its zone, your base is too small. Size up the tray rather than constantly pushing pieces back into line.
You May Also Like: 21 Christmas Table Centerpieces for a Beautiful Holiday Table
3. Add Greenery Without Blocking Prep Space
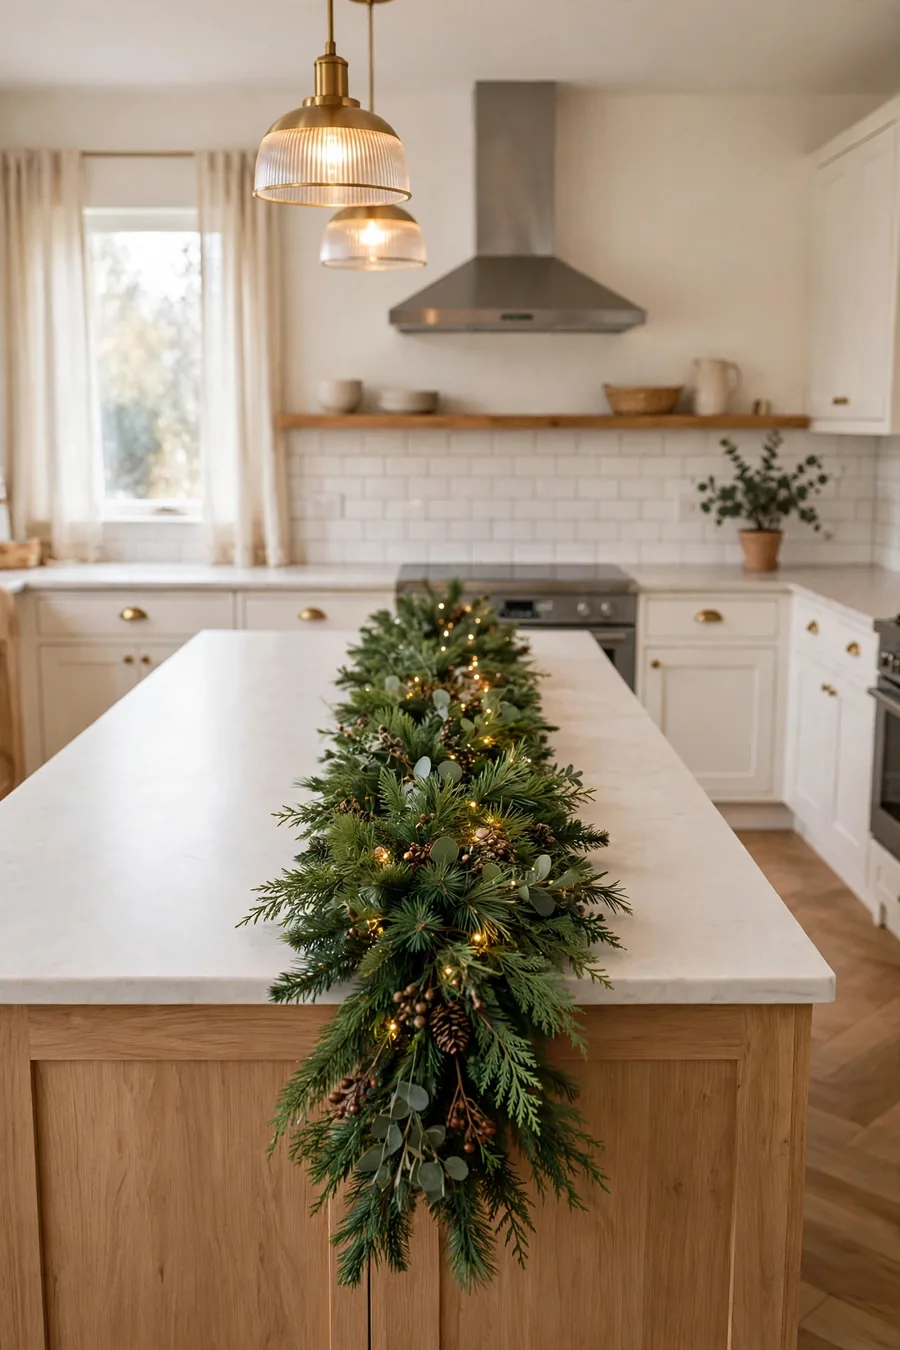
Greenery comes next, layered onto and around your tray. A short faux garland woven through the arrangement, a small potted faux pine or rosemary, or greenery picks tucked between taller pieces all give that fresh Christmas softness — without dropping needles into anyone's dinner.
Faux is strongly recommended here. Real greenery sheds needles and sap exactly where food is prepared, so save the real clippings for the mantel and table. Keep greenery on the tray only, and choose flat-lying pieces rather than wide-spreading ones that creep into your chopping territory.
Texture note: Mix two faux greens — pine with eucalyptus, for example — so the arrangement looks layered rather than like one plastic strand doing all the work.
Safety note: Keep every strand of greenery well away from the stove side of the island, and never let garland drape near a hot cooktop or oven door swing.
4. Layer Height With Cake Stands and Jars
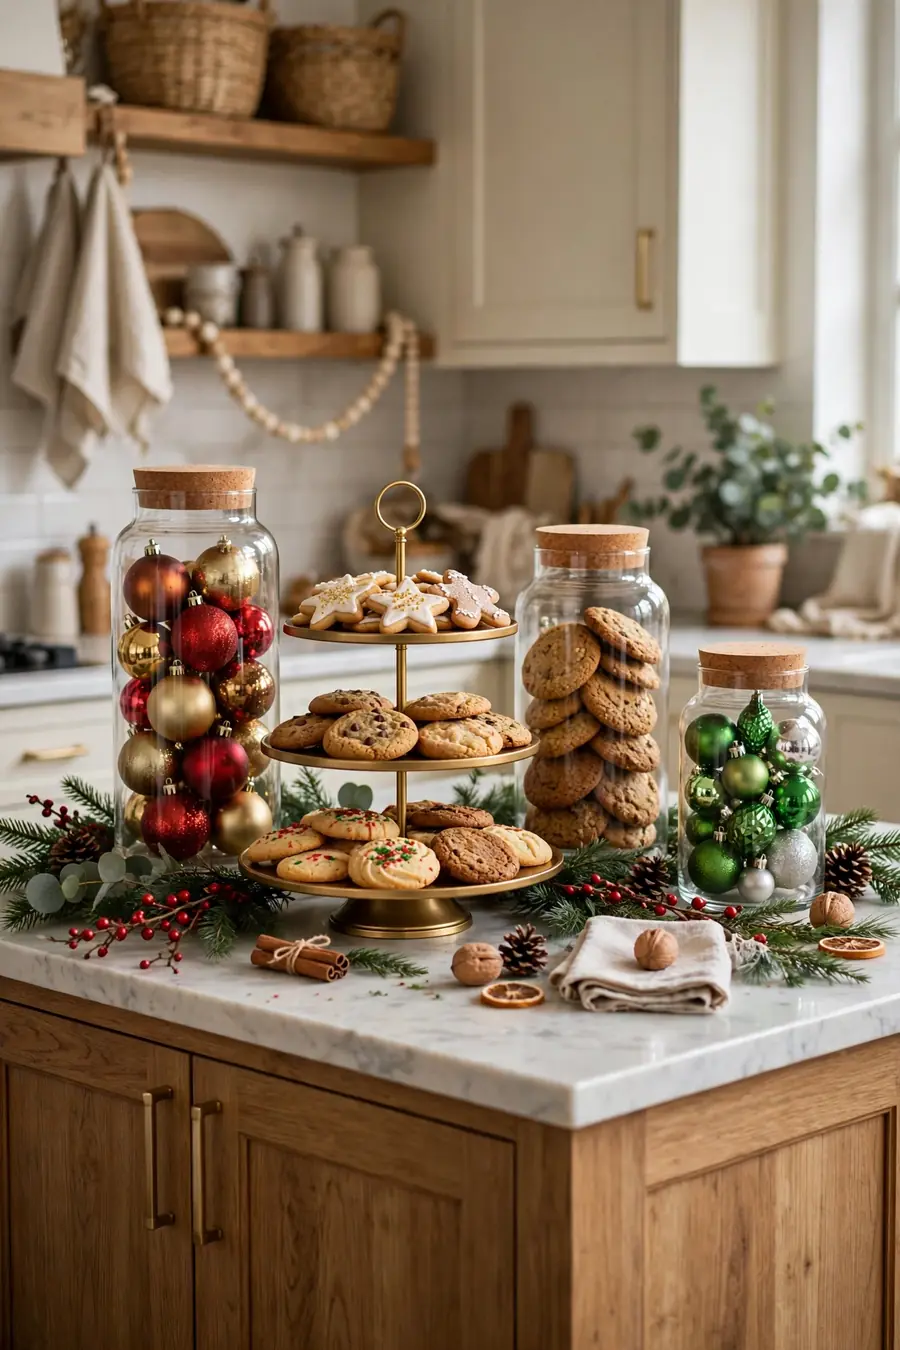
Now build your skyline. A kitchen island centrepiece needs height or it disappears against the cabinets behind it. Cake stands, tiered trays, apothecary jars, and tall candle holders are the natural tools — and they all earn their keep by holding real, useful things.
Try this arrangement: one cake stand or tiered tray as the tallest piece, a large jar of ornaments, cookies, or candy canes beside it, then a medium candle or small potted green in front. Group in threes, step heights down gradually, and keep the tallest piece at the back of the tray so nothing shades the smaller pieces.
Style note: Glass jars are the island decorator's best friend — fill them with baubles in December, cookies during baking week, and lemons in January. Same jar, three seasons.
Scale note: Tall centrepieces should stay below seated eye level if people sit at your island, so conversation flows over the display, not through it.
You May Also Like: 23 Boho Christmas Decor Ideas for a Cozy Holiday Home
5. Bring In Festive Colour With Food-Friendly Pieces
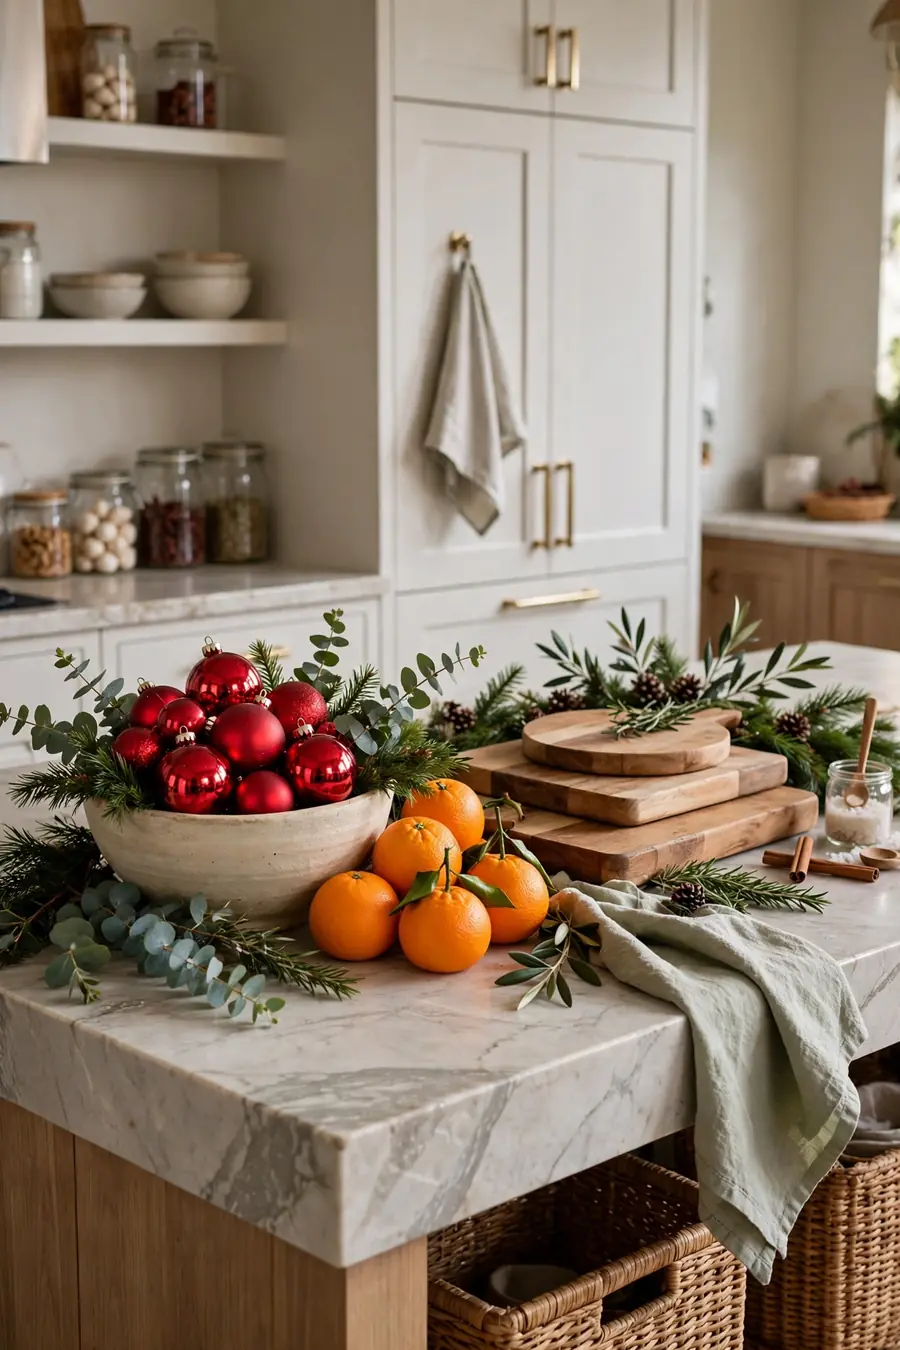
Colour on a kitchen island should come from pieces that belong in a kitchen. A bowl of red apples or clementines, a jar of candy canes, red-and-white striped linen napkins, a plaid runner under the tray, or ribbon tied around jar lids and candle holders all deliver Christmas colour in a food-safe, wipeable way.
Pick two colours plus your greenery and repeat them at least three times across the arrangement — ribbon, fruit, linen, jar fillings. Repetition is what makes a few humble kitchen items read as a designed display rather than groceries that have not been put away yet.
Colour note: When you decorate a kitchen island for christmas, let your colour story match your kitchen's fixed finishes — warm reds and wood tones suit most kitchens better than icy silver against warm cabinets.
Budget note: A bag of clementines and a handful of candy canes may be the cheapest centrepiece in this entire guide, and the only one that doubles as a snack.
6. Keep Seating Sides Clear and Cozy
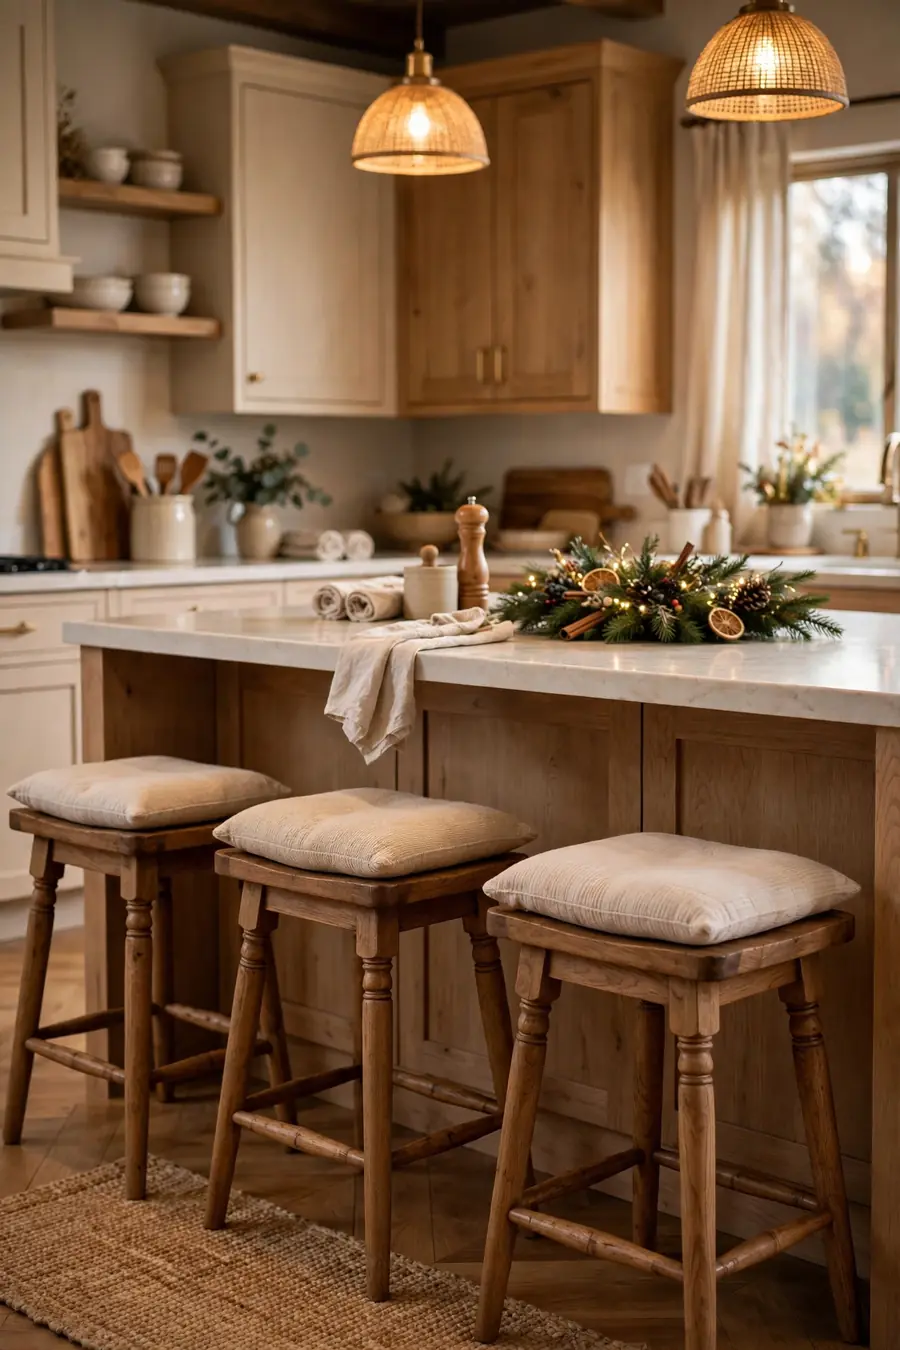
If your island has stools, decorate the seats, not the counter in front of them. A small wreath tied to each stool back with ribbon, a plaid cushion, or a mini stocking hung from the counter edge above each seat adds Christmas exactly where people sit, without stealing an inch of their elbow room.
This is the detail guests remember. Eating breakfast at a stool dressed with a tiny wreath feels like a boutique hotel's Christmas morning. Keep counter overhang space completely clear so plates, mugs, and laptops never compete with a candle for territory.
Style note: Match the stool wreaths to your tray greenery — same faux pine family, same ribbon — so the seating and centrepiece read as one design.
Fixing note: Secure stool-back wreaths with a ribbon loop over the top rail, not adhesive. They get bumped daily, and a tied ribbon simply shrugs and stays put.
You May Also Like: 21 Natural Christmas Decor Ideas for a Cozy Rustic Home
7. Finish With Warm, Safe Lighting
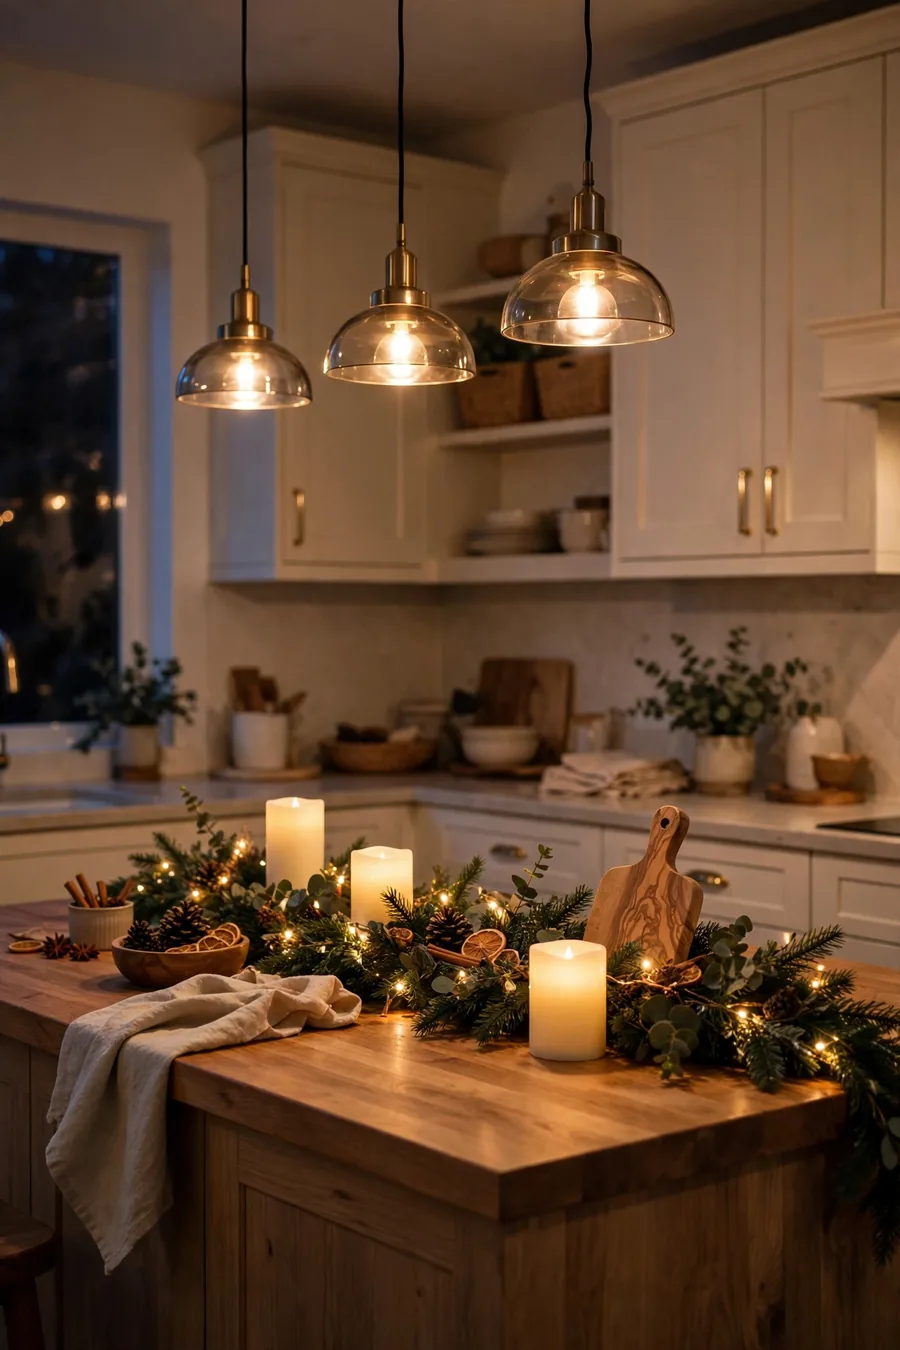
The final layer is light, and in a kitchen it must be flameless. Battery candles in your arrangement, a short strand of fairy lights woven through the tray greenery, or one lantern at the tray's edge gives the island a warm evening glow against the cooler task lighting overhead.
Set the candles on timers to glow from late afternoon through the evening, when the island becomes the room's gathering spot. Then do the working-kitchen test: make a cup of tea, chop something simple, and notice whether the decor ever gets in your way. If it does not, your zoning worked and the display can stay untouched until January.
Lighting note: Warm white light only in the decor zone. Colour-changing or cool bulbs fight with food colours and make everything on the counter look less appetising.
Safety note: Kitchens are full of water, heat, and sharp things — flameless candles, battery lights, and decor kept firmly on its tray is the safe standard, full stop.
Kitchen Island Zones at a Glance
Photo credit: @lore_glamdecorstyle on Instagram
| Zone | Use it for | Keep off it |
|---|---|---|
| Decor end or centre | Tray centrepiece with greenery, jars, and candles | Hot pans, raw ingredients, school bags |
| Prep zone | Chopping, mixing, and everyday cooking | All decor — this space stays bare |
| Sink and stove side | Washing up and serving hot dishes | Garland, fabric, paper, anything flammable |
| Seating overhang | Plates, mugs, laptops, and conversation | Tall centrepieces that block sightlines |
| Stool backs | Mini wreaths, cushions, and tiny stockings | Anything heavy or dangling at knee height |
Frequently Asked Questions
How do I decorate a kitchen island for Christmas and still cook on it?
Give the decorations one fixed zone — about a third of the island, usually one end — and build everything on a single tray or board. Keep the prep and sink zones completely bare. When you need the full counter, lift the whole tray off in one move, cook, and set it back when you are done.
What is the best centrepiece for a kitchen island at Christmas?
A tray-based arrangement works best: one tall piece like a cake stand or tiered tray, a glass jar of ornaments or candy canes, greenery woven through, and a flameless candle. It looks layered and festive, everything on it is wipeable or food-friendly, and the whole thing moves as one unit.
Can I use real greenery on my kitchen island?
Faux greenery is the better choice near food. Real pine and cedar drop needles and sap onto prep surfaces and need replacing as they dry out. If you love real greenery, use a small potted rosemary or a fresh sprig in a vase on the tray, kept away from chopping areas.
How do I decorate an island where people sit and eat?
Keep the centrepiece below seated eye level so people can talk across it, and leave the overhang in front of each stool completely clear for plates and elbows. Decorate the stool backs instead — mini wreaths tied with ribbon give guests the Christmas feeling without crowding their breakfast.
What colours work best for kitchen island Christmas decor?
Warm, food-friendly colours almost always win: red with natural wood, cream with greenery, or plaid patterns borrowed from your linens. Repeat your two colours at least three times across ribbon, fruit, jars, and textiles so the display looks designed. That repetition is the real secret behind how to decorate a kitchen island for christmas so it looks styled rather than stored.
You Would Also Love
💬 Join Our Decor Community
Decor Fern | Home Decor Ideas & Inspiration — share your rooms, get ideas, and chat with fellow decor lovers.
Join the Facebook GroupFollow on Facebook