How to Put Ribbon on a Christmas Tree Like a Pro: Easy Step-by-Step
There is one thing every magazine-cover Christmas tree has that most home trees are missing, and it is not more ornaments. It is ribbon — wide, sculptural ribbon pouring down the branches in soft folds, making the tree look upholstered instead of just decorated.

Here is the secret designers will tell you if you ask: it is never the ribbon, it is the technique. Ribbon goes on after the lights and before the ornaments, tucked deep into the branches and worked in relaxed sections, never one tight spiral. This guide covers choosing the right ribbon, exactly how much to buy, the three classic methods, and a full step-by-step for the one professionals reach for first. If you are decorating the whole tree from scratch this year, our ultimate Christmas decorating guide puts ribbon in its proper place in the full sequence.

★ QUICK FACTS
| TIME 20–40 minutes once the tree is fluffed and lit |
BUDGET $10–$30 for wired ribbon — one of the cheapest designer upgrades there is |
DIFFICULTY Beginner friendly — no crafting, just tucking and shaping |
BEST FOR Any tree 4–9 feet, real or artificial, slim or full |
Part One — Choose the Right Ribbon (This Decides Everything)
1. Always Choose Wired Ribbon — No Exceptions
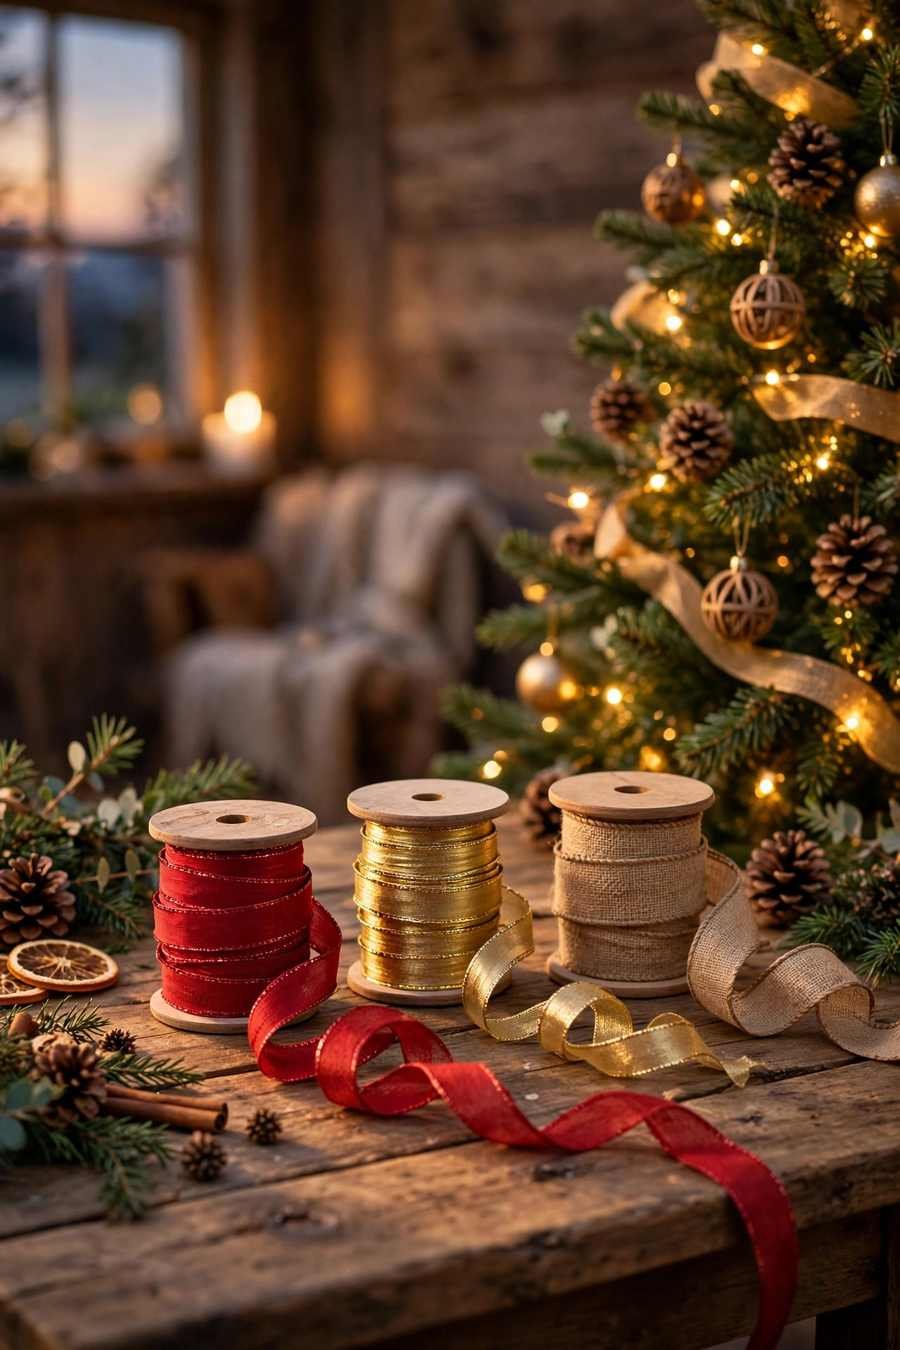
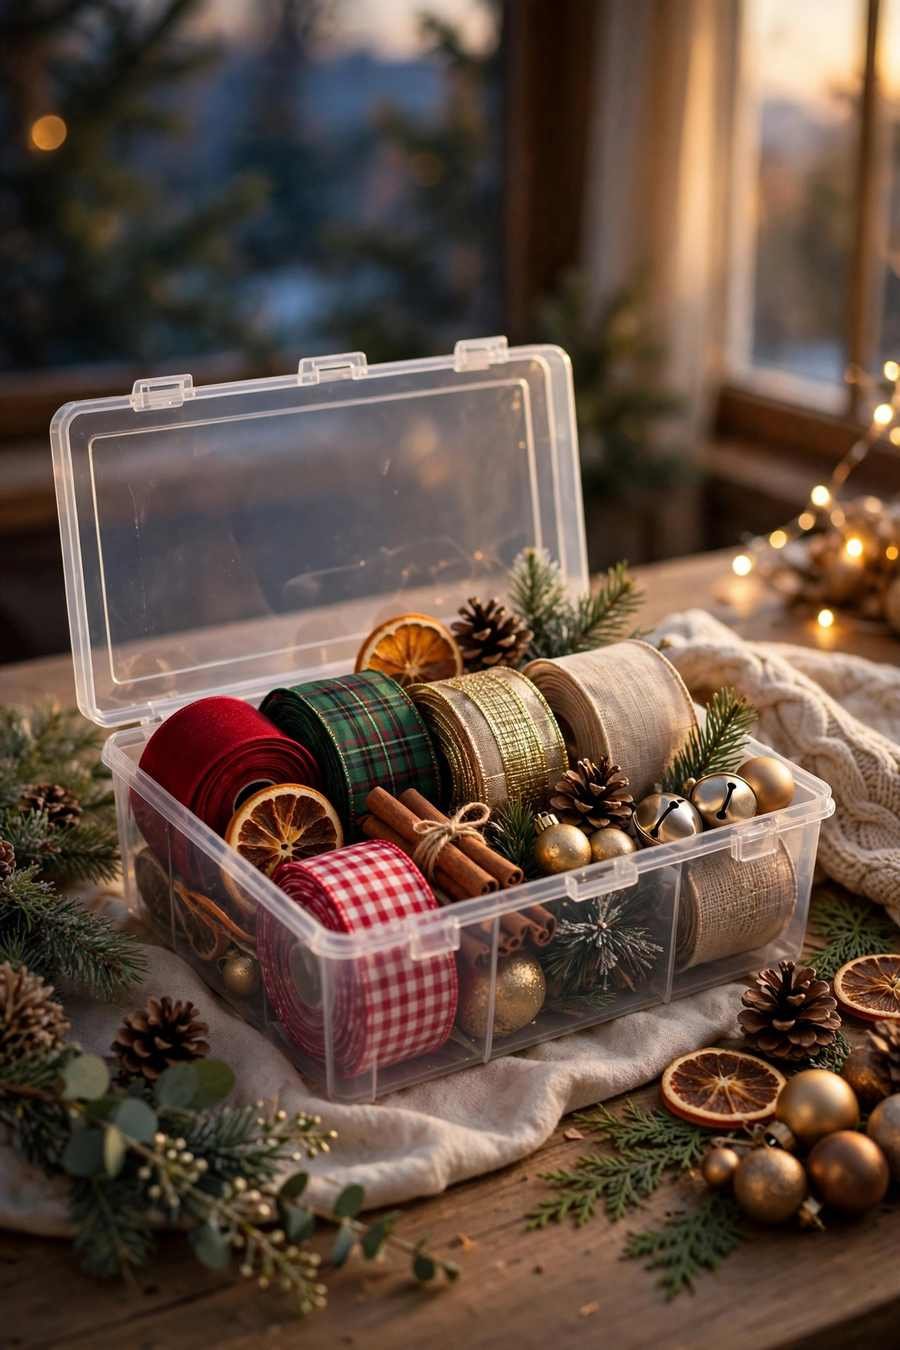
Wired ribbon has a thin wire running along both edges, and that wire is the entire game. It lets you bend ribbon into loops, poufs and S-curves that hold their shape for weeks without a single pin. Unwired satin does the opposite: it collapses flat, slides out of every tuck, and reads as an afterthought. Squeeze the edge of a spool in the shop — if it holds a curl when you let go, it is wired and it will behave.
2. Get the Width Right for Your Tree
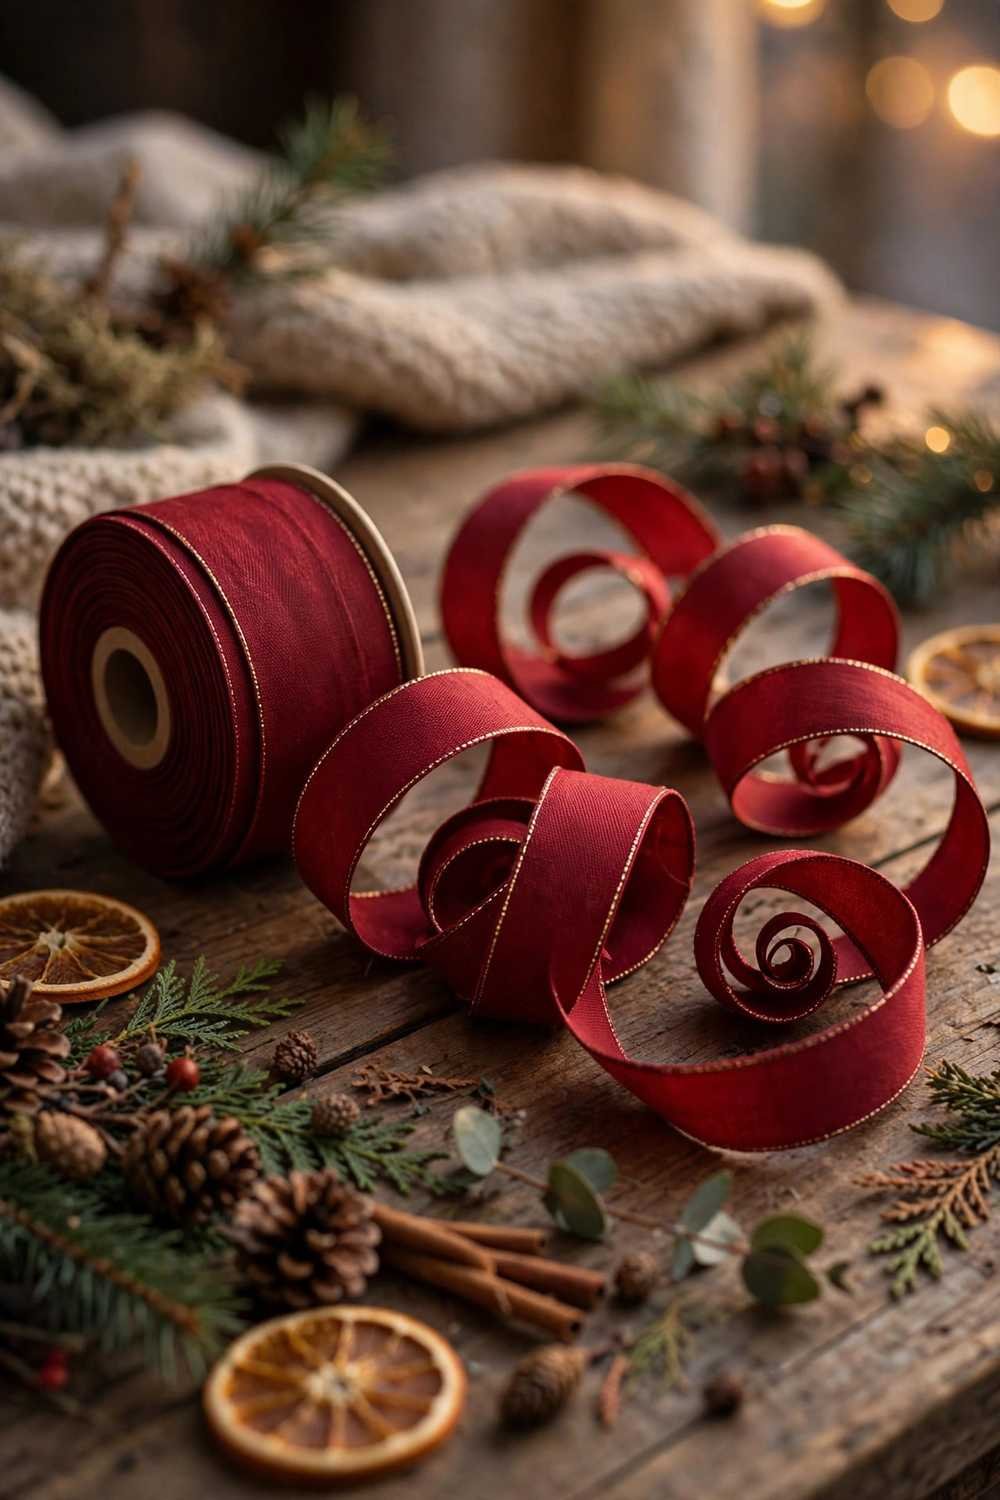
Width is what makes ribbon look generous or skimpy. For most trees between six and eight feet, 2.5-inch wired ribbon is the sweet spot — wide enough to read across the room, narrow enough to tuck. Go up to 4-inch on tall, full trees of eight feet or more, and down to 1.5-inch on slim and tabletop trees so the ribbon does not swallow the branches. When in doubt, choose the wider option: skimpy ribbon is the number one reason home trees look underdressed.

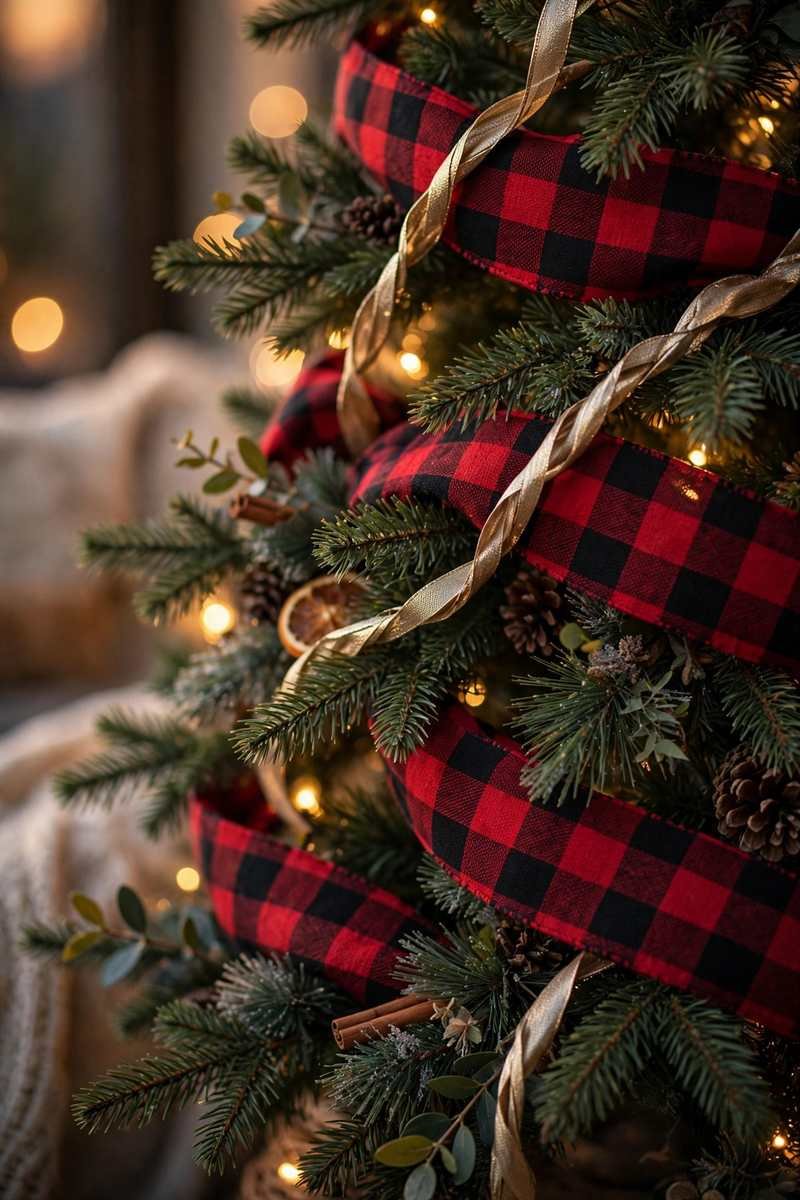
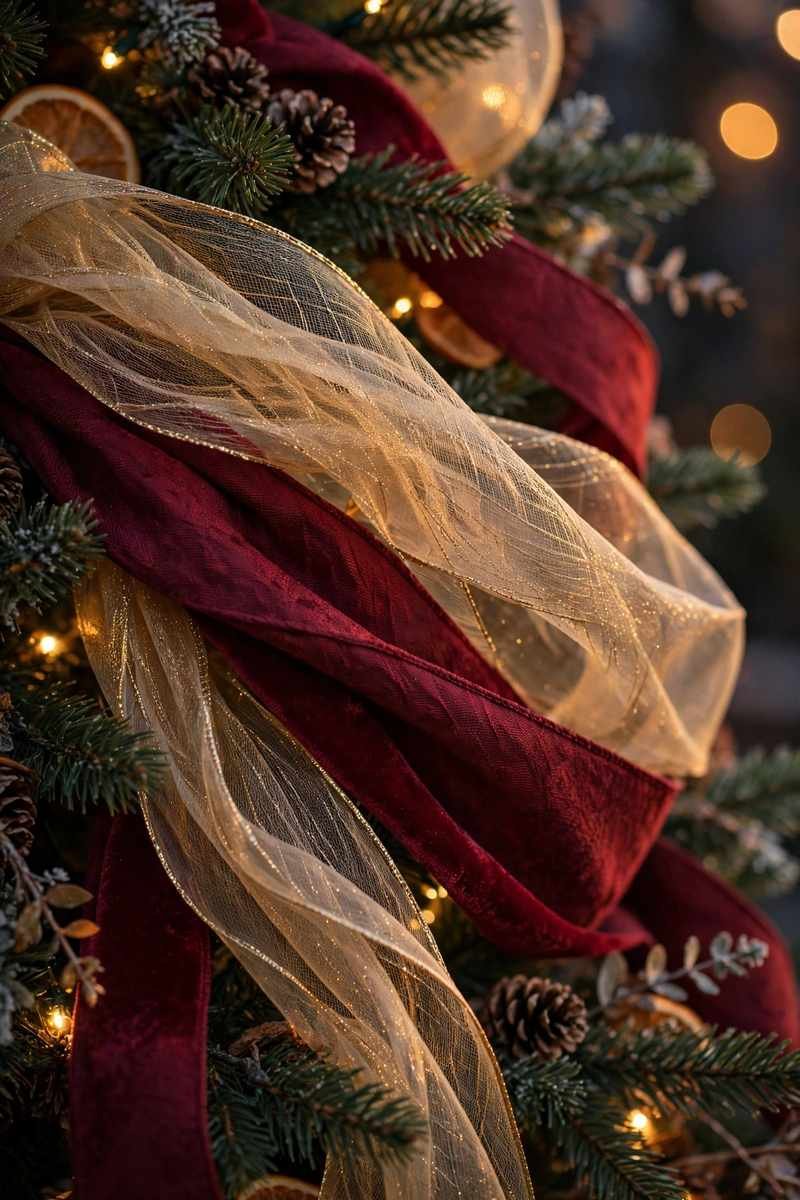
One designer habit worth stealing: layer two ribbons instead of one. A wide plaid or velvet ribbon does the heavy lifting; a narrower metallic or sheer one twisted over the top adds shimmer. Keep both in the same color family and the combination looks expensive.
3. How Much Ribbon Do You Actually Need?
Running out of ribbon two-thirds of the way down a tree is a December rite of passage — and an avoidable one. The amount depends on tree height, fullness and method — the billow is the hungriest, the cascade the most economical. Use the guide below as your shopping list, and treat it as a minimum rather than a target.

→ RIBBON AMOUNT GUIDE — BY TREE HEIGHT
| TREE HEIGHT | CASCADE / WOVEN | BILLOW METHOD | 10-YARD ROLLS |
|---|---|---|---|
| 4–5 ft (slim / tabletop) | 8–10 yards | 10–12 yards | 1 roll |
| 6–6.5 ft | 12–15 yards | 15–18 yards | 2 rolls |
| 7–7.5 ft | 18–22 yards | 22–27 yards | 2–3 rolls |
| 8–9 ft (full) | 25–30 yards | 30–36 yards | 3–4 rolls |
Rule of thumb: roughly 3 yards of ribbon per foot of tree height for draped methods, and closer to 3.5 yards per foot if you love deep, generous billows. Very full trees sit at the top of every range.
Two buying habits save money and stress. First, always buy one more roll than the table says — an unopened roll returns easily in January, while a discontinued pattern does not come back at any price. Second, check that all your rolls share the same dye lot if the ribbon is a strong color; reds and burgundies can shift noticeably between lots. Ribbon is also one of the best places to save in a whole-tree budget, as our guide to decorating a Christmas tree on a budget shows — a $12 roll of wide wired ribbon outperforms $40 of extra ornaments every time.

Part Two — Prep the Tree Before Any Ribbon Touches It
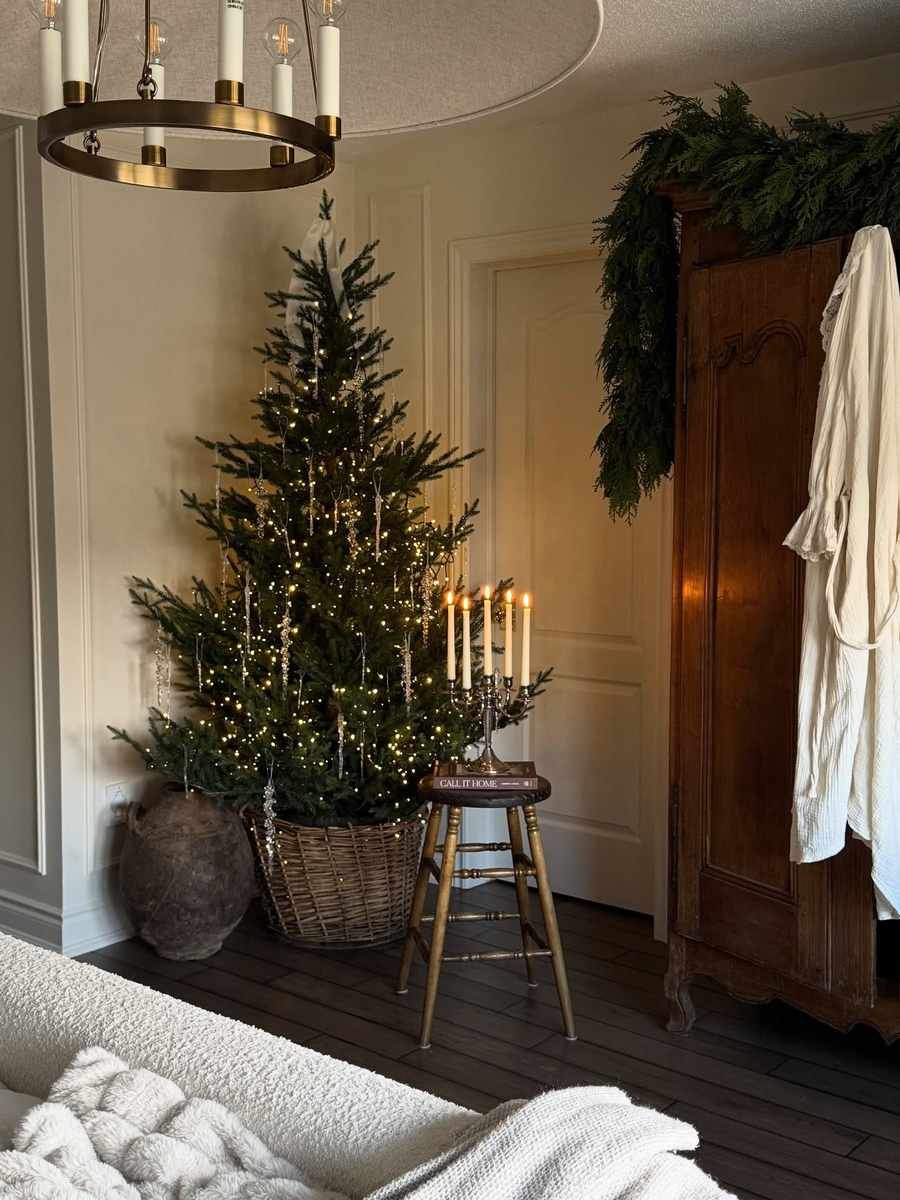
Photo: Salina Maria (@salinamariahome) on Instagram
4. Fluff and Light First — Ribbon Always Comes Second
Ribbon has a strict place in the decorating order: fluffing first, lights second, ribbon third, ornaments last. Fluff every branch — tips up, down and sideways — because ribbon over a flat tree just traces the gaps. Then wind the lights deep into the branches, not just around the surface, so the ribbon you lay over them glows from behind in the evening. If this is your first fully decorated tree, our step-by-step for decorating a Christmas tree for beginners covers those stages in the same order.

Photo: Leben Riebe (@vintageholiday) on Instagram
5. Decide: Cut Working Lengths or Work from the Roll?
Most ribbon tutorials quietly assume you will cut the ribbon. Working in cut lengths of about two to three feet gives you complete control: each piece becomes one fall, one swag or one cluster of billows, tucked in at the top and bottom with nothing to unravel. Working from the roll suits the woven method, but one slip unwinds your last three moves. Beginners and cascade fans: cut. Leftover ends become matching bows for wreaths and gifts instead of a tangled tail.

Part Three — The Three Ribbon Methods (Pick Your Personality)
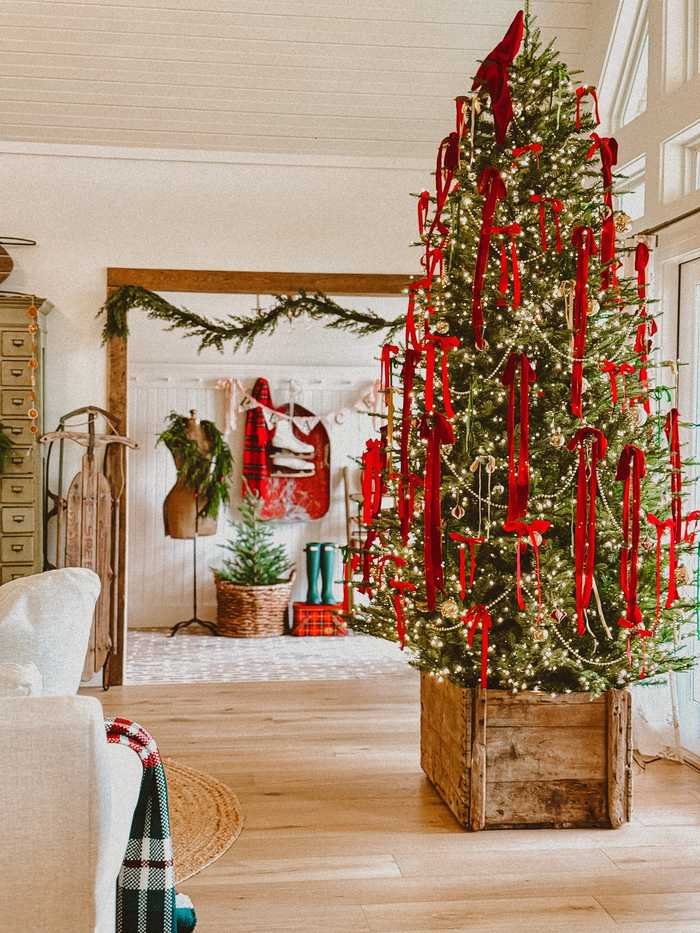
Photo: Rachell Penton (@the_penton_farmhouse) on Instagram
6. Method One: The Cascade (The Waterfall)
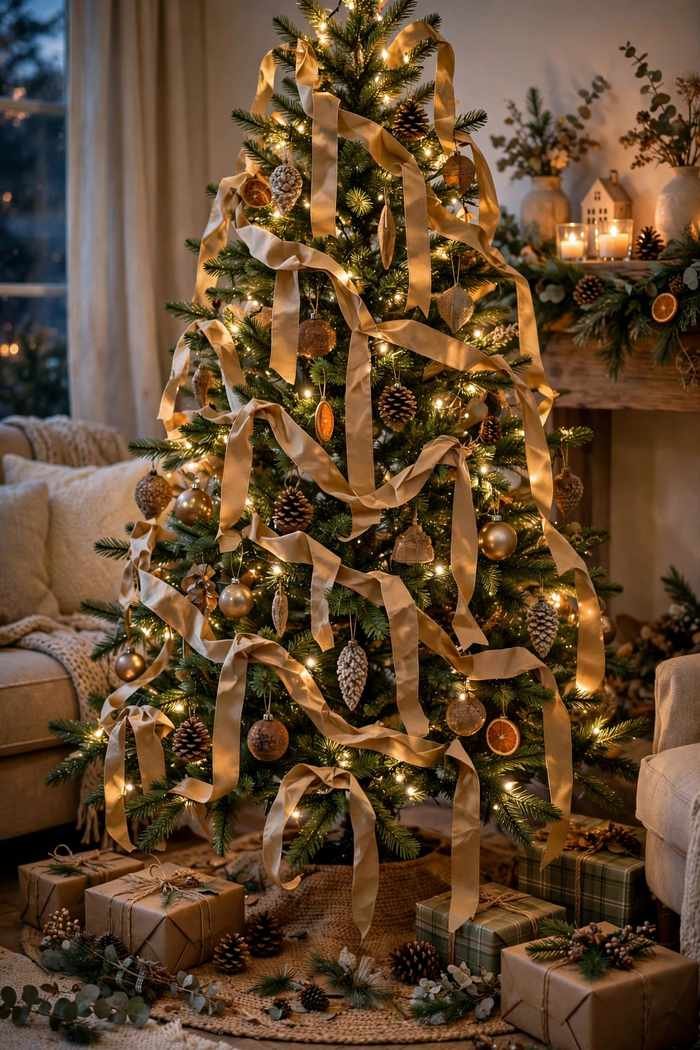
The cascade is the designer default and the method this guide teaches step by step below. Separate streams of ribbon fall vertically from the top of the tree to the bottom, following gentle S-curves rather than straight lines, and disappearing into the branches every foot or so. It makes trees look taller, works on every tree shape, and uses the least ribbon of the three methods. Space four to six streams around a full tree, three around a slim one, and let each stream wander slightly.

Cascade styling rewards restraint. Keep the falls relaxed rather than stretched — a stream pulled taut reads as a stripe, while a stream with slack reads as fabric. Step back after every stream: the falls should feel evenly distributed without matching each other, like water finding its own way down. If two streams drift too close together near the bottom, tuck one a few inches sideways at its lowest point rather than starting again.

7. Method Two: The Woven Swag
The woven method works the ribbon horizontally: it circles the tree in loose, dipping swags, diving into the branches and emerging again like a dolphin through waves. It is the most forgiving method for hiding sparse patches — every dip covers a gap — and it pairs beautifully with garland layered underneath — our tutorial on decorating a tree with garland uses the same rhythm if you want to combine the two. Keep the swags loose and uneven in depth; a swag pulled tight all the way around is exactly how the barber-pole look happens.

For the woven method, work from the roll or in long six-to-eight-foot lengths, and anchor each swag at the back of the tree where the joins disappear. Vary the drop of each swag — six inches here, ten there — and let the ribbon twist occasionally so both the shiny and matte sides show. A gentle half-twist at each emergence point gives woven ribbon its dimensional, professional look.
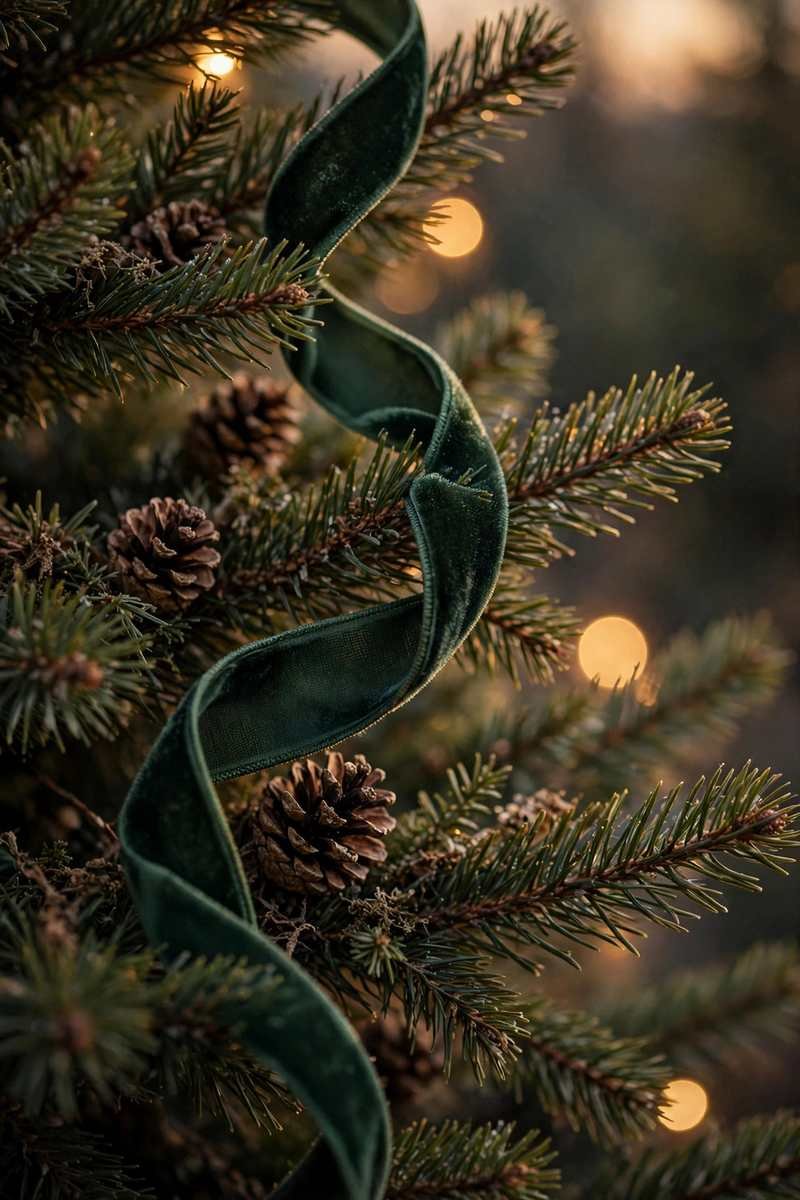
8. Method Three: The Billow (Tufts and Poufs)
The billow — also called tufting — is the lush, romantic method all over Pinterest: the ribbon never travels at all, but sits in big sculptural loops and poufs tucked all over the tree. Cut lengths of about two feet, form each into one or two generous loops, pinch the middle, and tuck the pinched point deep into the branches so only the loops show. It uses the most ribbon and gives the most drama, and it is the easiest method to top up later — just add more poufs anywhere that looks thin.

Billows look best in odd, scattered clusters rather than an even polka-dot pattern. Place a large pouf, then a smaller one a foot away, then skip a space — the irregular rhythm reads as designer. Velvet and matte ribbons billow most beautifully; very stiff ribbon can look crunchy, so squeeze-test a loop in the shop first.

PRO TIP: Ribbon is placed by hand but judged by eye — from across the room. After every stream, swag or cluster of billows, walk to the doorway and squint at the whole tree. Sparse spots, tight spots and wandering lines are invisible from twelve inches away and glaring from twelve feet. It is the single habit that separates a styled tree from a decorated one.
Part Four — Step by Step: The Cascade Method, Done Properly

This is the exact sequence behind the trees in showroom windows, the one designers finish before a single ornament is hung. You will need your cut lengths (two to three feet for the upper tree, three to four for the lower), a step stool, and half an hour. Work all the way around rather than finishing the front first, so the ribbon stays balanced from every side.

Step 1: Anchor the First Stream at the Top
Take your first length and tuck the top end deep into the branches just below the topper, bending a branch tip over it to lock it in place — no pins, no wire, no glue needed on a real or artificial tree. The anchor point should be completely invisible: if you can see where the ribbon starts, it is not deep enough. Let the rest hang free and check it falls inside the tree’s silhouette.

Step 2: Shape the First Fall in a Soft S-Curve
Guide the hanging ribbon downward in one long, lazy S rather than a straight drop. About a foot below the anchor, push the ribbon in until it disappears between two branches, pinch it, and let it billow out below the pinch. That single in-and-out is the whole technique — the ribbon should look like it is flowing through the tree, not pasted onto it. Gravity is doing most of the styling here; your job is just deciding where the ribbon dives.

Step 3: Tuck, Pinch, Repeat to the Bottom
Continue the rhythm all the way down: billow out, dive in, pinch, billow out. Aim for a dive every twelve to eighteen inches, at varying depths. When a cut length runs out, overlap the next length’s start two inches above the last dive point, deep in the branches, and the join vanishes. Finish each stream by tucking the tail fully out of sight near the bottom branches — a visible cut end is the one thing that breaks the illusion.

Step 4: Work Around the Tree in Columns
Place your second stream about a quarter of the way around the tree, and keep adding streams until the full circle feels evenly dressed — usually four to six on a standard full tree. The streams need balanced spacing, not equal spacing — a judgment you make from the doorway, not with a tape measure. Wider gaps at the back are fine, but never leave the sides bare — a tree is seen in the round.

Step 5: Step Back and Even Out the Depth
With all streams placed, do the doorway check and hunt for two flaws: streams floating shallow on the branch tips, and streams pulled so deep they disappear. Push the floaters in at their midpoint, pull the buried ones out into a soft billow, and confirm every stream catches at least a little light. This five-minute pass matters more than any single placement — it is where a good ribbon job becomes a great one.

Step 6: Finish the Ends with a Curl or a Bow
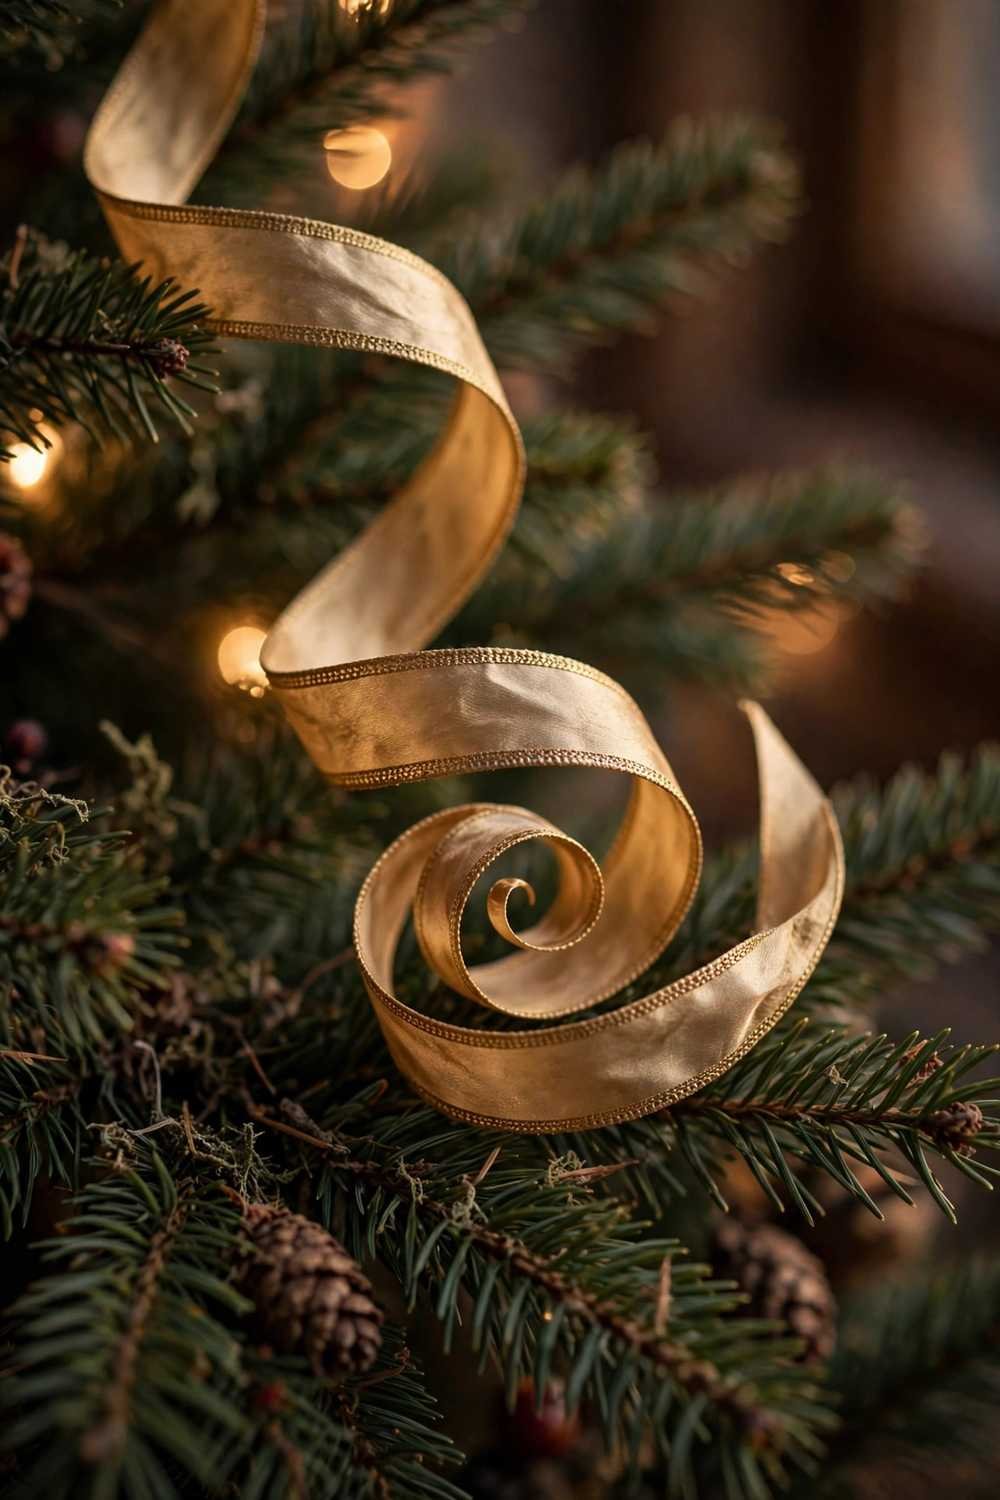
Give each stream a deliberate ending at the bottom: either tuck the last few inches completely out of sight, or — the showroom trick — let the final length spill out and curl it into a spiral on the lowest branches. A dovetail cut (a small V snipped into the end) stops fraying and looks tailored on any ribbon that shows an edge. Never leave a straight-cut, limp tail hanging in mid-air; it is the ribbon equivalent of a price tag left on a gift.
★ THE CASCADE METHOD — STEP BY STEP
STEP 1 · ANCHOR — Tuck the end deep below the topper point and lock it with a bent branch tip. The start must be invisible.
STEP 2 · FIRST FALL — Let the ribbon drop in a long, lazy S-curve, staying inside the tree’s silhouette.
STEP 3 · DIVE AND BILLOW — Every 12–18 inches, push the ribbon in until it disappears, pinch, and let it pouf out below.
STEP 4 · JOIN INVISIBLY — Overlap each new length 2 inches above the last dive, deep in the branches.
STEP 5 · COLUMNS AROUND — Repeat for 4–6 streams around the tree, balanced by eye from the doorway.
STEP 6 · FINISH THE ENDS — Tuck tails away or curl them into spirals on the lowest branches; dovetail any visible edge.
Total time: 20–40 minutes. Anchor, dive, billow, repeat — practiced once, it is yours for every tree.
Part Five — Finishing Touches That Make It Look Expensive

9. Nestle the Ornaments Into the Ribbon
Ornaments go on last, and the ribbon tells you where they belong: hang the largest baubles right beside the billows and dives, where the ribbon creates natural frames and pockets. A cluster of two or three ornaments at a dive point looks styled; the same ornaments scattered evenly look random. Carry one ribbon color into a few ornaments nearby so the two layers feel woven together — our guide to choosing Christmas tree colors makes the pairing easy.

10. Add a Second Ribbon for Depth
Once the main ribbon is placed, a narrow second ribbon — sheer organza, thin velvet, or fine metallic mesh — twisted loosely along the same paths adds the layered richness of styled trees. Follow the main ribbon’s route rather than inventing a new one, twisting the two together at each dive point. Test the pairing first so the sheen supports your scheme; the Color Palette Generator is a quick way to check ribbon and ornament combinations before you buy.
11. Crown It with Ribbon at the Top
A simple loop bow in your main ribbon, tails streaming down the top branches, ties the scheme together and hides your cascade anchor points. Keep the bow’s tails shorter than your longest stream fall and angle them to echo the S-curves below. It takes one spare length and ninety seconds — and guests call it “professional” without knowing why.

Part Six — The Four Mistakes That Ruin Ribbon (and the Fixes)
12. Mistake: Ribbon Floating on the Surface
The most common failure of all: ribbon laid along the branch tips like icing, never entering the tree. It looks flat because it is flat — no depth, no shadow. The fix is physical: at every dive point, push the ribbon in three to six inches, until your knuckles brush the inner branches. If a section looks two-dimensional, it is too shallow.

13. Mistake: The Tight, Even Spiral
Wrapping ribbon around a tree the way you would wind a maypole guarantees the barber-pole effect — neat, even, and completely uninviting. Real fabric never falls in perfect diagonals, so the eye rejects it instantly. Loosen everything: vary each swag’s drop, let the ribbon twist as it travels, and dive at irregular intervals. Already wrapped? Push the ribbon deeper at uneven points to break the spiral’s spell.

14. Mistake: Running Out Halfway Down
A tree wearing ribbon on its top half only looks like it gave up — usually from generous billows at the top with no budget left for the bottom. Protect yourself twice: buy by the amount guide above, and count out your cut lengths around the tree before you start tucking. If you do run short mid-job, thin out the upper streams slightly and re-space rather than shrinking the lower ones; even coverage in a lighter hand always beats abundance that stops at the waist.

15. Mistake: Adding Ribbon After the Ornaments
It happens every year: the tree is finished, something looks missing, and ribbon gets threaded apologetically through a forest of baubles. The result is always shallow ribbon — there is no room left to dive — plus a dozen knocked ornaments. Ribbon genuinely must go on before ornaments, but a rescue is possible: remove ornaments from one section at a time, work the ribbon properly, then rehang. One section an evening, and the finished tree is indistinguishable from one done in the right order.

| ✓ DO | ✗ DON’T |
|---|---|
| Buy wired ribbon, 2.5 inches wide for most trees, and one roll more than you think you need | Don’t use unwired satin — it collapses flat and slides out of every tuck |
| Put ribbon on after the lights and before the ornaments, always in that order | Don’t thread ribbon through a finished tree — it can only ever sit on the surface |
| Tuck deep at every dive so the ribbon disappears and reappears through the branches | Don’t lay ribbon along the branch tips or wrap it in a tight, even spiral |
| Step back to the doorway after every stream and judge the whole tree, not the section | Don’t aim for perfect symmetry — matched streams look stamped out, not styled |
Conclusion
Ribbon asks for technique instead of money: one good wired roll, tucked deep and worked in relaxed falls, beats a cart of extra ornaments. Choose your method — cascade for height, woven for coverage, billow for drama — follow the steps, and step back often. And when the ribbon is flowing, finish the picture at the very top: our roundup of Christmas tree topper ideas has the crowns, bows and stars that sit beautifully above well-dressed ribbon. This year, your tree is the one people ask about.

FAQ
Should ribbon go on the tree before or after the ornaments?
Before — always. The full order is fluff, lights, ribbon, then ornaments. Ribbon needs open branches to dive into, and ornaments hung afterward nestle into the ribbon’s billows and pockets, which is what makes the finished tree look woven together. Ribbon threaded through a finished tree can only lie on the surface.

How much ribbon do I need for a 7.5-foot tree?
Plan on 18–22 yards for the cascade or woven method — two to three standard 10-yard rolls — and 22–27 yards if you love deep billows. Buy the extra roll while your pattern is in stock; an unopened roll is returnable in January, while a sold-out ribbon in mid-December ends the project.

Can I reuse the same ribbon next year?
Yes — wired ribbon is one of the most reusable decorations you own. When you undecorate, smooth each length out, roll it loosely around an empty paper tube or a piece of cardboard with the folds relaxed, and store it away from attic heat, which can make cheap wire brittle over several summers. Good wired ribbon lasts five seasons or more.
What if my ribbon is not wired?
You can still use it, but change the method to suit it. Unwired ribbon works best as short, draped swags tied or tucked at their ends, as simple bows wired onto branch tips, or twisted with a wired ribbon that does the structural work. It cannot hold a billow or a cascade dive — expect a softer look, and place it where droop reads as romance, like mantel garlands and wreaths.

Which ribbon method is easiest for a complete beginner?
The billow. It asks for nothing but cut lengths, loops and deep tucks — no long streams to manage, no spacing to plot, and mistakes simply disappear into the branches. Every pouf is independent, so you can add, move or remove one without disturbing the rest. Master the billow this year, and the cascade will feel easy next December.

💬 Join Our Decor Community
Decor Fern | Home Decor Ideas & Inspiration — share your rooms, get ideas, and chat with fellow decor lovers.
Join the Facebook GroupFollow on Facebook